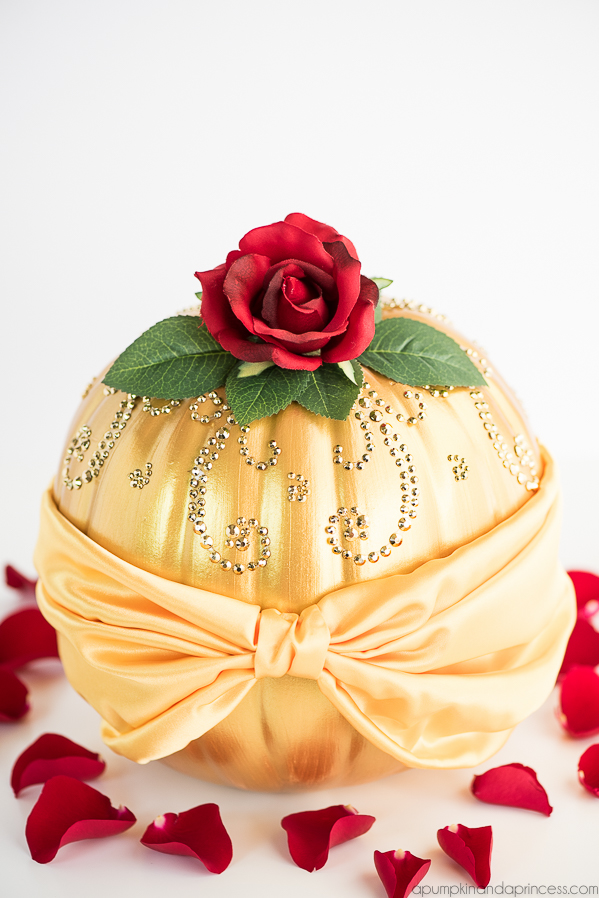
DIY Beauty and the Beast Belle Pumpkin – how to make a Disney princess Belle Pumpkin inspired by her beautiful dress and The Enchanted Rose.

Disney Princess Pumpkins
Hi friends! I’m so excited to share our latest Disney pumpkin with you. You guys may have noticed that we LOVE making Disney princess inspired pumpkins and I couldn’t let the Halloween season pass without making one with my daughter. This year we made a pumpkin inspired by Beauty and the Beast! It has always been my favorite Disney princess movie and I can’t wait to take my daughter to see the remake of Beauty and the Beast next spring. Until then we’re adding this Belle Pumpkin to our growing Disney Princess Pumpkin collection.
This post contains affiliate links
How to make a Beauty and the Beast Belle Pumpkin
Supplies:
Pumpkin
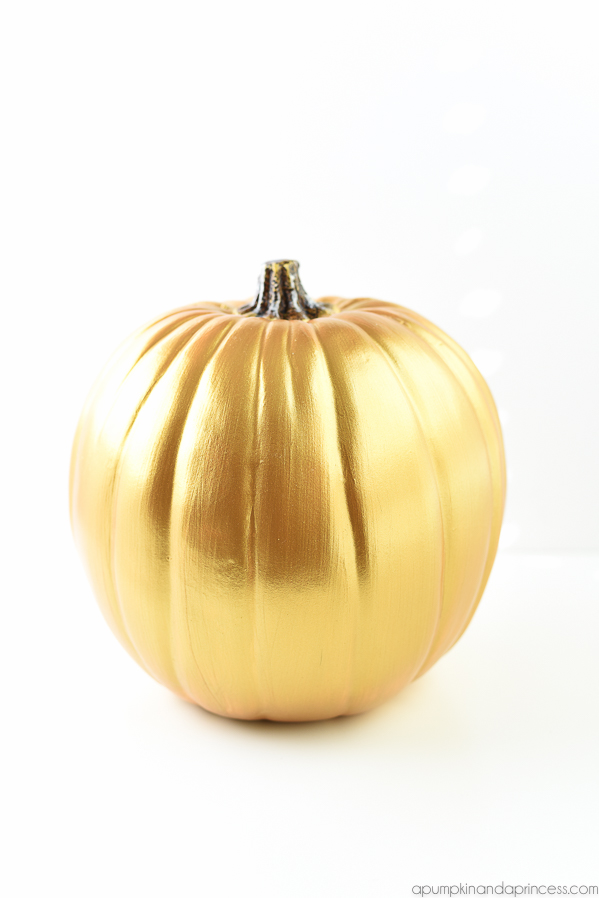
Gold paint![]() (in 24k Gold)
(in 24k Gold)
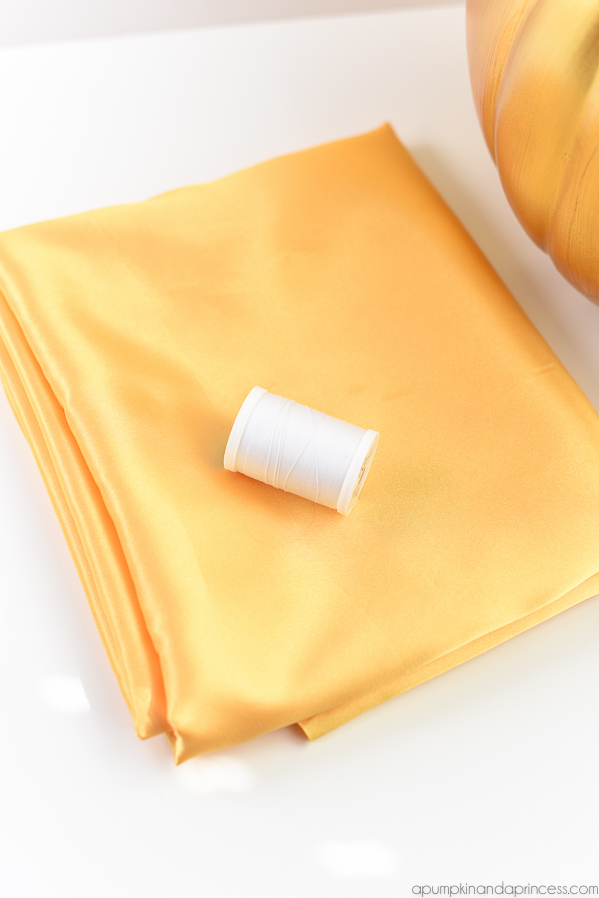
Satin fabric
Adhesive Gold rhinestones
Silk rose
Push pin
Hot glue
Thread
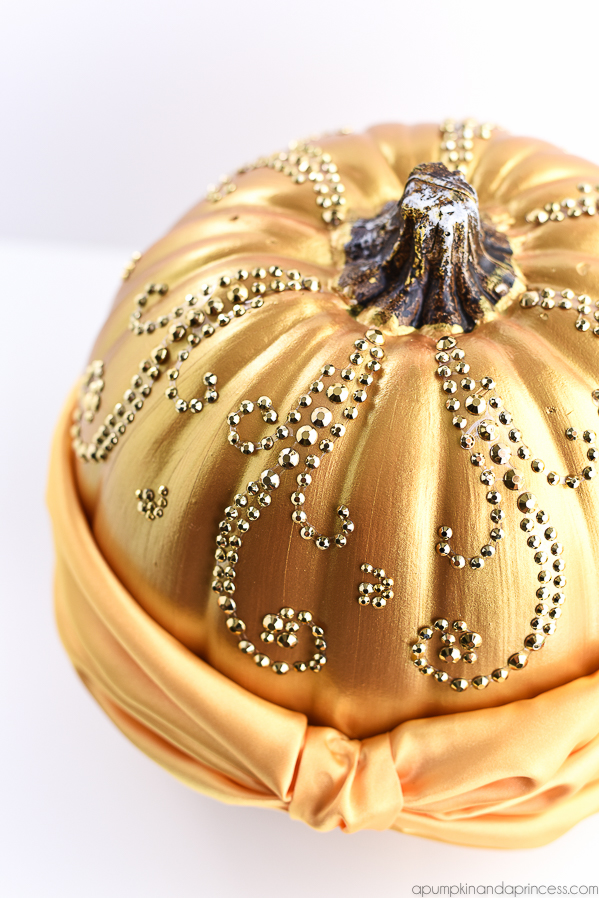
Step one: Paint your pumpkin. I used two coats of this beautiful gold paint![]() and made sure to let the paint completely dry in between coats.
and made sure to let the paint completely dry in between coats.
 Step two: gather your fabric accordion style using a needle and thread. Wrap the thread around several times to ensure it stays in place. Cut a small piece of fabric to glue over the center of your gathered fabric. Measure the fabric around your pumpkin and cut so it’s long enough to slightly overlap the ends. The gathered fabric will go in the center and you want to make sure it’s long enough on both sides to cover the back.
 Step three: Slightly drape the fabric around the pumpkin then pin to the pumpkin using sewing pins. I used one in the front in between the gathered fabric center and two in the back. You could also use hot glue to hold the fabric in place.
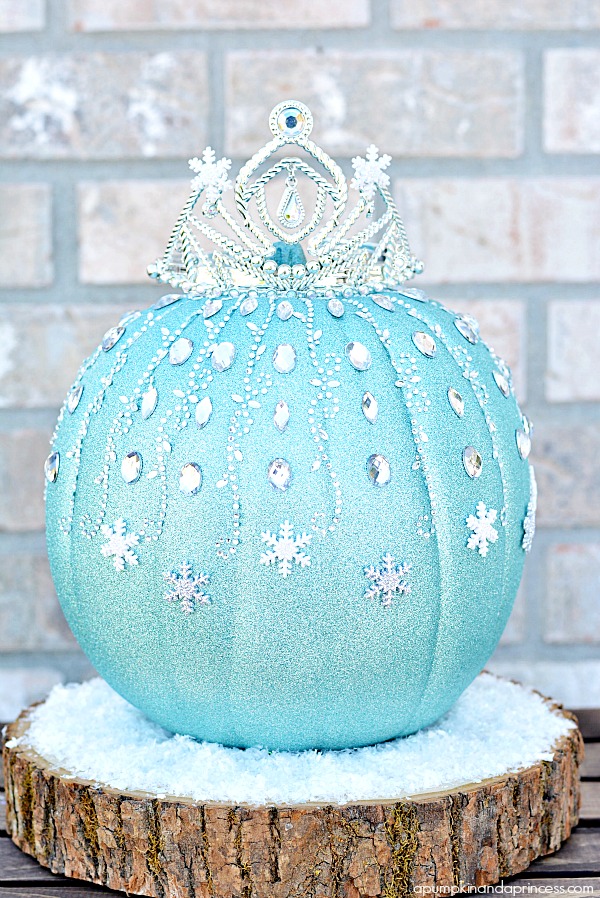
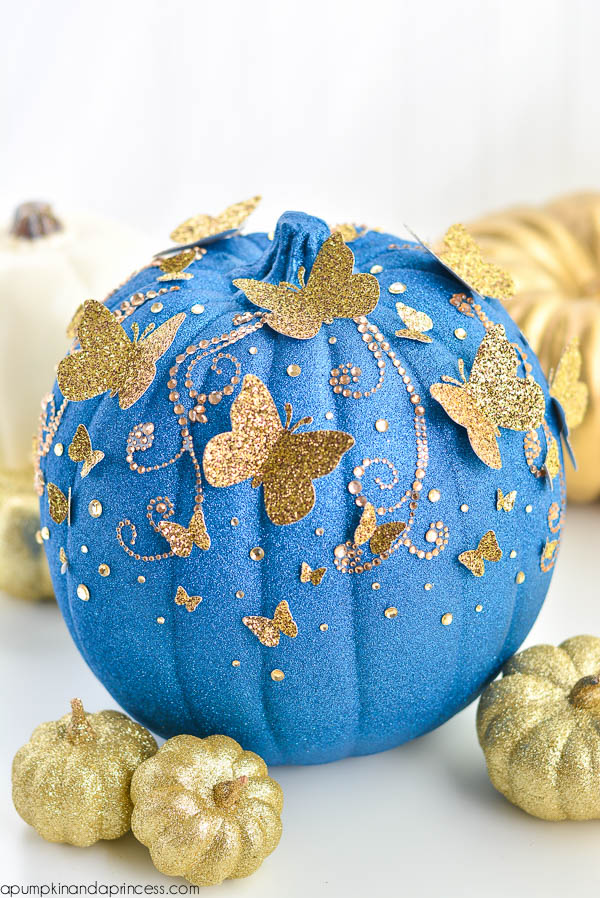
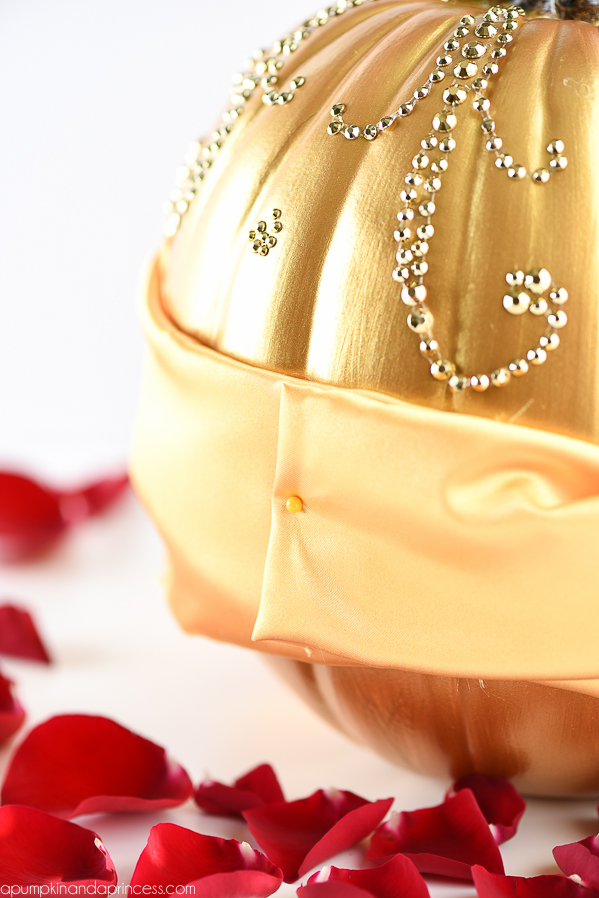 Step four: add adhesive gold rhinestones around the top of the pumpkin; trim the rhinestone designs if necessary. I have always enjoyed using these adhesive rhinestones on my pumpkins, as you can see on our Disney Frozen Elsa Pumpkin & Cinderella Butterfly Pumpkin. You can find these at Michaels in their Halloween paper crafting section.
 Step five: hot glue a red rose to the top of your pumpkin. In the past I’ve used butterflies and a crown for my Disney princess pumpkins and I really wanted something that stood out from Beauty and the Beast as a topper. Of course The Enchanted Rose was perfect for our Belle Pumpkin! And yes, I know the original movie has a slightly pink rose, but I went with red inspired by the new movie trailer.
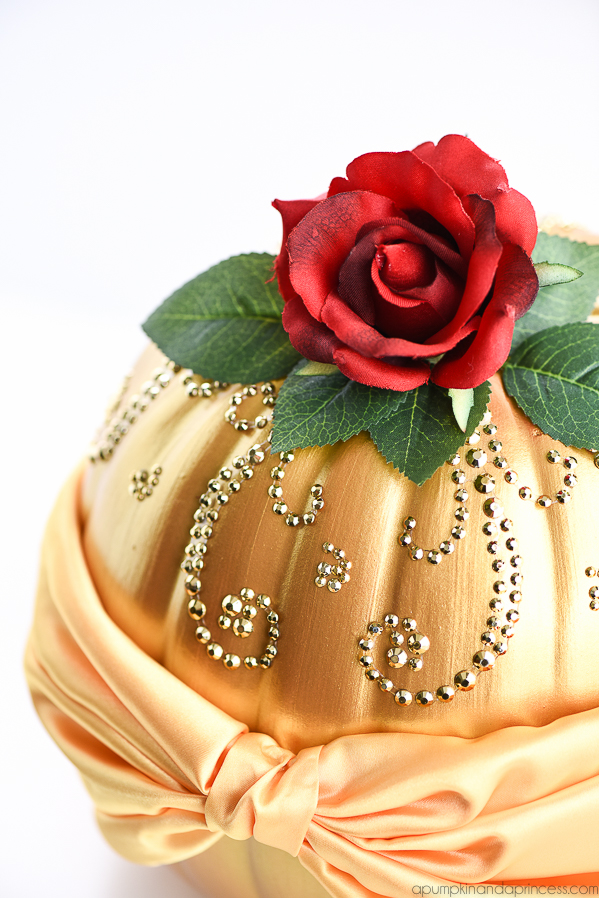 My daughter is thrilled with how it turned out! I wasn’t sure how I would add fabric and my original idea was to use glitter tulle. I’m glad I went with this satin gold fabric; it looks so pretty draped around the pumpkin.
When I shared a sneak peek with my friends they commented how my love for Disney princess pumpkins fits with the name of my blog. I never really thought of that before but I will definitely continue to share more Disney ideas with you guys.
A few more Disney Halloween ideas:
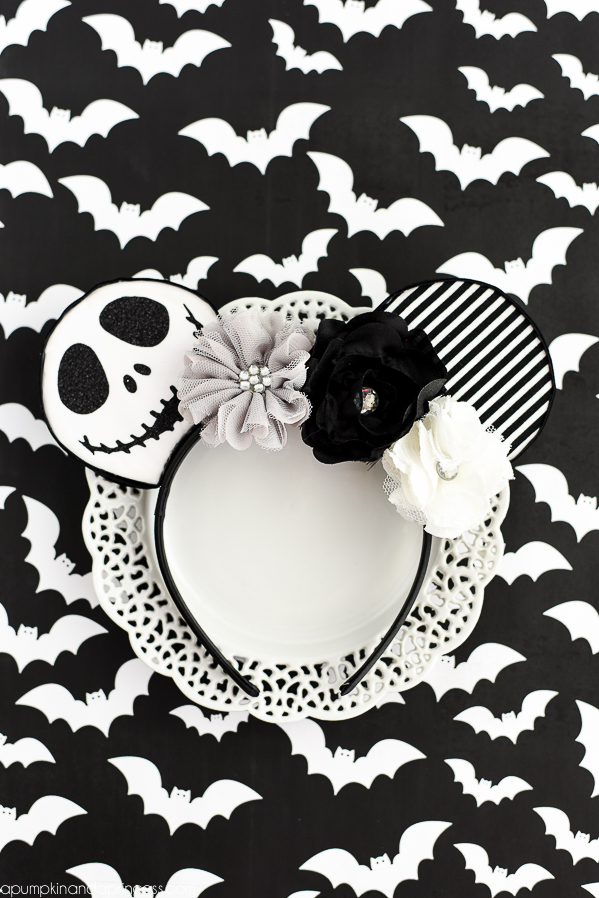
DIY No-Sew Jack Skellington Mouse Ears
I love it! SO cute!
Thank you, Desi! :)
This is stunning!
Hi, Crystal – this caught my eye at Link Party Palooza, I just had to come see it! What a gorgeous creation – seriously WOW! Thanks for the inspiration!
This is so amazing! I loved your Cinderella pumpkin from last year. I can’t wait to see which princess pumpkin you create next :)
I love you Belle inspired pumpkin! What kind of paint did you use? We are decorating a pumpkin for my classroom and I can’t find the right colored paint. The paint I found is gold but it doesn’t have the look of the more yellowish gold as yours does. That gold matches the gold satin fabric better.