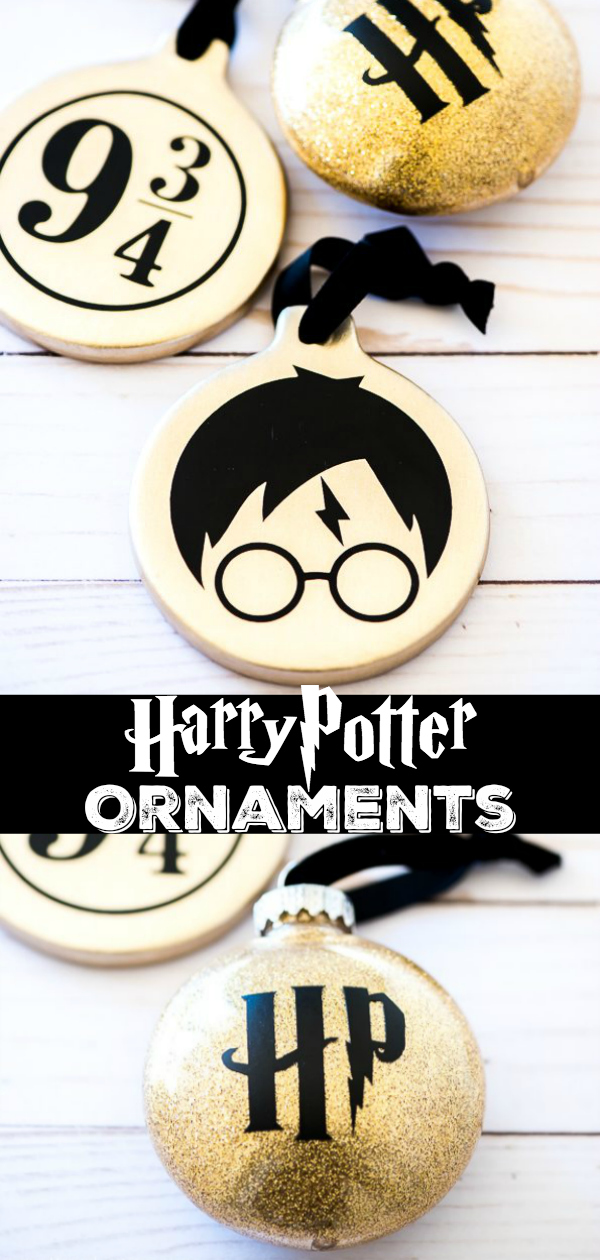
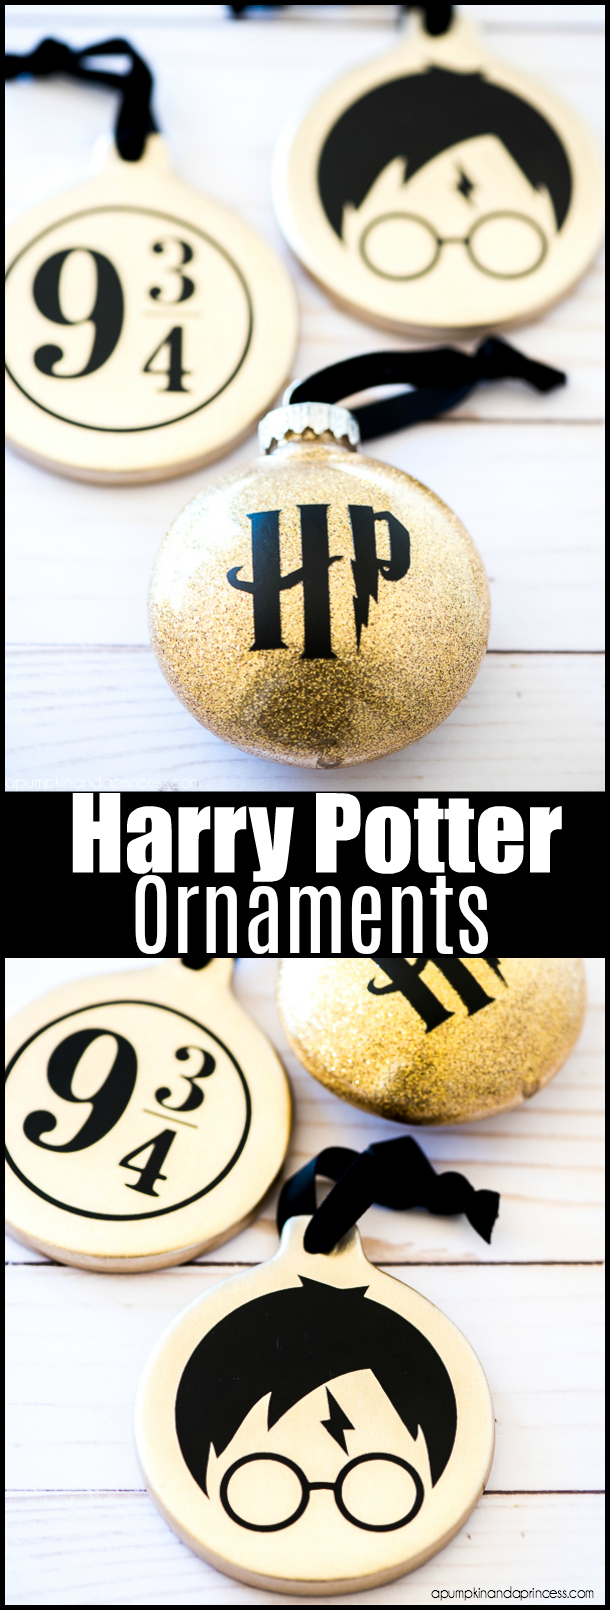
DIY Harry Potter Ornaments – how to make Harry Potter ornaments using vinyl and gold paint.

DIY Harry Potter Ornaments
My daughter recently started reading the Harry Potter series and it brings back memories of reading the books when I was younger. Seeing her completely absorb the magic that J.K. Rowling shared with us makes me so happy. You can only imagine my giddiness over taking a picture at Platform 9 ¾ at Kings Cross station during our trip to London last month. So, you see, we’re a bit of Harry Potter fanatics around here. With that being said, I thought it was the perfect theme for our family ornaments this year. I have a tradition of making the kids ornaments inspired by something that is special to them.
These DIY Harry Potter ornaments are really easy to make. I used ceramic and plastic ornaments and gold paint. I then used my cutting machine to cut the vinyl shapes using an SVG file on etsy.
This post contains affiliate links
Supplies:
- Permanent vinyl
- Ornament discs
- Glitter & Paint
- The BEST glitter glue
- Harry Potter designs (from Etsy)
- Cutting machine
How to make Harry Potter Ornaments
- Paint ceramic ornaments with one 1-2 coats of gold paint. Allow paint to dry for a couple hours before applying vinyl.

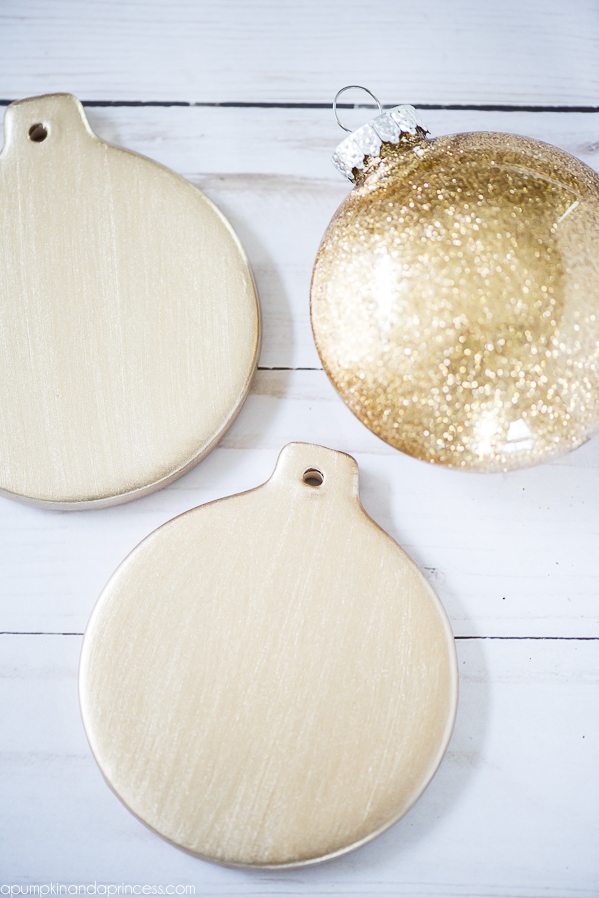
- For the glitter ornament I used my FAVORITE GLITTER GLUE. You can read all about glittering ornaments HERE.
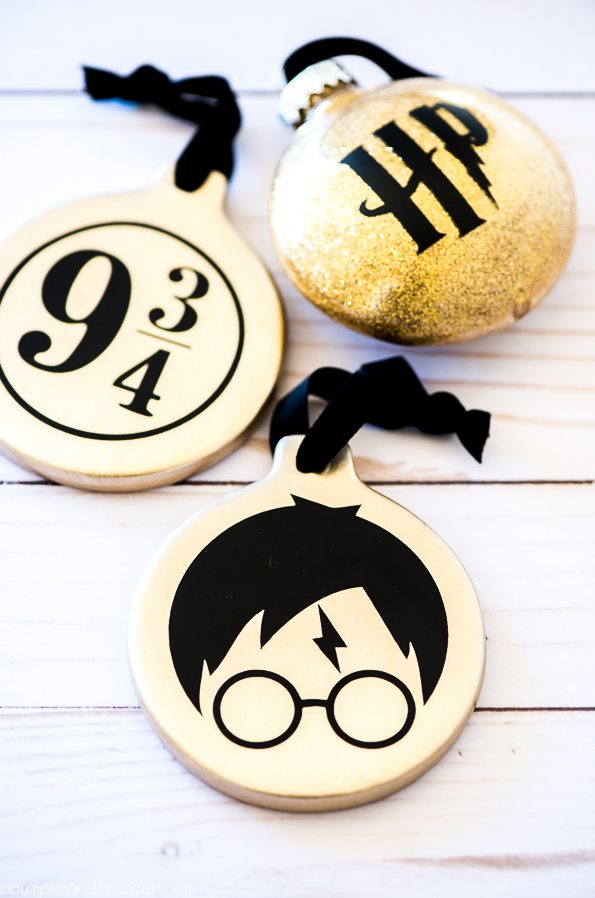
- Import SVG designs (I found mine on Etsy) into your cutting machine software. Size the designs to fit your ornaments, mine were around 2 inches. Cut on the vinyl setting.

- Remove the excess vinyl and use transfer tape to apply the design on the ornaments

I used black velvet ribbon to hang them on our family Christmas tree.
This is one of my favorite traditions! The tree is filled with ornaments the kids have made, handmade ornaments I have made for the kids and some we picked up when we travel.
Want to make an awesome handmade Harry Potter gift? Try these Harry Potter Bath Bombs
More holiday ideas:
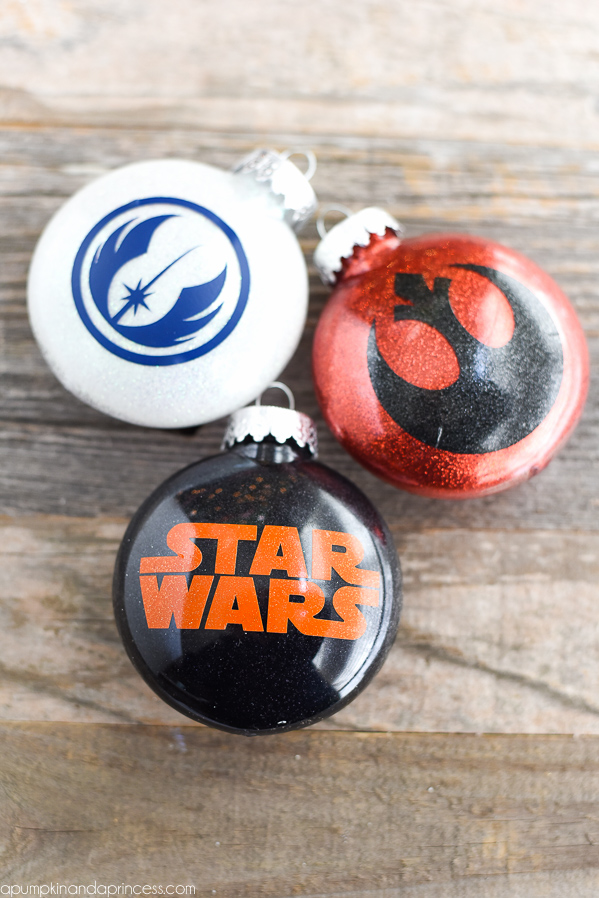
STAR WARS Ornaments
Christmas Party Ideas for Kids