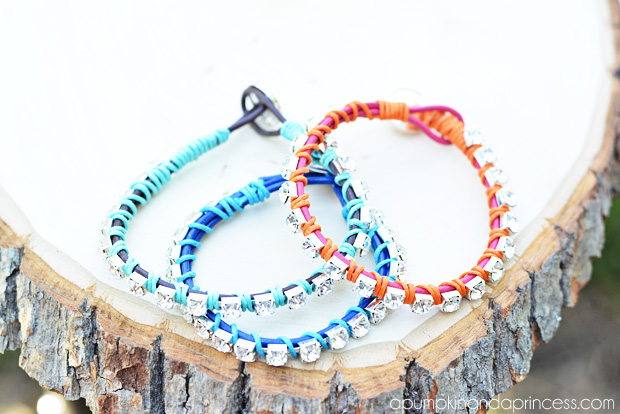
Happy Friday, my friends! Today I have a rhinestone wrap bracelet tutorial to share with you. These wrap bracelets are perfect for summer and easy for teens to make!
I’ve noticed friendship bracelets and rhinestone wrap bracelets have become quite popular in stores lately. I loved making friendship bracelets as a kid and really like how colorful rhinestone bracelets are, especially for summer! While browsing Hobby Lobby I found kits with everything you need to make these festive bracelets, including instructions on the back. In case you don’t have a hobby lobby near you here’s a quick tutorial and measurements to make your own.
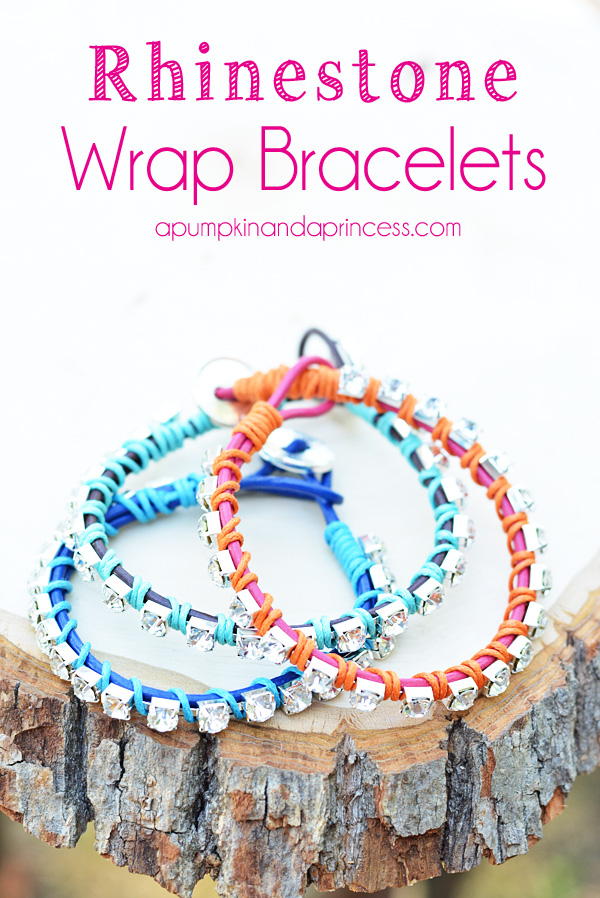
DIY Wrap Bracelet Tutorial
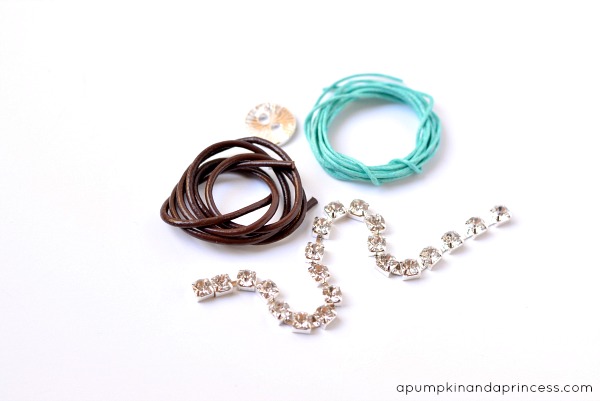
Supplies:
- leather cord (20 inches)
- Waxed cording (48 inches)
- rhinestone chain (7 inches)
- button
- glue (jewelry or low-temp hot glue)
This bracelet will wrap around once, but if you prefer to have a second wrap double the size of our rhinestone chain and cords.
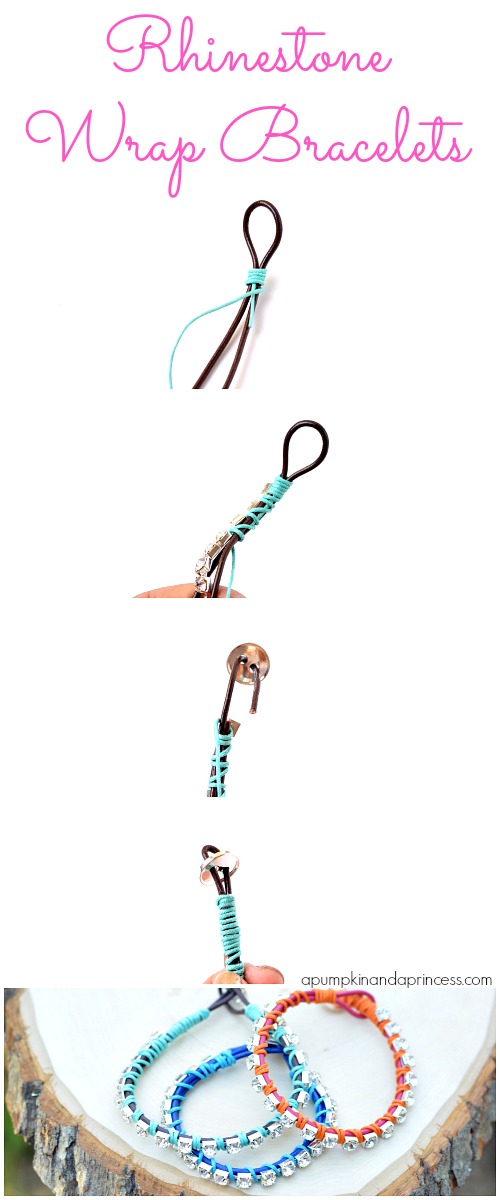
- Fold the leather cording in half to form a loop on one end. Make the loop big enough to fit the button. Place the waxed cord at the base of the loop, facing the opposite end. Begin wrapping the waxed cord around the loose end to secure it in place, wrap it around 5 times.
- Place the rhinestone chain on top of the leather cording and begin wrapping the waxed cording around the chain. You can wrap it around once or twice in-between each rhinestone. Wrapping it twice will result in a sturdier bracelet but wrapping once will show the leather cording better. Wrap the waxed cording tightly, making sure the leather cords are flat underneath. Use a clipboard to hold the bracelet in place for extra assistance.
- When you reach the end place the button through one of the leather cords and trim the other cord. Fold the leather cord over to reach the end of the opposite cord. Optional: use a small dab of glue to secure the strands together. This isn’t necessary but will make it easier to hide when wrapping the waxed cording.
- Wrap the waxed cording until you reach the button, tie a knot then use a small amount of glue to keep it in place. A jewelry glue or dab of hot glue will work great.
Enjoy your new colorful wrap bracelets!
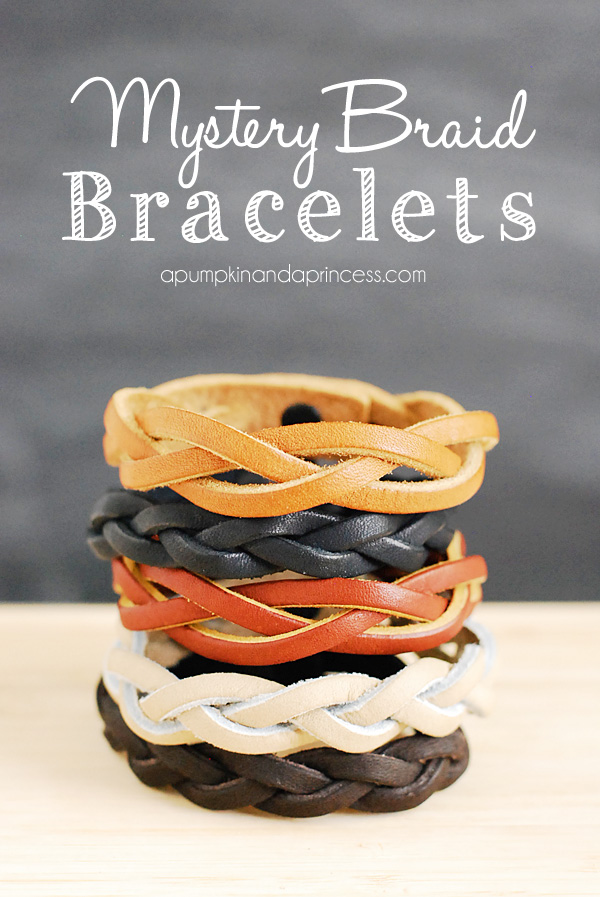
Here’s another favorite: mystery braid bracelets:
These are so fun and cute!! I love the rhinestones. Thanks for the great tutorial!!! This is a perfect evening project!! Love it!!
Cute bracelets! I really need to get ahold of some rhinestone chain, it is in so many DIYS!
Visiting from Flamingo Toes link party :)
Those are so pretty, Crystal … my girls would LOVE them. Thanks for linking up at Project Inspire{d}!
Those are just adorable. I’m going to have to give those a try. Thanks for sharing this. I found you through Lil Luna’s Linky Party.
These are so cute! I pinned them and can’t wait to try my hand at them.
Visiting from Dukes and Duchesses Project Inspired.
Those are so cute! I think my teenager would like to make these!
I love these – my daughter and all of my nieces would love these! Thanks for the great tutorial!
These are so cute, Crystal! I’m going to a beach wedding in two weeks and WILL be wearing one! Thanks for sharing on the WCFS Party!