DIY Studded braid bracelets.
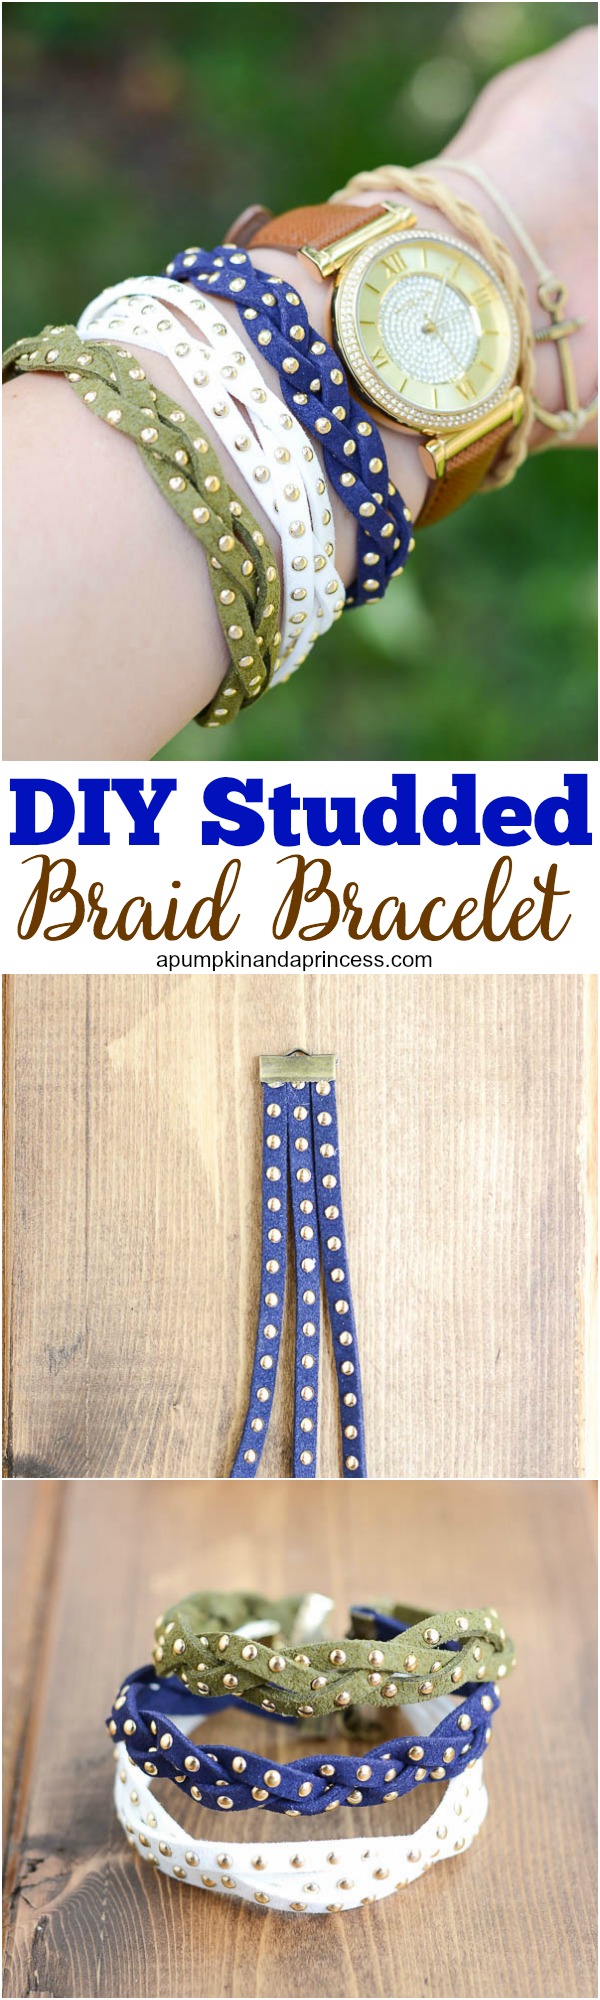 Happy Friday, my friends! Every year around this time I become obsessed with accessorizing. Well, accessorizing with bracelets to be exact. I love piling on bracelets in various colors, shapes, and designs. I also tend to wear a lot of gold, navy blue, and white during the summer months. I recently made these braided bracelets to add to my collection. They’re fairly easy to make and you can find the cording in a variety of colors to fit your style. It’s simply three strands of cord clasped together, braided, then secured with another clasp. I’d say my jewelry making skills are beginner level, so if I can make these you can too!
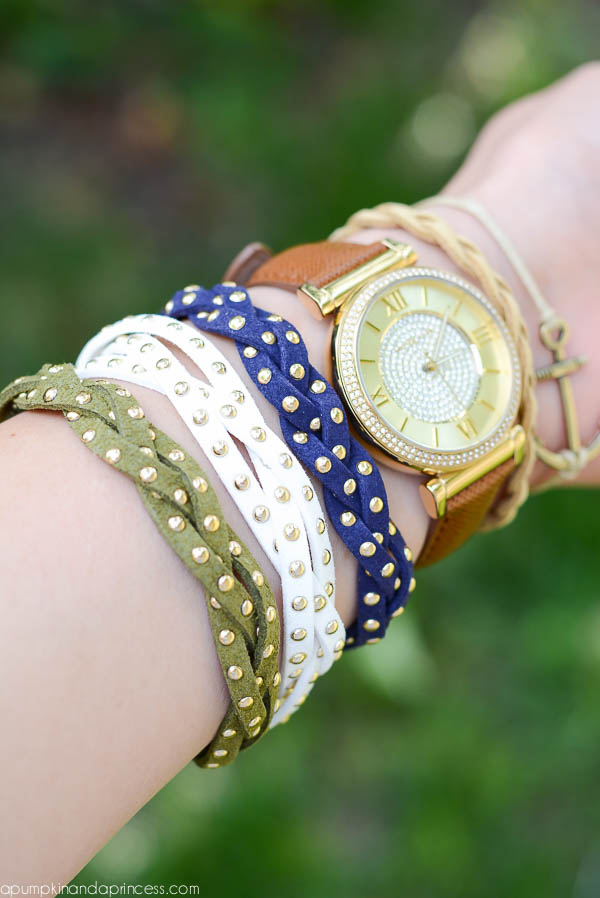
Look at the gold studs on this cord – I’m in love! They had a hot pink studded cord that I think I need to make a bracelet out of. For now I think the navy, white, and army green bracelets will be a summer wardrobe staple.
Supplies:
Studded cording (labeled as trim from Hobby Lobby ribbon aisle)
Crimp clasp
Lobster clasp
Jump ring
Pliers
Jewelry glue
Step one: measure the cord around your wrist and cut three pieces. If you’d like to make a tight braid you’ll need about an extra inch of cording.
Step two: glue the three strands inside your crimp piece. Use your pliers to close the crimp clasp together.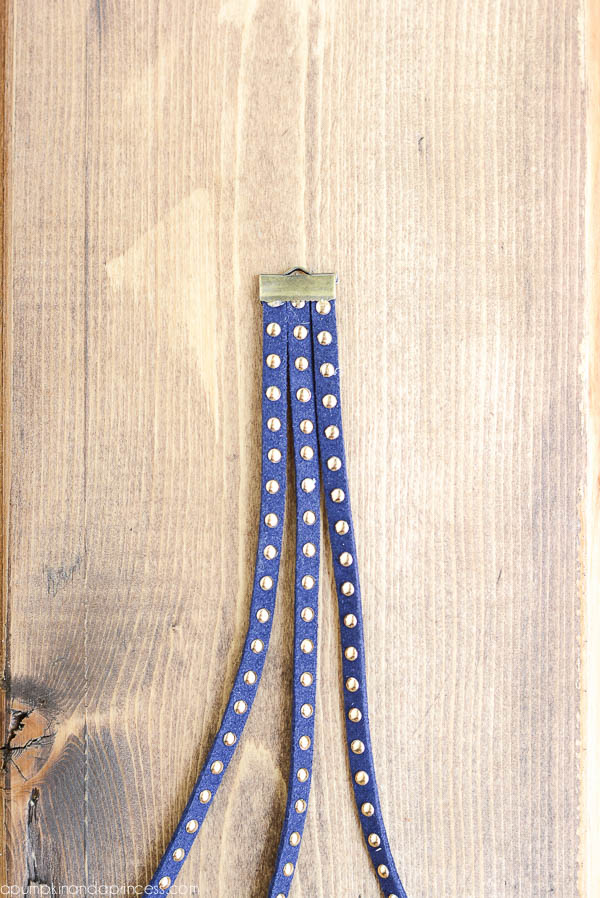
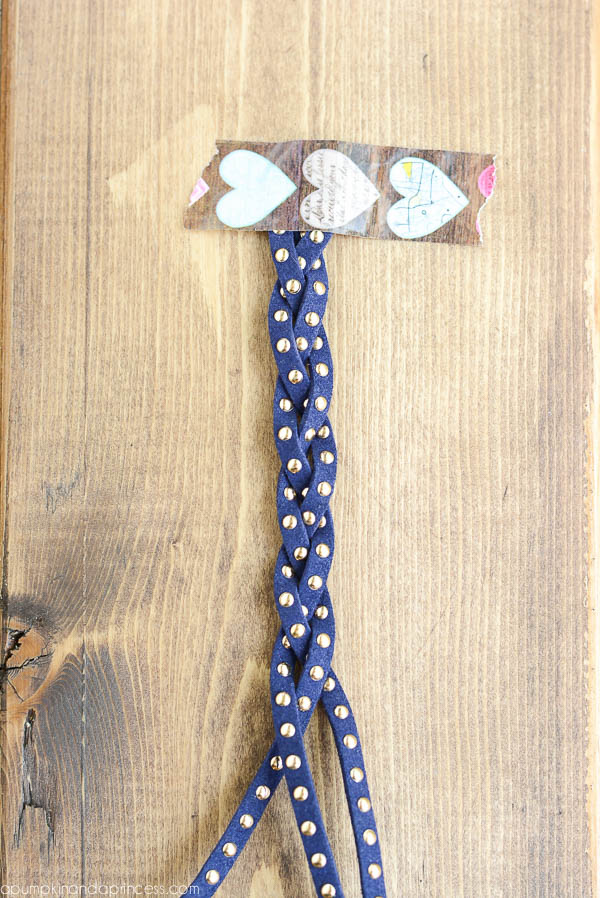
Step three: braid your strands together. You can make them into a tight braid or make only a couple braids. (The white bracelet has 3 braids; the navy blue was braided all the way).
 Step four: once your strands are completely braided, glue the pieces into another crimp clasp. Again, use pliers to close and secure the cording in place.
Step five: add a jump ring and lobster clasp to your crimp piece. If you need the bracelet a little longer you can add a chain or more jump rings.
 More ideas you may like:
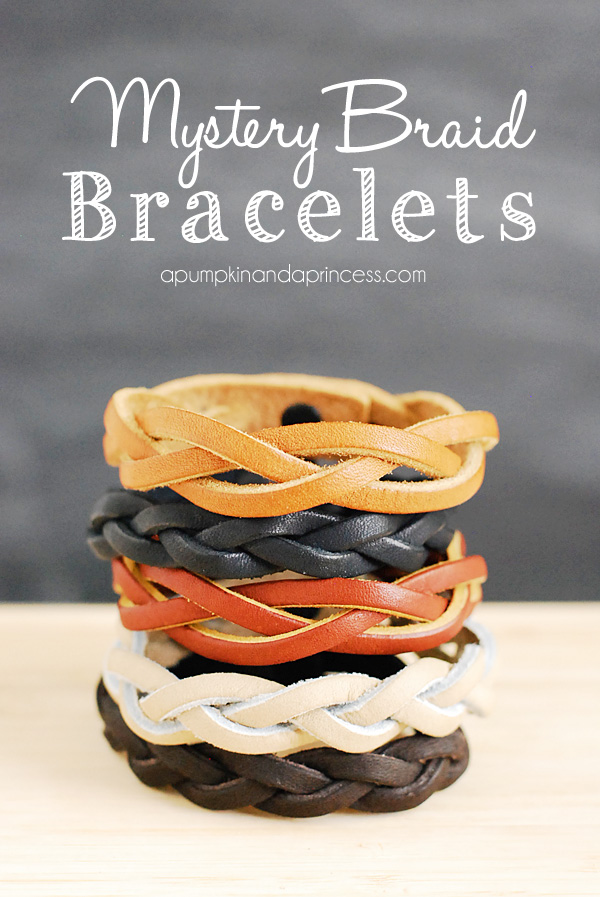
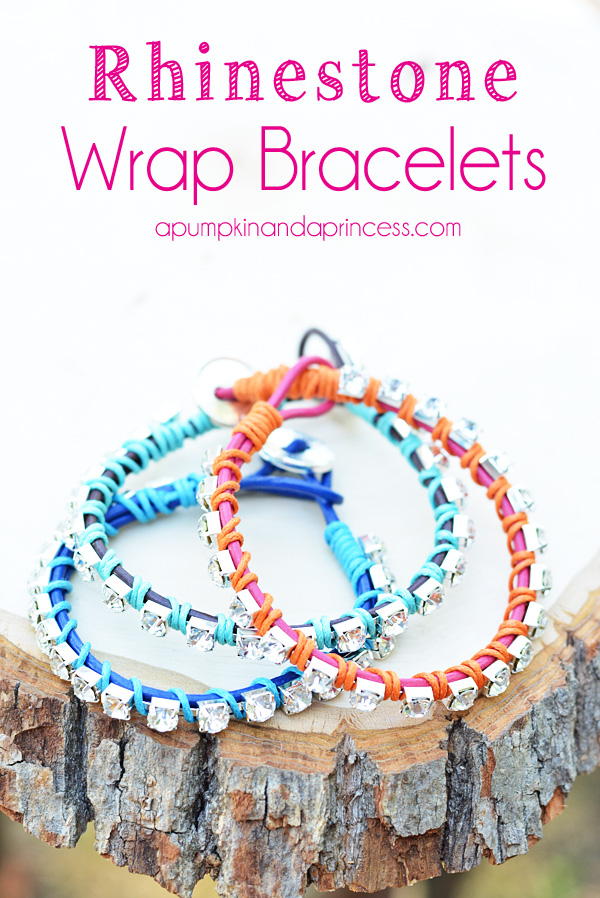 Vinyl Tube Glitter Bracelets
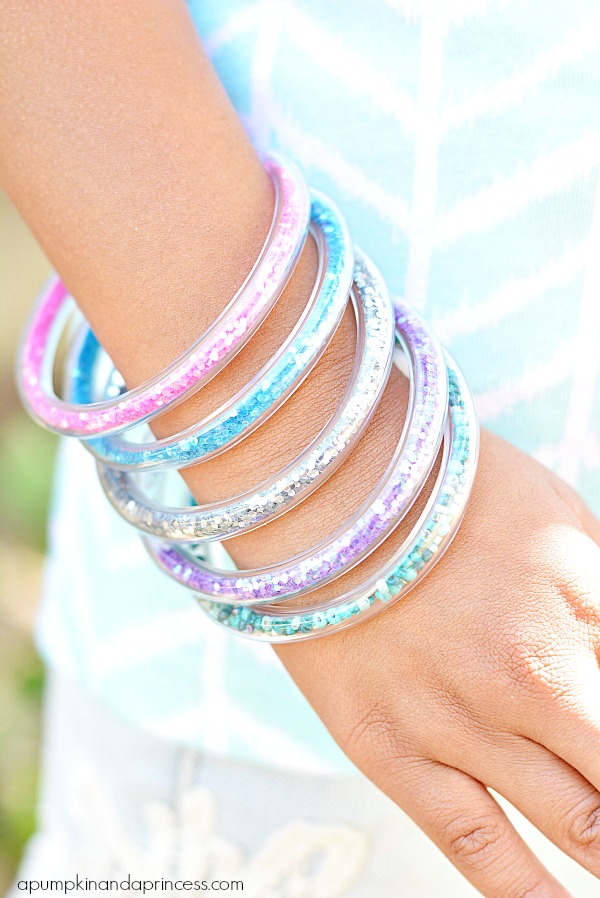
Oh! I love these!!
Bracelets are super cute!! I love them!! Thanks for the tutorial!!
Great tutorial, easy to follow! & I love love the bracelets! Will be making these
I don’t make near as much jewelry as I use to, as I felt like I was running out of ideas. I love these though. So easy to make (no dang beads to chase after!).