
To make your own chalkboard labels you’ll need contact paper and chalkboard paint. I used Martha Stewart’s blue chalkboard paint left over from my blue chalkboard.

Disregard the cricut cartridge in the picture, I ended up using the Cupcake Wrappers/Toppers cartridge. My labels were 4 inches big.
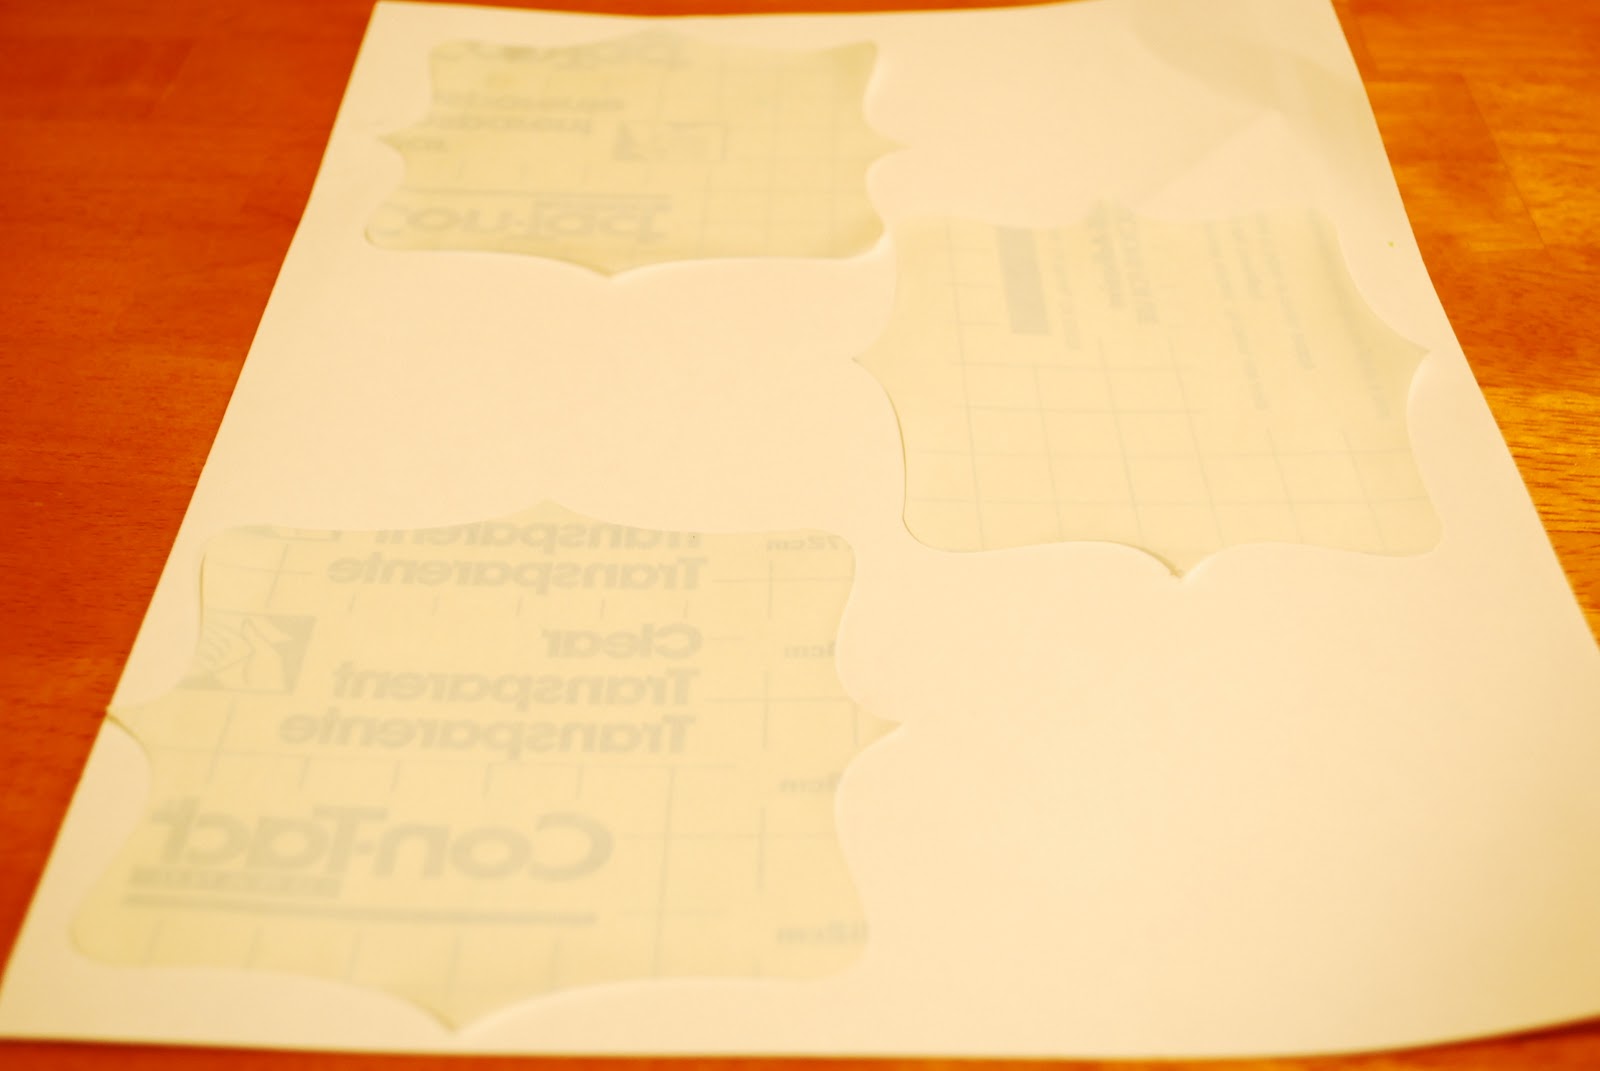
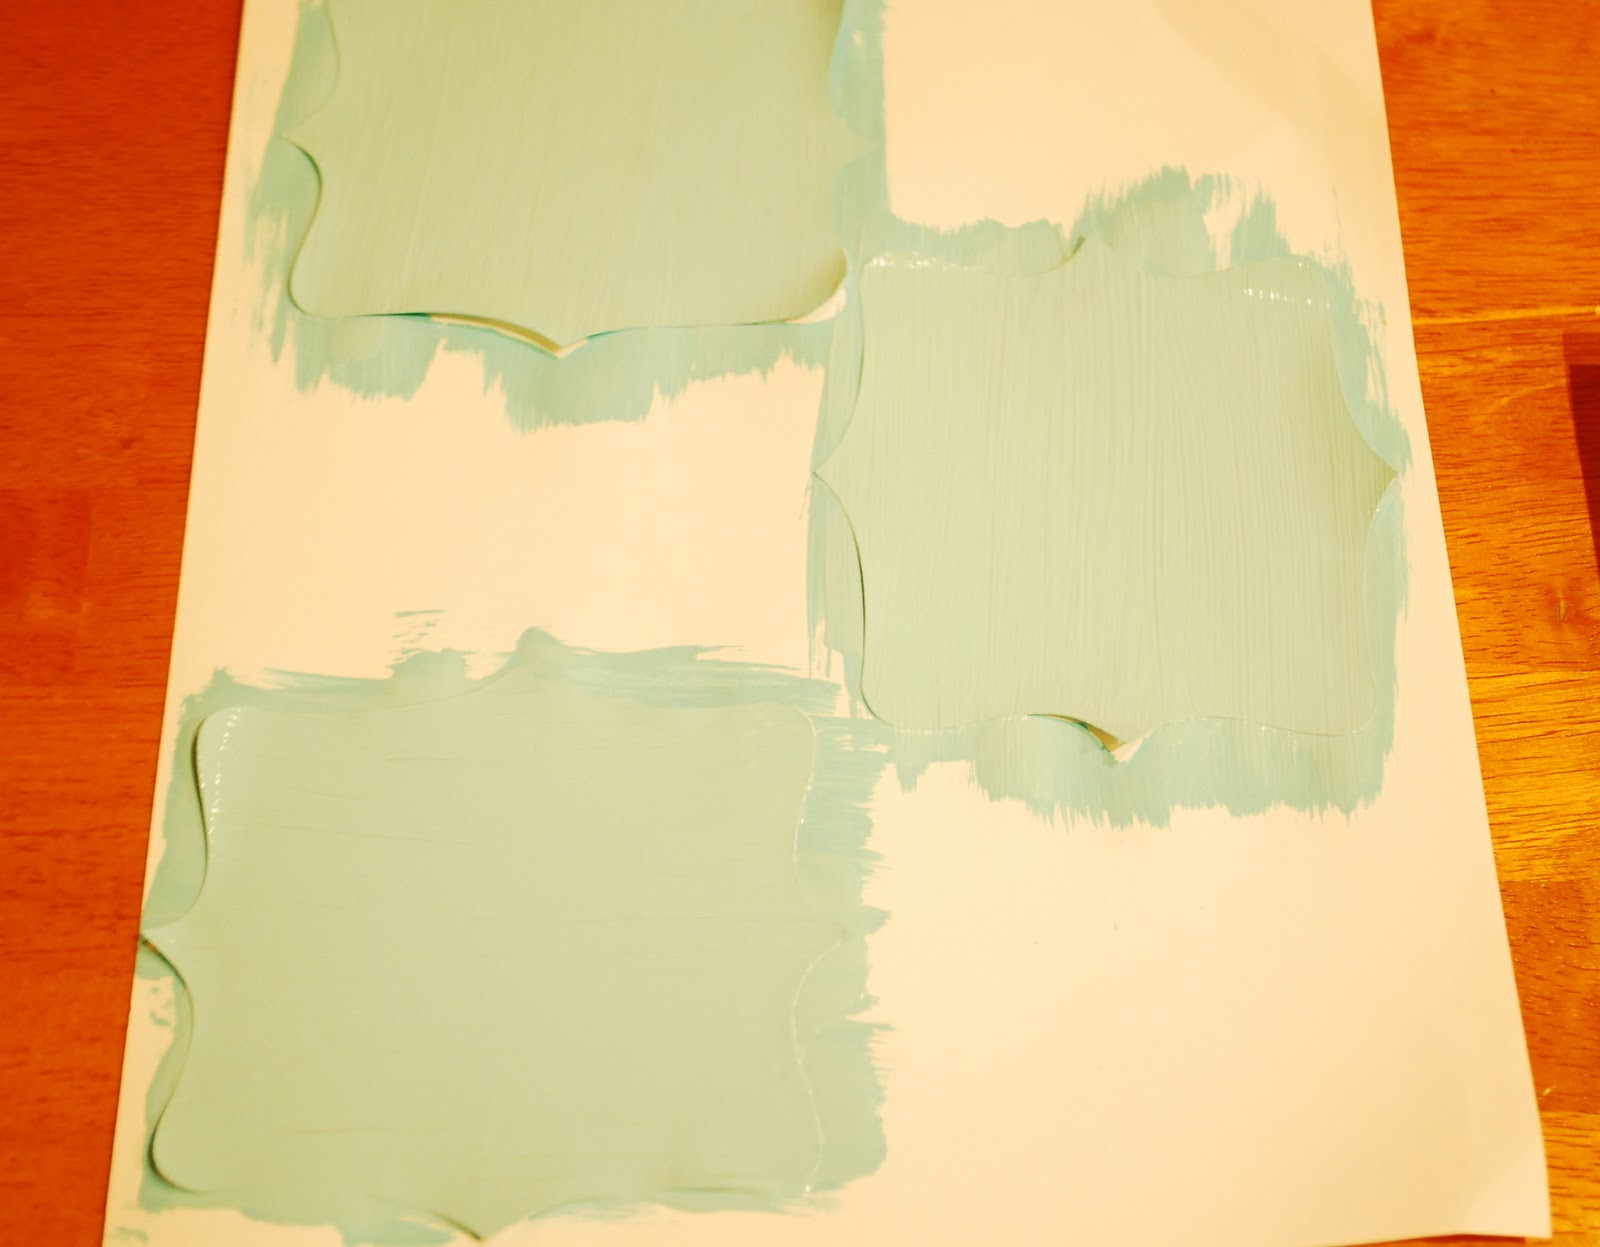
Once I cut the labels out I used a glue stick to hold them in place on a sheet of paper. Then gave them a couple coats of paint. Letting each coat dry in between coats.
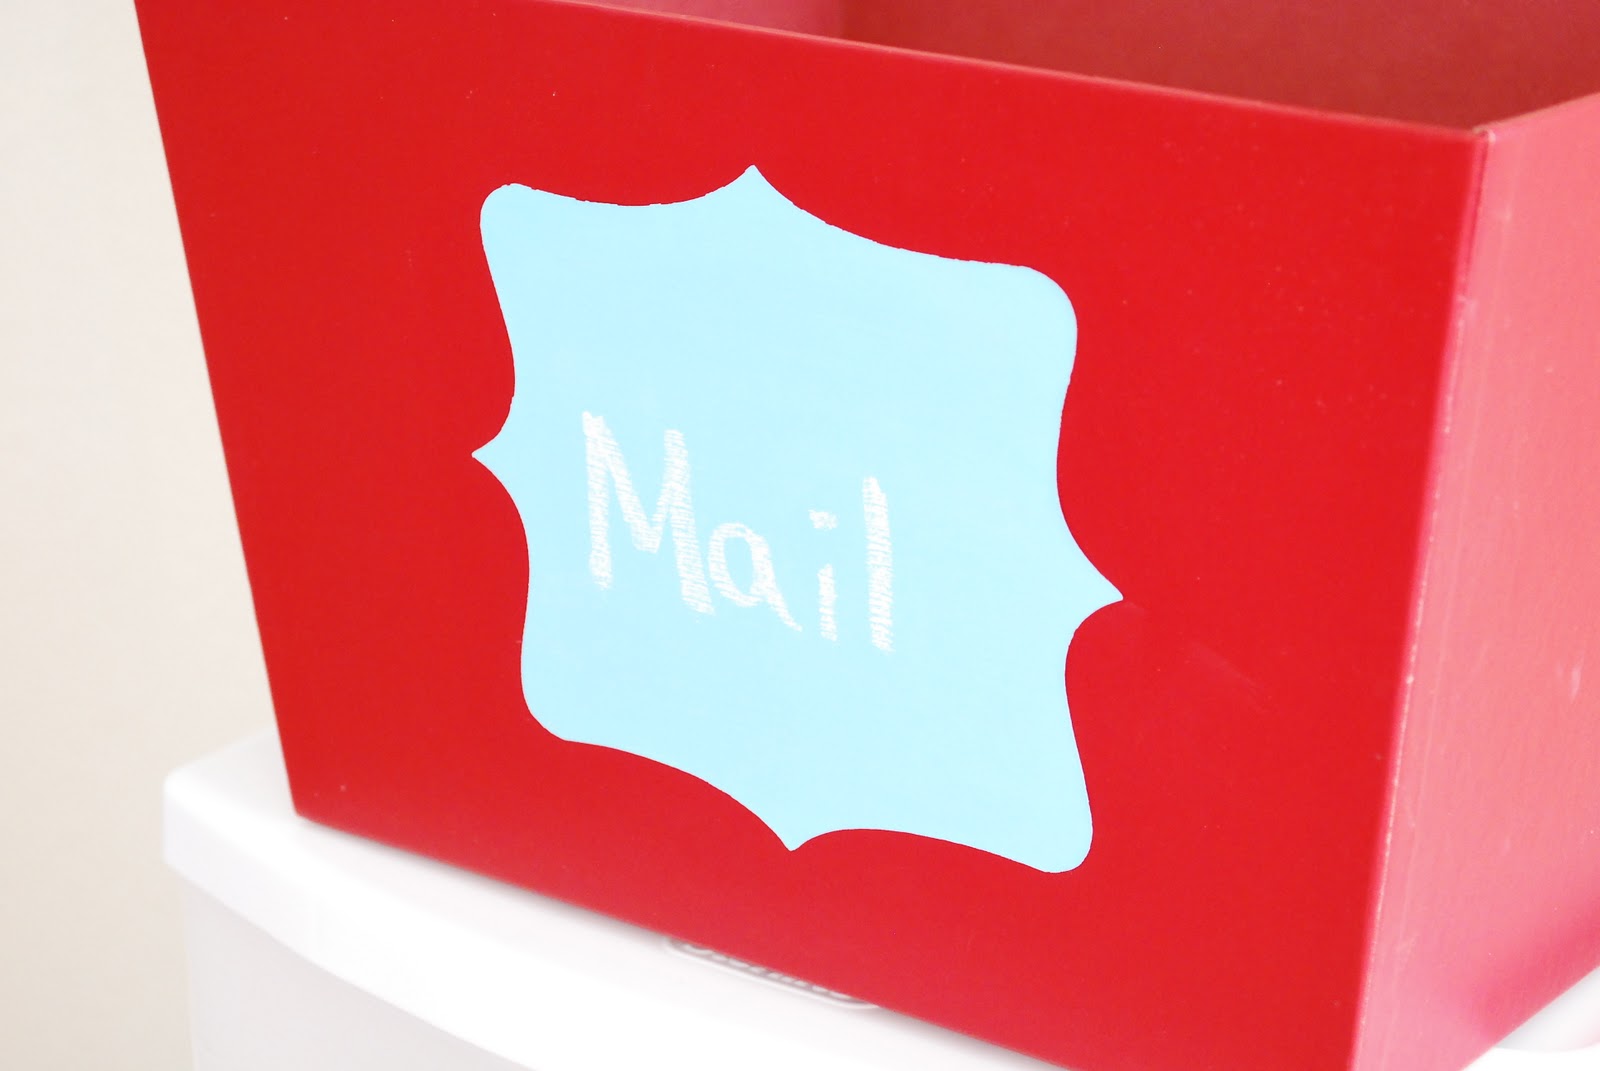
Then you take the contact paper off the backing and apply it wherever you’d like. I’m seriously obsessed with making these. They’re going to be plastered everywhere in our house.
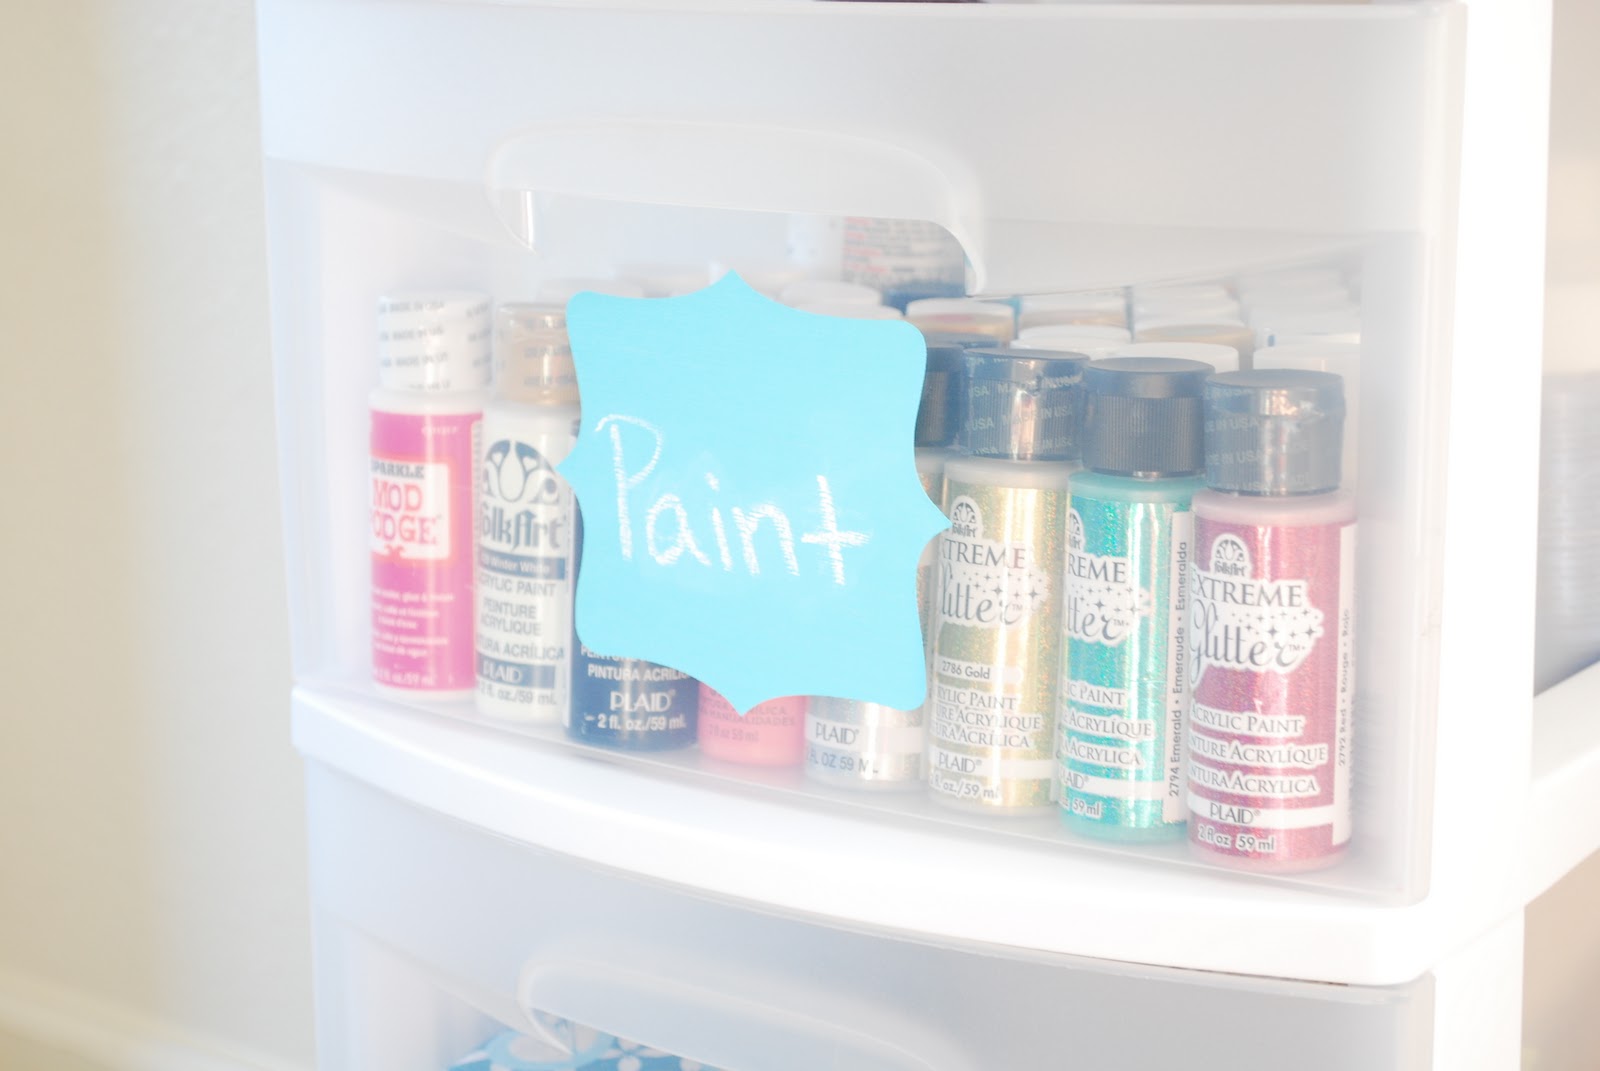
I’m using them to organize my boring craft storage containers. Don’t they look cute?


Thanks for stopping by. I’ll be back tomorrow with a winter wreath project and next week is my big bathroom reveal ::squeal:: Have a great weekend!
These are so cute. I love the colors and shape. I want to do this now. Thanks for sharing. I would love it if you could link this to our linky party going on right now.
https://www.junkintheirtrunk.blogspot.com/2012/01/link-it-up-wednesday-11.html
Really great. And really pretty color too. I'm pinning this to give it a try!
I have an unhealthy obsession with clear contact paper. And labels. Have you tried that chalkboard paint recipe that's all over the pinterest?
It works. Just did it on my kitchen wall. :) {soon to be revealed}
Love this idea, Crystal. Sharing at the pinterest and the twitter. I used adhesive chalkboard and scrapbooking scissors to do mine, but this is way better…
I will be featuring you next week as well!
:)
Have a good one.
N
I love all the tutorials on lil blue boo – great job!!
I'd love to invite you to share this on my Thingamajig Thursday party going on now.. https://radcrafter.com/2012/01/thingamajig-thursday-party-10/
Alida
radcrafter.com
That's really cute. You need to link some of your stuff to my Wednesday Pinterest Favorites party…definetly something I would feature! Anyway, I just received my chalkboard contact paper from Amazon this week, and I'm going to get to work in the pantry labeling our containers. I just finished rearranging/organizing it, and have been dying for the paper to come so I can start labeling! Yours look great!
I had some white contact paper, which I totally forgot about, and everything else on hand. Printed of some templates and got to work. I put the labels on some jars in the kitchen today. Thanks for this great tutorial!
Sue
I have my crafty stuff stored in the same plastic shelving. I so need to label them like this! Great tute!
You always have some of the greatest projects!
Love this project! You should share it with my readers @ thrift[me] blog, they'd love it too: https://thriftmeblog.com/lets-organize-2012-kitchen-countertops-recap-link-party/.
Thanks!
Katy
Ooo! I'm going to be doing this. Thanks for the instructions!
~Steph @ Silver Boxes
You've been featured!
https://delightfulorder.blogspot.com/2012/01/delightful-features-from-11112.html
Thanks for joining the party! Hope to see you again, this Thursday.
DaNita
So great! I just finished painting some wood tags with chalkboard paint for my son's room. But these adhesive ones would be so much better for my ever growing craft supplies! Thanks for sharing & linking up to Craft Monkey'n Monday!
Featuring YOU today! :) Thank you so much for linking up to {wow me} wednesday.
Ginger @ gingersnapcrafts.com
https://www.gingersnapcrafts.com/2012/01/take-look-at-you-my-favorites_19.html
ps LOVE your new header! Cute!! :)
This is such a cute and great idea!! I am always looking for ways to use my Cricut and make labels!! The paint sticks to the Contact paper?? I can't way to try this out. I would love to label every. single. thing. in. my. house. :)
gorgeous – love the aqua color. I did something similar with plain ol black awhile back for my kitchen canisters but I like yours even better! xoxo
c'mon by for a visit anytime! linky party going on now!
http://www.northerncottage.blogspot.com