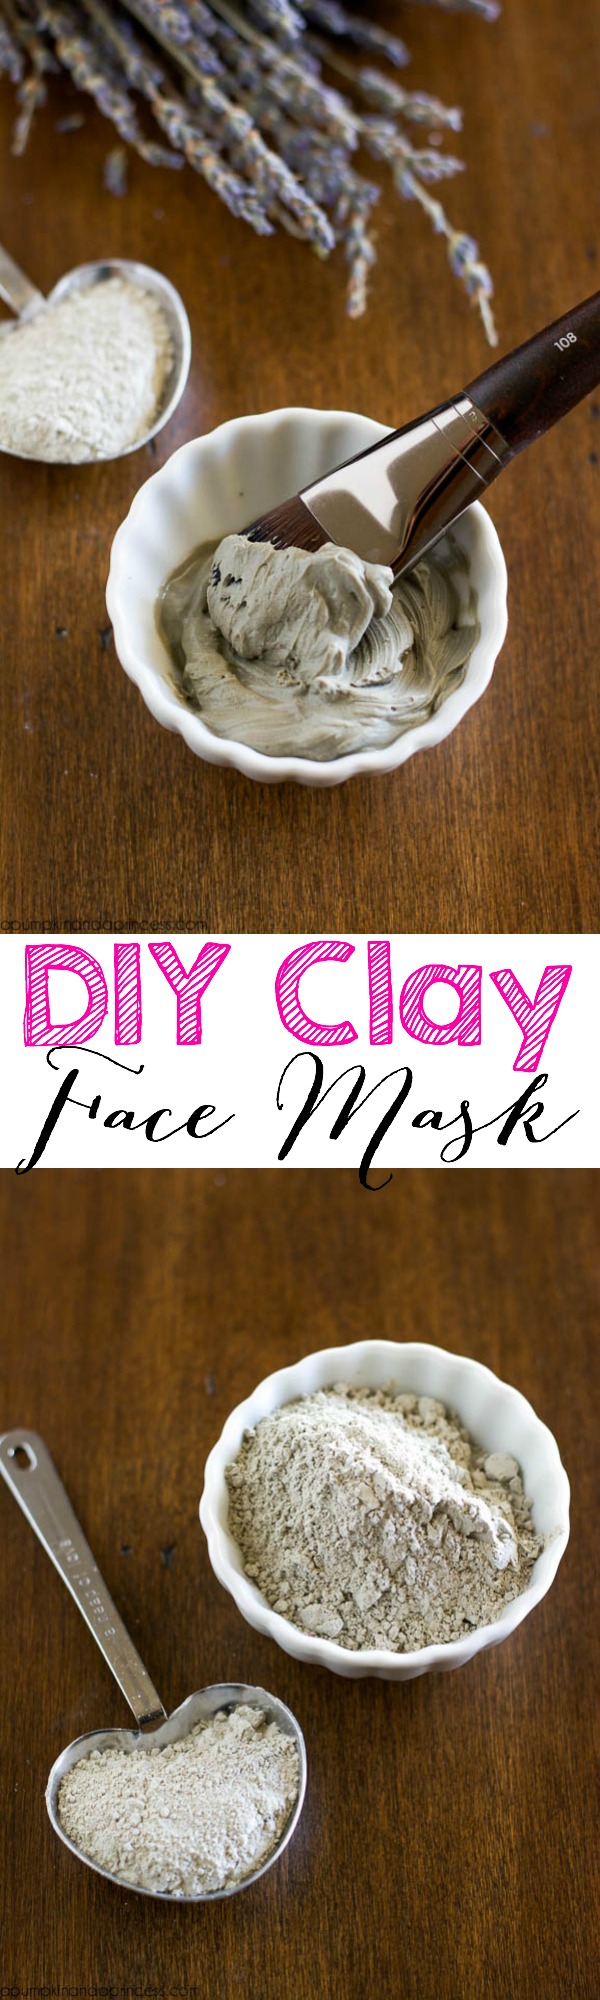
DIY European Clay Mask – cleanse skin with this easy clay mask recipe that’s made with only two ingredients!
As a teen I remember reading Seventeen magazine with my sister on Friday nights, looking for new beauty tips and fashion ideas to try. We would have girls night every weekend filled with magazines, Blockbuster rentals (remember those?), facials and pedicures. We once read an article on making your own face masks and we were hooked! We spent our weekends trying every DIY mask recipe we could think of. Those nights were spent mashing avocados or begging our mom to let us use the yogurt on our faces. Chilled cucumber slices were always involved as well. I miss those carefree days when we could spend weekends pampering ourselves while reading magazines without a care in the world. With the new year one of my goals is to take better care of my skin. As I get older I realize how important it is to deep cleanse and moisturize your face. I recently began making my own face masks again but with a new method. This DIY Clay Mask is made with only two ingredients – European clay powder and water.
 There are several clay powders available to make your face masks. Today I’m sharing a European clay version but I will share new recipes and my thoughts on the best for each skin type in the next few weeks. As I mentioned, this clay mask only requires two ingredients. However, if you have dry skin you may want to substitute the water for jojoba oil. The fatty acids in the jojoba oil will replenish moisturize to dry skin. You can also add a few drops of lavender essential oil, but this is more for a soothing and relaxing scent.
Supplies:
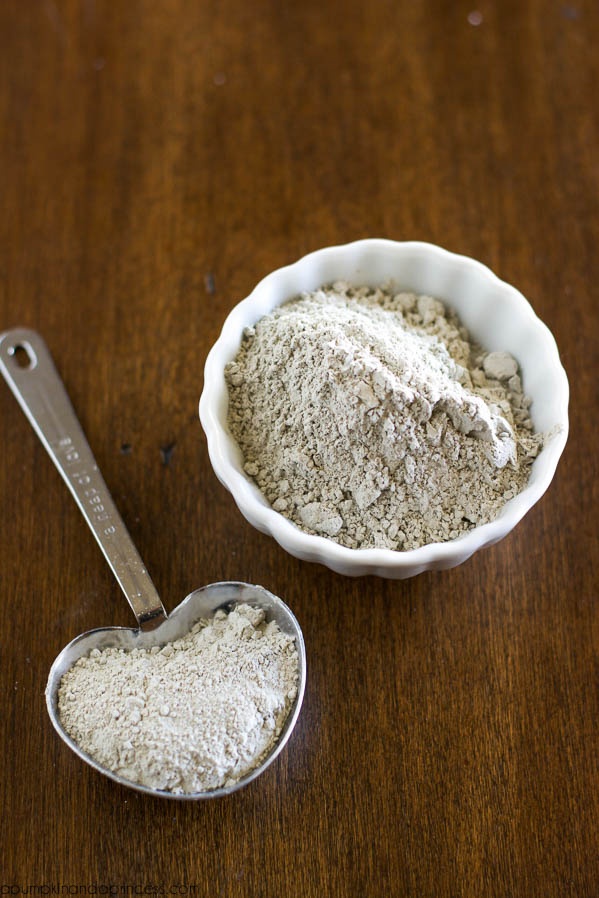
European Clay Powder
cold water
or Jojoba Oil
Optional: Lavender Oil
DIY Clay Face Mask
Ingredients
- 1 tablespoon European clay powder
- 1 tablespoon cold water
- or
- a few drops of jojoba oil
- 2 drops of Lavender Essential Oil optional
Instructions
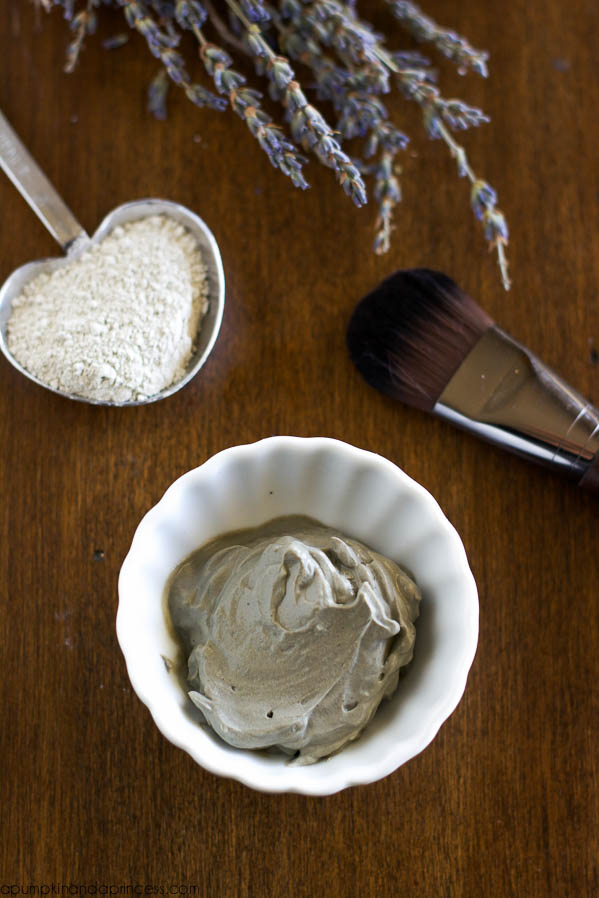
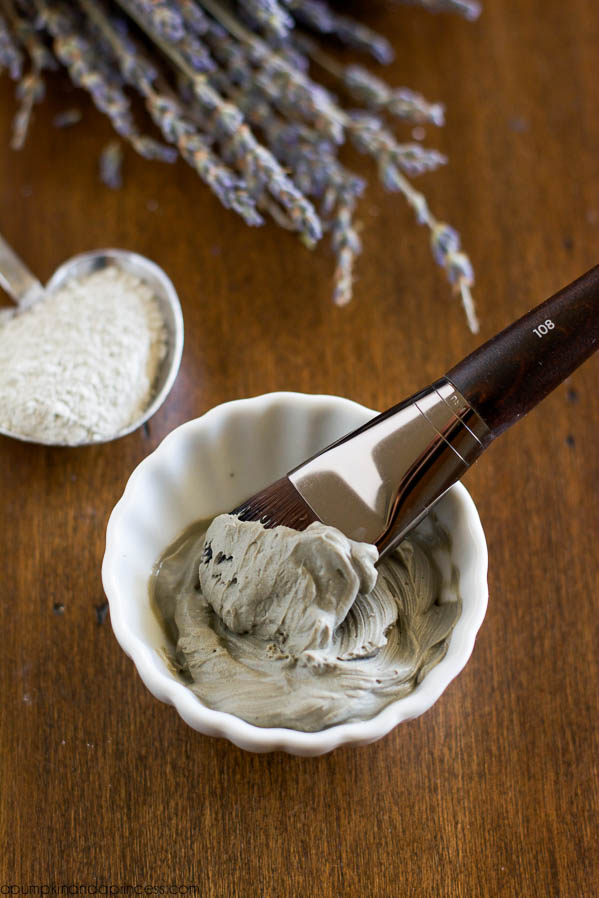
- In a small dish or nonmetal bowl mix clay powder and water until a paste-like texture forms.
- If using jojoba oil add a few drops, slowly increasing until paste forms.
- Apply to skin with fingers or clean makeup brush.
- Allow to dry for 15 minutes (5 minutes if you have sensitive skin).
- Remove with warm water, pat skin dry with towel and immediately moisturize.
- Use 1-2 times a week.
Within minutes of applying the mask you’ll feel your skin tighten as the clay hardens. Don’t panic! This is normal and doesn’t hurt at all. This means the clay is pulling at your pores and cleansing them of makeup residue and bacteria. After removing the mask your skin will feel amazing. It feels refreshed and purified. You’ll want to apply a face moisturizer to lock in moisture.
A few more of my favorites:

This post contains Amazon affiliate links.
this is awesome. Thanks for sharing. I’ll have to give it a try sometime
I just started doing this with green clay last week! It has been so beneficial! I also made a green clay soap which has been a great facial cleanser! I do need to use a good moisturizer after because it is drying. Is the green clay the same type of clay you used?
I just found your blog after pinning a recipe for smoothies. Your pictures are amazing, and I love your detailed instructions! One question – where do you suggest purchasing the clay from?
Thanks!
Memeandsheshe.com
what a great idea! thanks for sharing
lifeisashoe.blogspot.com
Can I make this then give as a gift or does it has to be used immediately?