Hey crafty friends! I’ve been working on a room makeover for my daughter over the last few months, by converting her toddler room into a “big girl” room as she requested. It took awhile to settle on a theme and colors but we eventually decided to keep the purple painted walls and add pink and turquoise decor. I struggled with figuring out what to cover her walls with, especially since she has a high ceiling. The two walls without a window are fairly large and appeared empty prior to our makeover. On one of walls I created a frame collage with magnetic frames above her dresser, providing enough decor to help fill up the bare space. I created the wall frame collage with unfinished frames by decorating them to fit the theme we were going for.
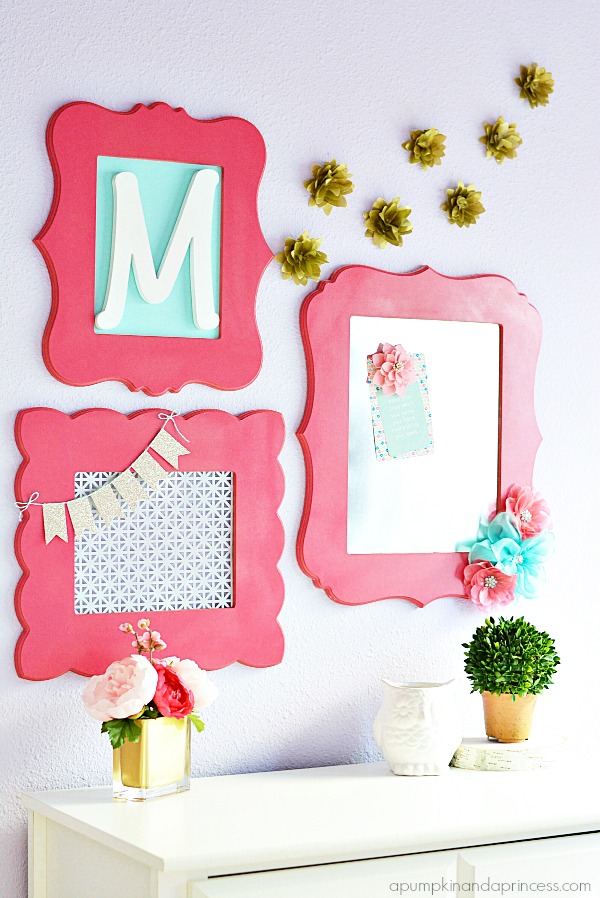
I love that a can of spray paint can transform the frames to fit any color scheme and decorative style. I’ve wanted to create a frame collage in the hallway for years but I figured I should focus on one room at a time. Anyone else like that? I have a hard time finishing a room before thinking about working on another area. So while we were working on my daughters room I figured we could use the frames in there instead. Her favorite colors are pink and purple so I knew painting the frames pink was the way to go. She loves bright, vivid colors and this was perfect for what I had in mind.
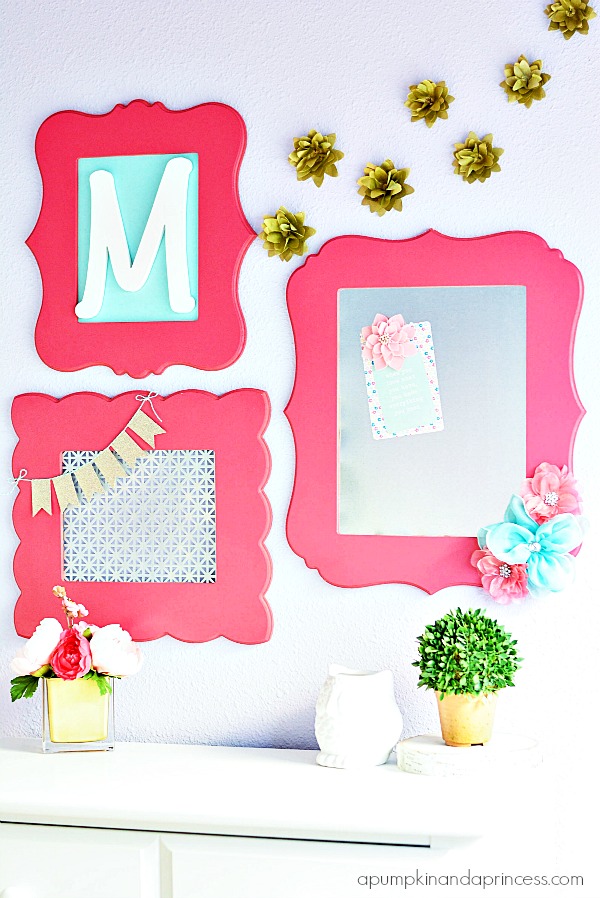
How to make magnetic frames
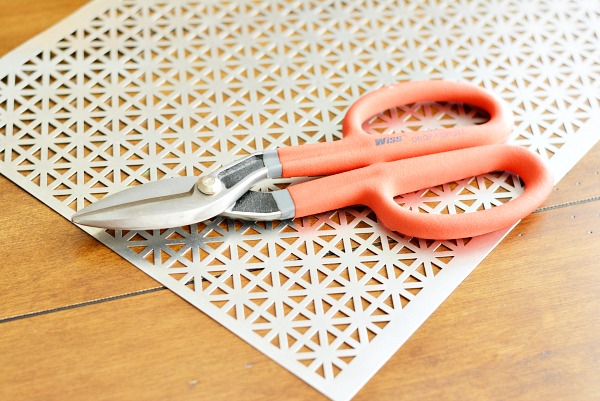
To paint the frames I applied 2-3 light coats of Krylon spray paint in Mambo Pink, allowing each coat to dry in between. Once the frames were painted I used decorated metal sheets to create a fun DIY organization frame collage. I purchased the metal sheets at Hobby Lobby and used tin snips to cut them. I marked the metal sheets to the size I needed and the tin snips cut right through the metal. I advise you to use safety gloves and protective eye gear to avoid any injuries.
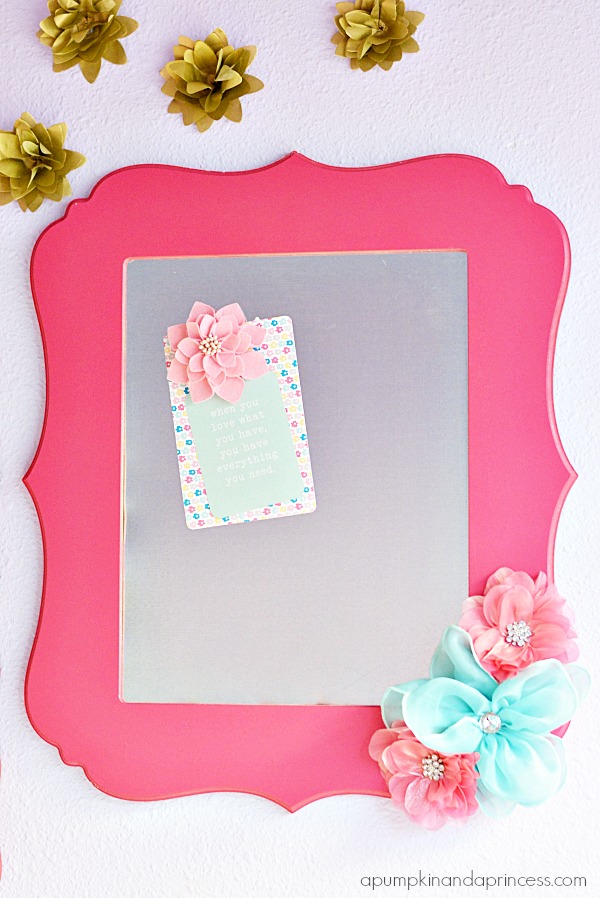
 Once I had the metal sheets trimmed to size I added them to the back of the frames with the metal closures and begin decorating them. For the 11×14 frame I created a magnetic board to use for keeping notes and pictures on as she gets older. I’m also a tab bit obsessed with the felt flower magnet on the board.
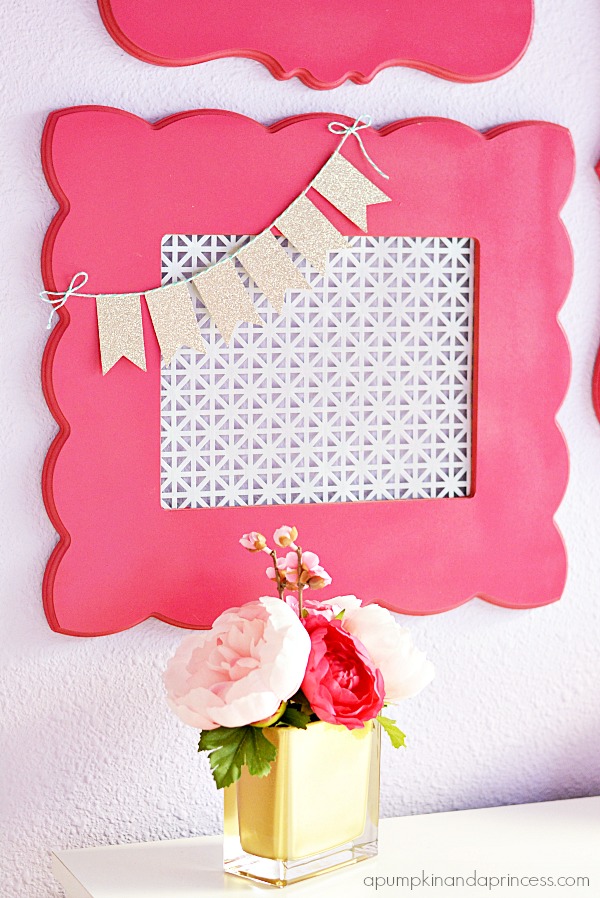
I’ve always liked the decorative metal jewelry frames, so even though she doesn’t have hanging earrings yet I thought it would be fun to add to her wall collage. She can also use it as a magnet board until she’s old enough to display dangling earrings from.
 For the top frame I applied cardstock onto the frame backing and hot glued a white decorative letter on top.
I like the Balboa – 4×6 Double Layer.
I love the single layer scalloped frames! Love the idea of making a jewelry holder too.
Thanks!
Love the Newport in both the single and double layer!
This looks great! these frames are awesome
Very pretty! I love the shade of pink that you chose.
These are gorgeous Crystal! I’m in love! Thanks for sharing!