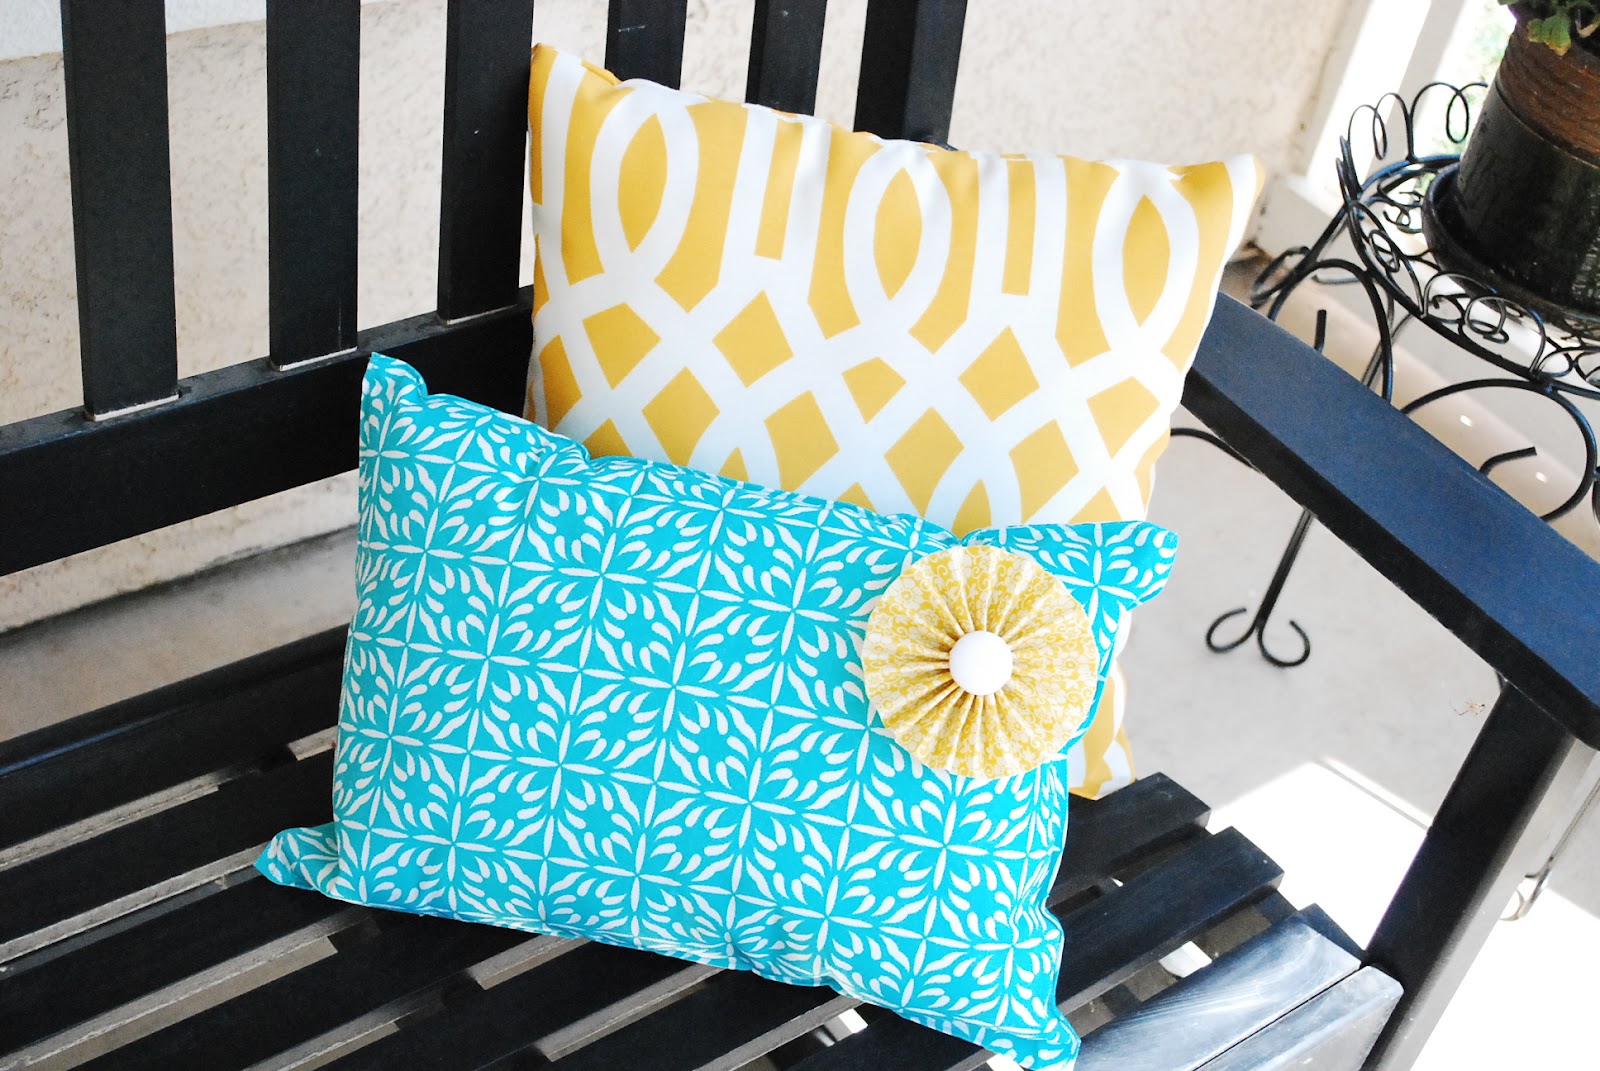
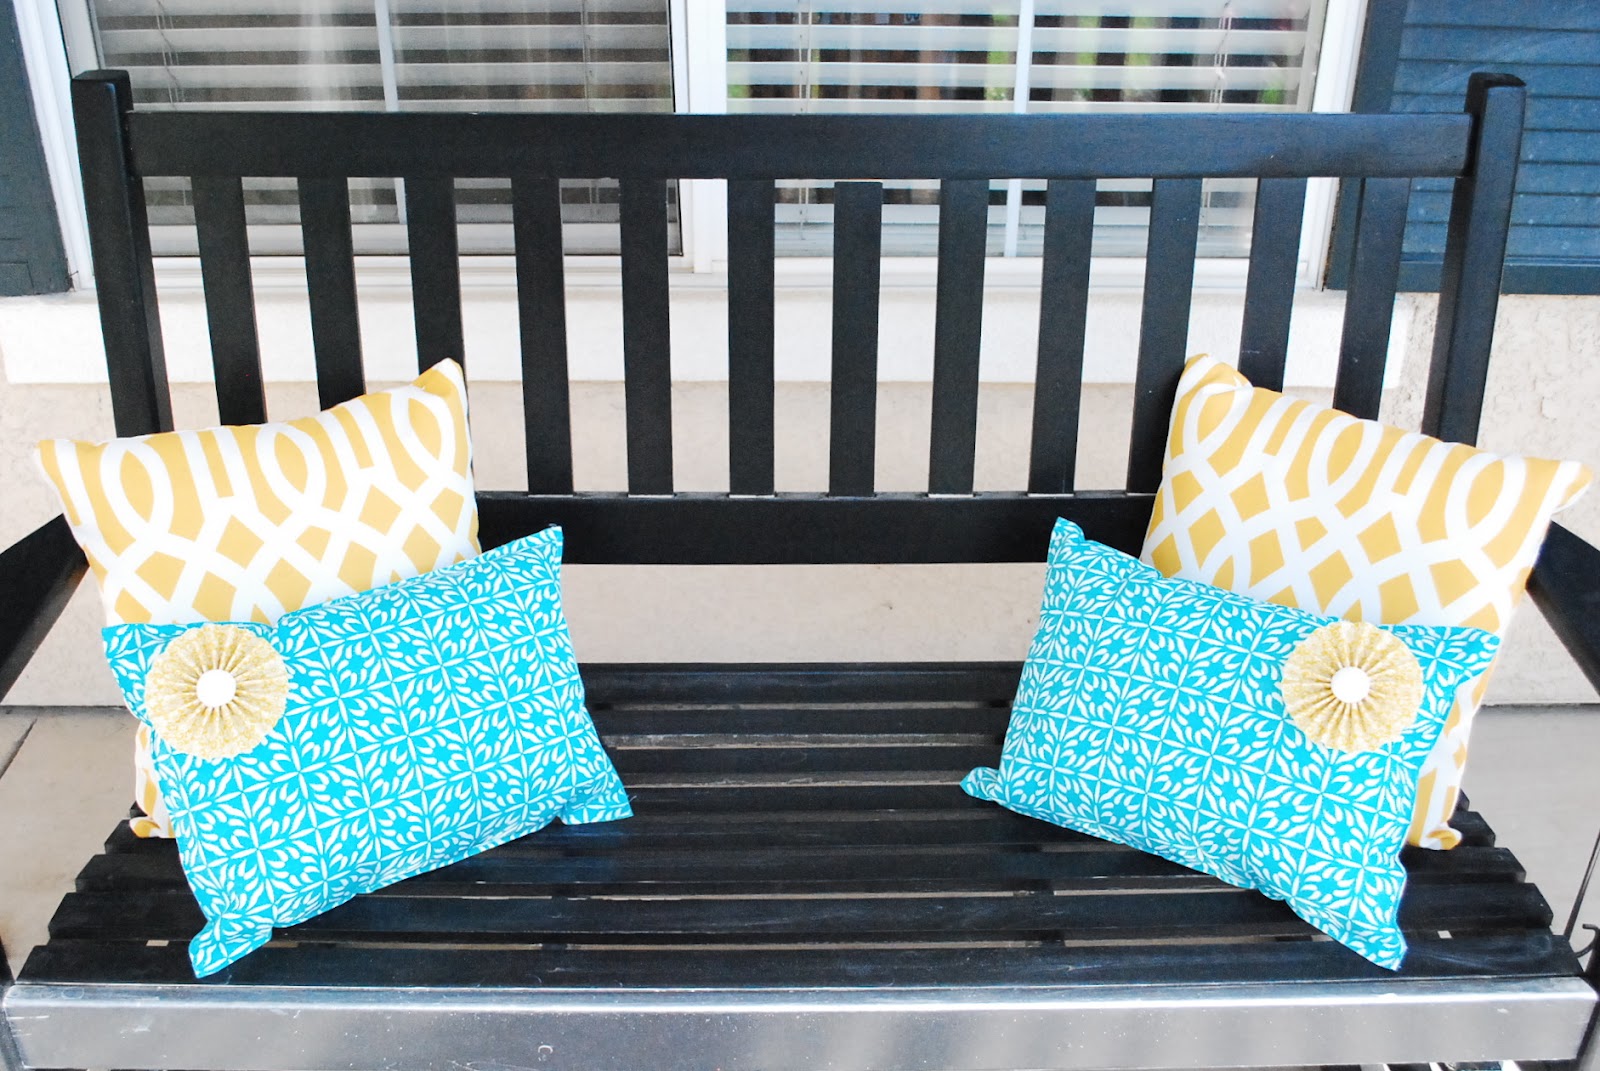
A few weeks ago I showed you my budget-friendly porch makeover with its bright and colorful pillows. The yellow pillows were from Kmart but the turquoise pillows I actually made out of placemats. It was my first time making placemat pillows, but with how easy they are to make you’ll be seeing a lot more during the holidays.
I remember seeing placemat pillows all over blogland last Summer and thinking I should make some. Well I finally got around to it and I’m in love with the simplicity of this project. What’s great about placemat pillows is that they’re fairly inexpensive to make. I bought my placemats for less than $3 each and the stuffing I already had on hand but you can find it at your local craft store.
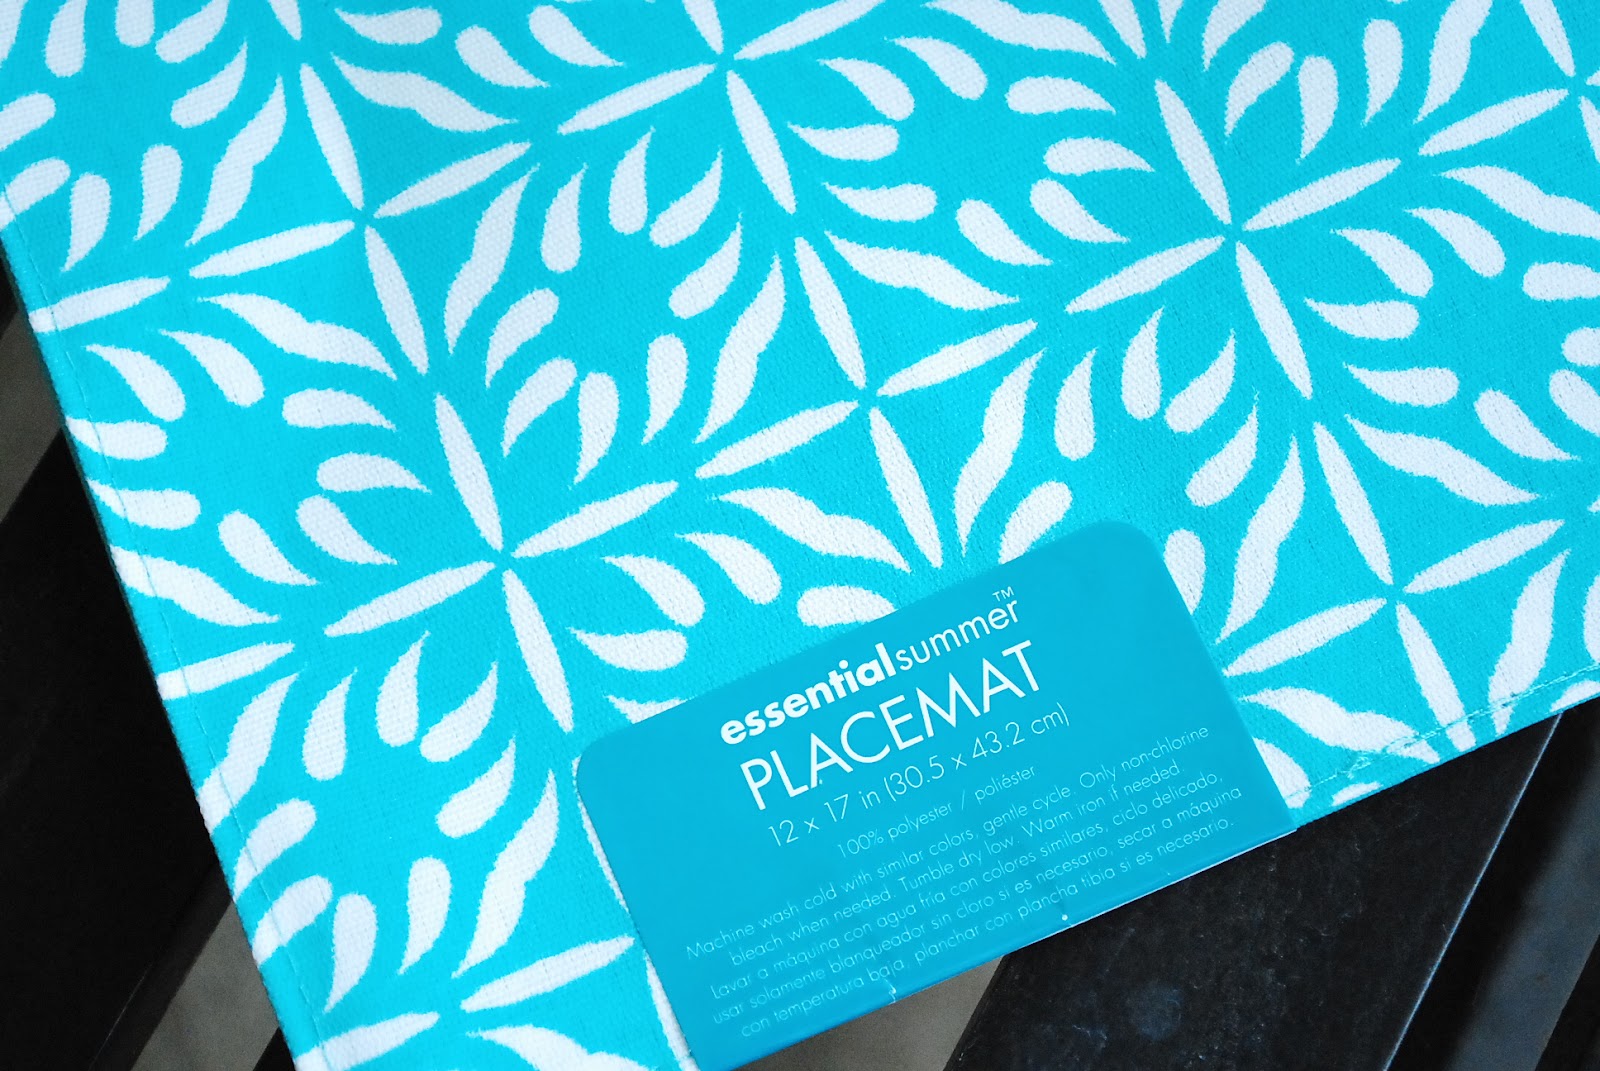
To make your own you’ll need a seam ripper, placemats, stuffing, and a sewing machine or you could even hand stitch the seam close if you’d like.
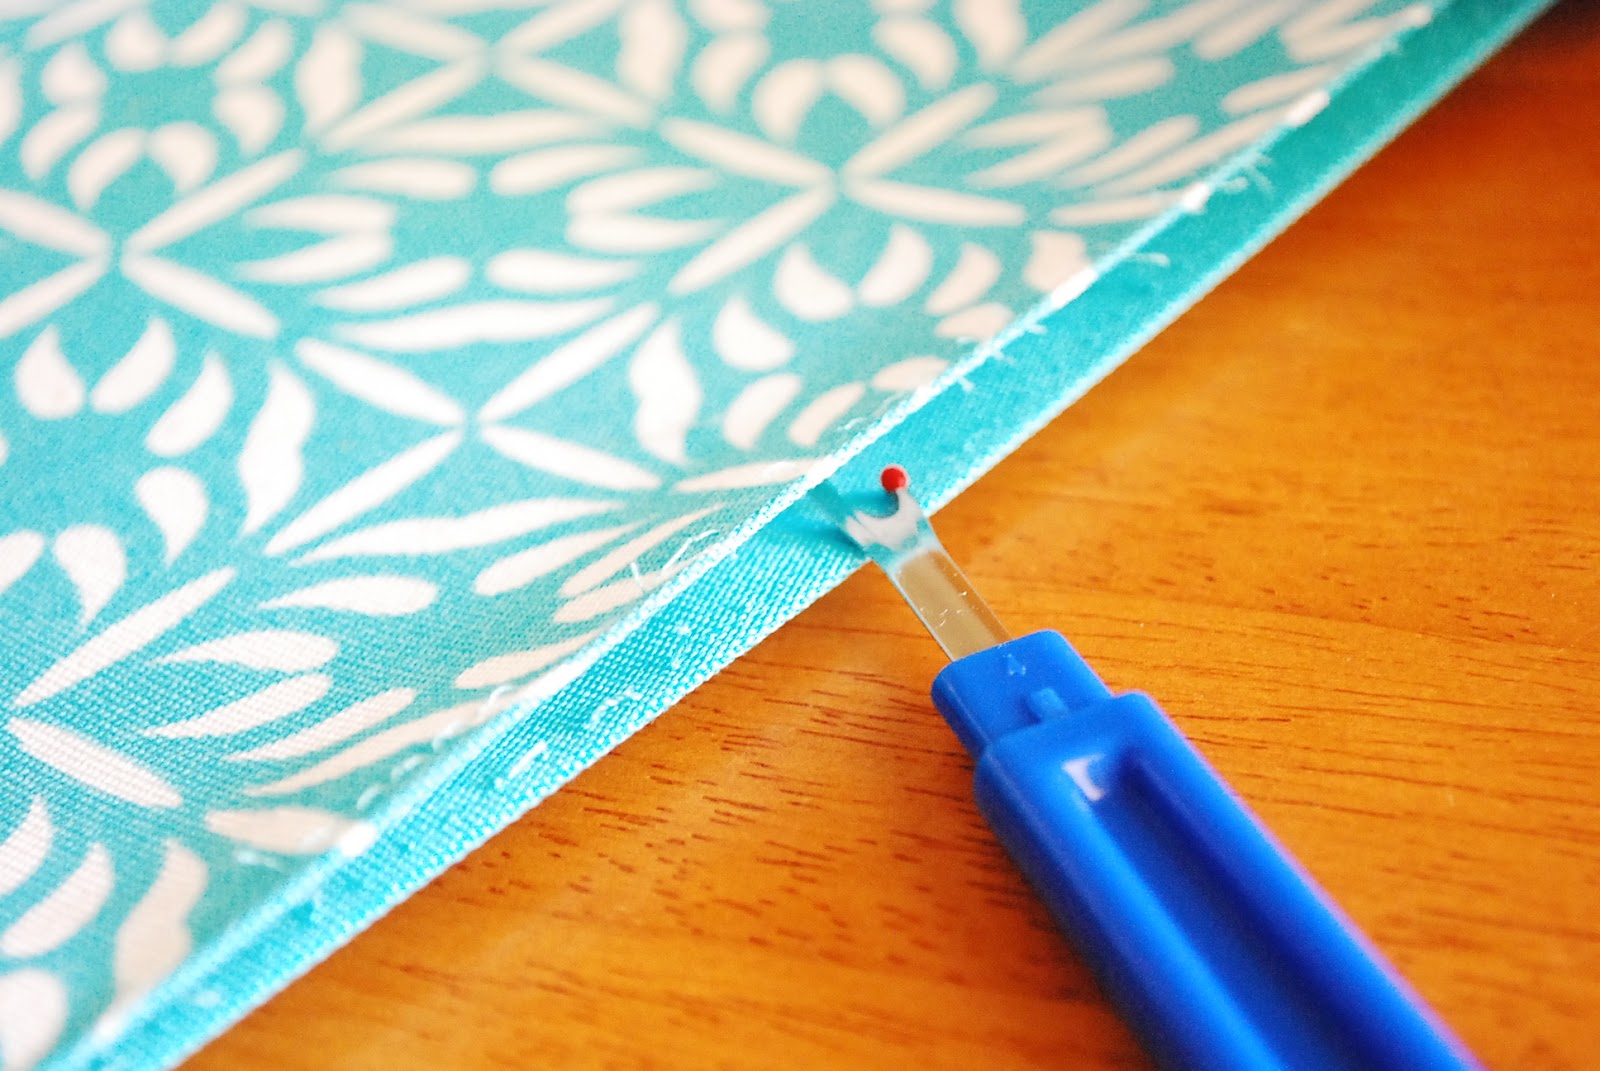
Carefully open one seam and stuff the pillow. For this size of placemats I used half a package of stuffing for each one.

Insert pins and sew the seam close. If you need to, push the stuffing to the opposite side while you’re sewing then fluff the pillow when you’re done.

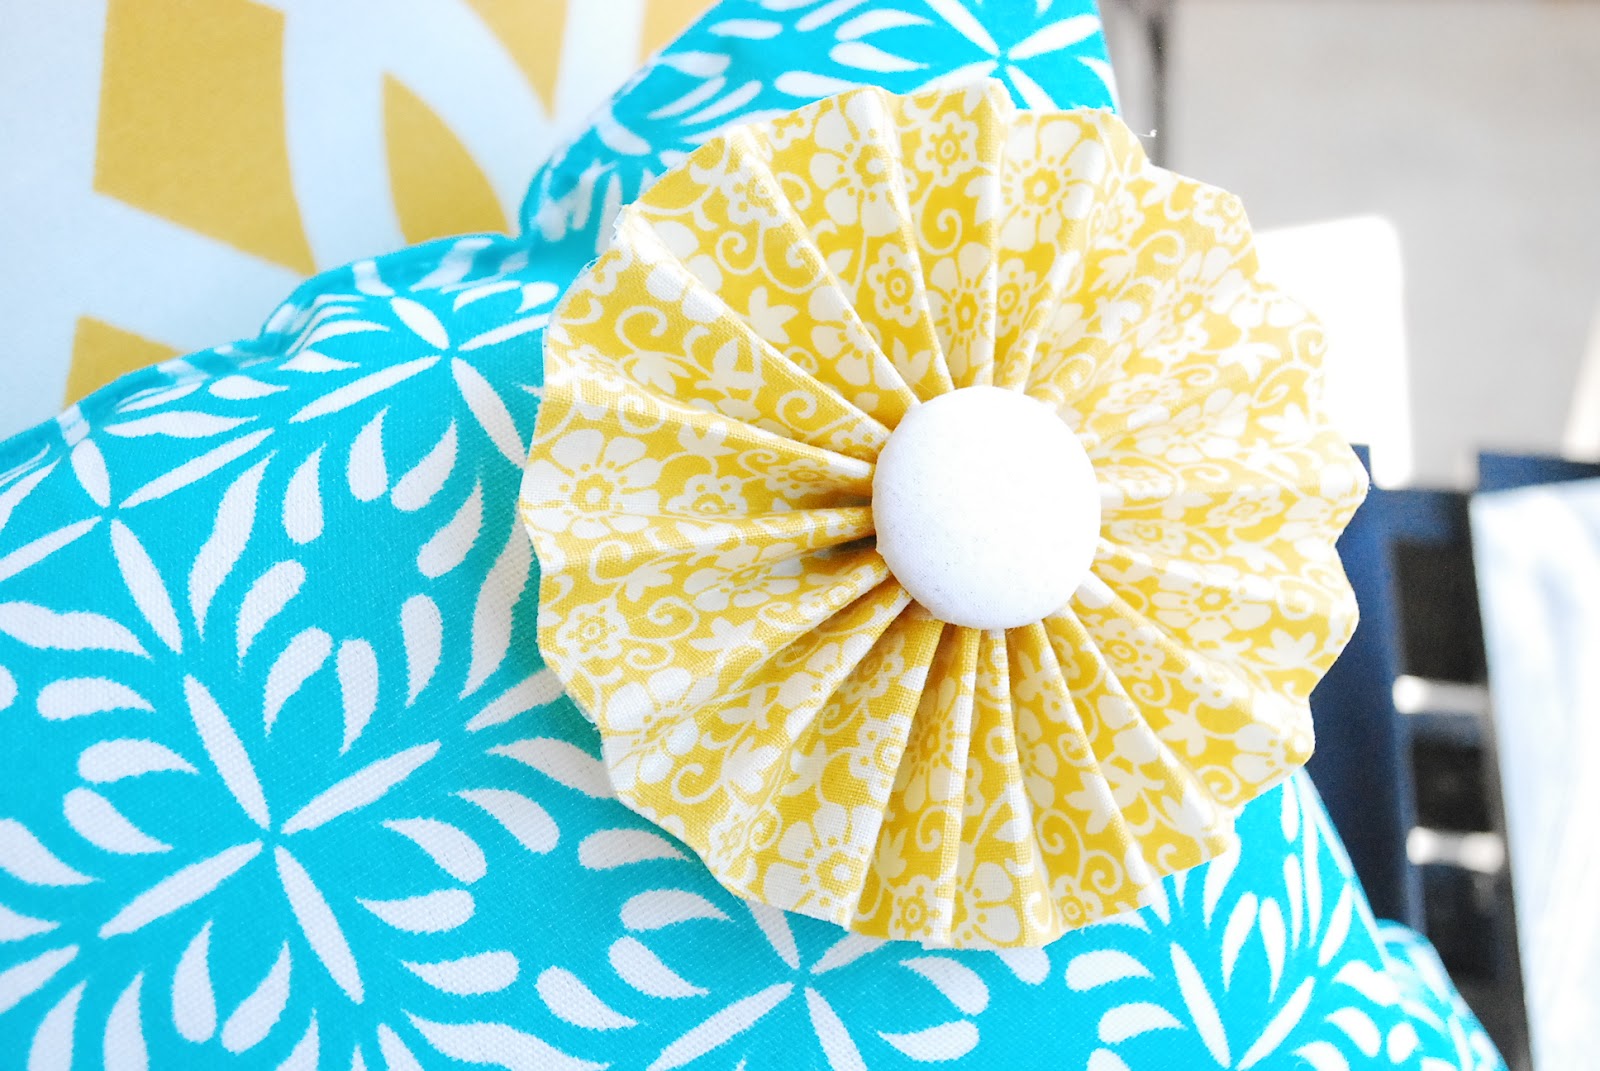
You can add flowers to embellish them or even a coordinating trim. I added fabric rosettes with a fabric button center. I’ve been on the lookout for the i-top button maker but can’t find it locally. But I did find this neat little device at Joann’s for a couple of bucks.
Fabric Rosettes Tutorial:
1. Iron interfacing to the back of your fabric.
2. Cut strips of fabric 1-2 inches wide depending on how big you want your flower to be.
3. Fold fabric strip accordion style and glue the ends together.
4. Press rosette down and hot glue the center together.
5. Add fabric button if desired.
I’m loving the porch makeover with its blue and yellow theme. I’ve received a lot of compliments from guests on how bright and cheery my porch looks.
I have had a placemat sitting in my stash for years that I was going to turn into a bag… I think it may have just found a new lease of life! :) Thanks for sharing your inspiration.
love this soooo much!!! I’m hopping over to your sweet blog from the Six Sisters xo
What a great idea!!
I love the colors you used for the pillow! What an awesome and easy way to make pillows. I will definitely be trying this!
[…] Fresh at Love of Family and Home | Beautiful Master Bedroom Makeover at Clean and Scentsible | Turn a Placemat into a Pillow at A Pumpkin and a […]
so cute and easy! I love it!
Thanks so much for linking up! I featured your post in my wrap up https://tidymom.net/2012/summer-ideas/
Have a safe and fabulous holiday weekend!
Love these! Definitely making some this week!! Can I ask where you got your cute placemats??
Way way cute! I’m co-hosting The Cure for the Common Monday link party this week, so happy you linked up! These are just adorable and SO easy! Definitely pinning! And now following!
That is excellent… I love the colours! I may have to scavenge my local dollarstore…. I could use some pillows for my patio and I think these would do the trick nicely :) Found you via Southern Institute’s linky! Cheers
I love it! I’m going to find me some placemats next shopping trip!! I can’t wait to try this! Thanks for sharing :)
I am inviting you to come and be part of my blog hop:
https://juliejewels1.blogspot.com/2012/05/show-your-stuff-25-butterfinger-cake.html
Super cute pillows! I love the color combo. I am your newest follower from Under the Table and Dreaming!
I can’t believe these are placemats! I hope you’ll link this up at my new link party:
https://naptimedelights.blogspot.ca/2012/05/tuesdays-tidbits-2.html
Thanks! Sarah
{www.naptimedelights.blogspot.com}
These are so pretty, love the colors!
oooooh, I really like these!!! Super simple and SUPER cute!!
LOVe this project! thanks for linking up to Make it Monday! I’ve shared on the Brassy Apple FB page and also pinned it! :)
Groovy!!! I love a good repurpose, but even better when it is this easy!!
[email protected]
I absolutely love these! I’ll be whipping some of these up in the near future!
I love this! I am featuring it on my site!
Clever! I really love it. That gives me some idea for my new home. Thank you!
I’m a new follower from the creative me bloghop
https://sparkleandco/blogspot.com