DIY Subway Art Halloween Candle
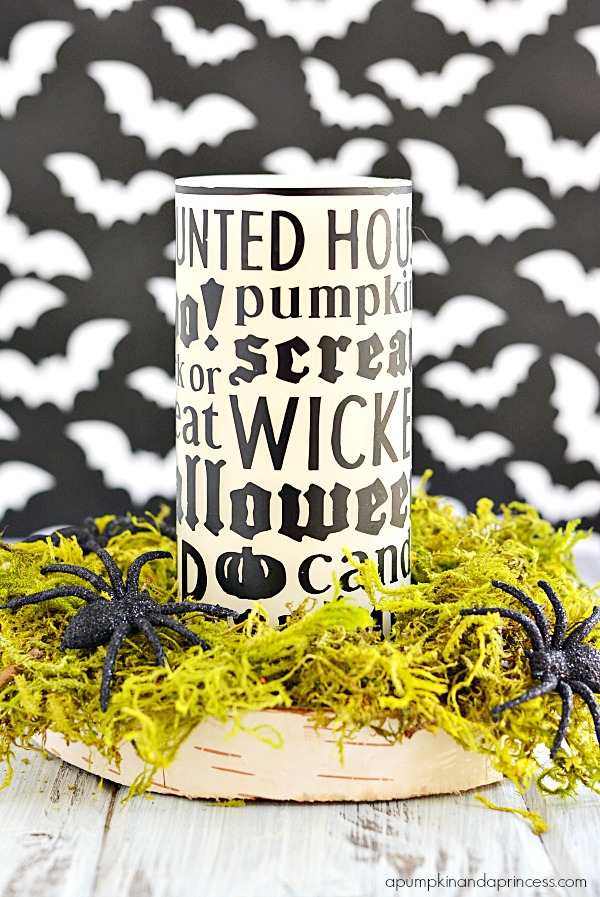 Hey crafty friends! Halloween is quickly approaching and we’re ready to start decorating around here. The kids have been asking to pull out our Halloween decor for a few weeks now and I couldn’t hold out any longer. I’m going to keep my black and white theme going from last year and add a few new handmade additions like the candle I’m sharing today. You guys, I am obsessed with sticking vinyl on flameless candles! It’s always been my go-to project for updating holiday decor through the years. It’s so easy to remove the vinyl and reuse the flameless candle for another project.
DIY Halloween Candle
Supplies:
Cricut Explore
vinyl
flamess candle
transfer paper
Step one: Adjust your design (subway art from the Word Collage cartridge) in the Cricut Design Space software to the size of your candle. Mine is about 6 inches tall and 8 inches wide. You could shorten the width if it distorts the lettering too much. At this point you can decide if you’d like to leave a space in the back that won’t be visible or you can repeat the lettering to extend the design. FYI I totally left a space in the back since no one will see it where it’s going to be displayed. :)
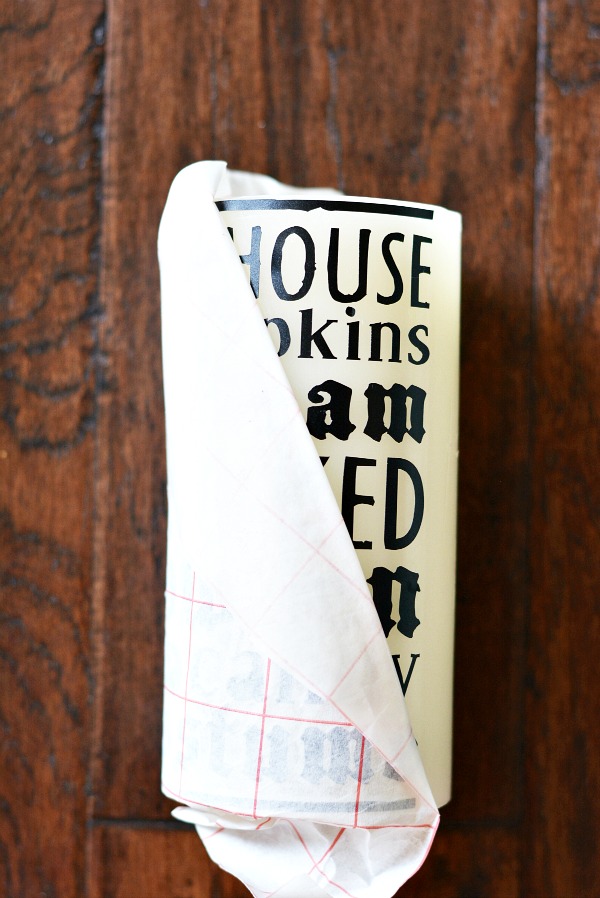
 Step two: once your design is cut use transfer paper to apply the vinyl onto the candle. I like to slowly peel away at an angle. It helps prevents the vinyl from peeling off the candle in the process and easier to reapply in case it does.
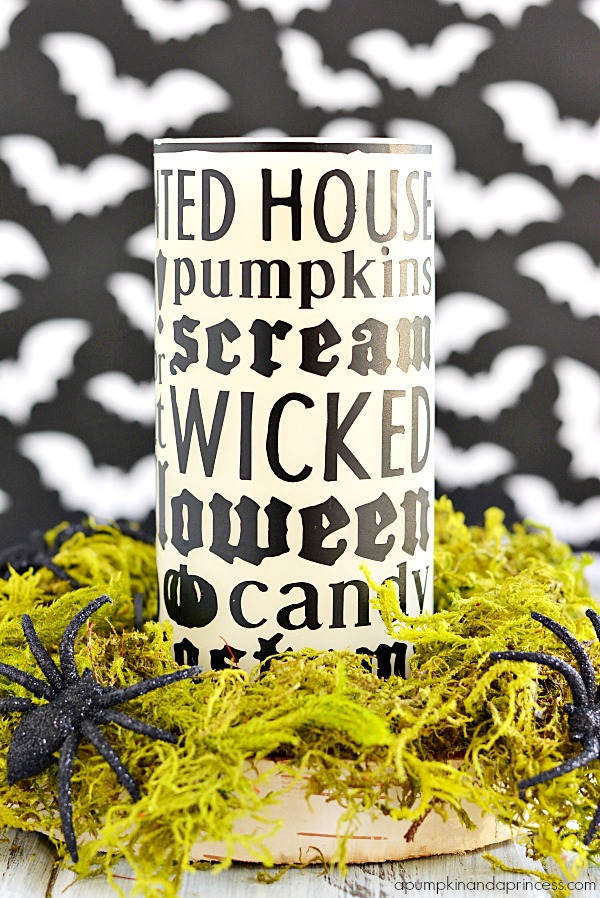
 Seriously, it’s that simple! I love that this project took less than 10 minutes to make and is way more cost-effective than buying a Halloween candle at a store.
The candle is so super cute!! I love how it turned out!! Perfect for Halloween!! Pinned :)
Wowwiee! Love it.. Make me want to make one too.. :)
Super cute!