Growing up I was always a hands on learner. I excelled in subjects that allowed me to work with materials and create projects. Growing seeds in Dixie cups to learn about the plant systems? Yes, please! Math? Eh not so much. Perhaps one of my favorite subjects was science. I remember learning about rocks and building a solar system. To this day there’s something exciting about learning about rock formations, climate changes, and natural hazards. I now see this fascination in my son. It’s his favorite subject in school. Anything science related, the boy loves. Whether it’s looking at slides in his microscope, collecting rocks to examine, or reading science facts from library books. So when he needed to make a volcano for a science project he couldn’t wait to get started. Secretly I think I was more excited than he was to build the volcano :)
The first thing we considered was what type of volcano we wanted to make. There are several options to choose from; salt dough, plaster, a poster board cone, and play dough.
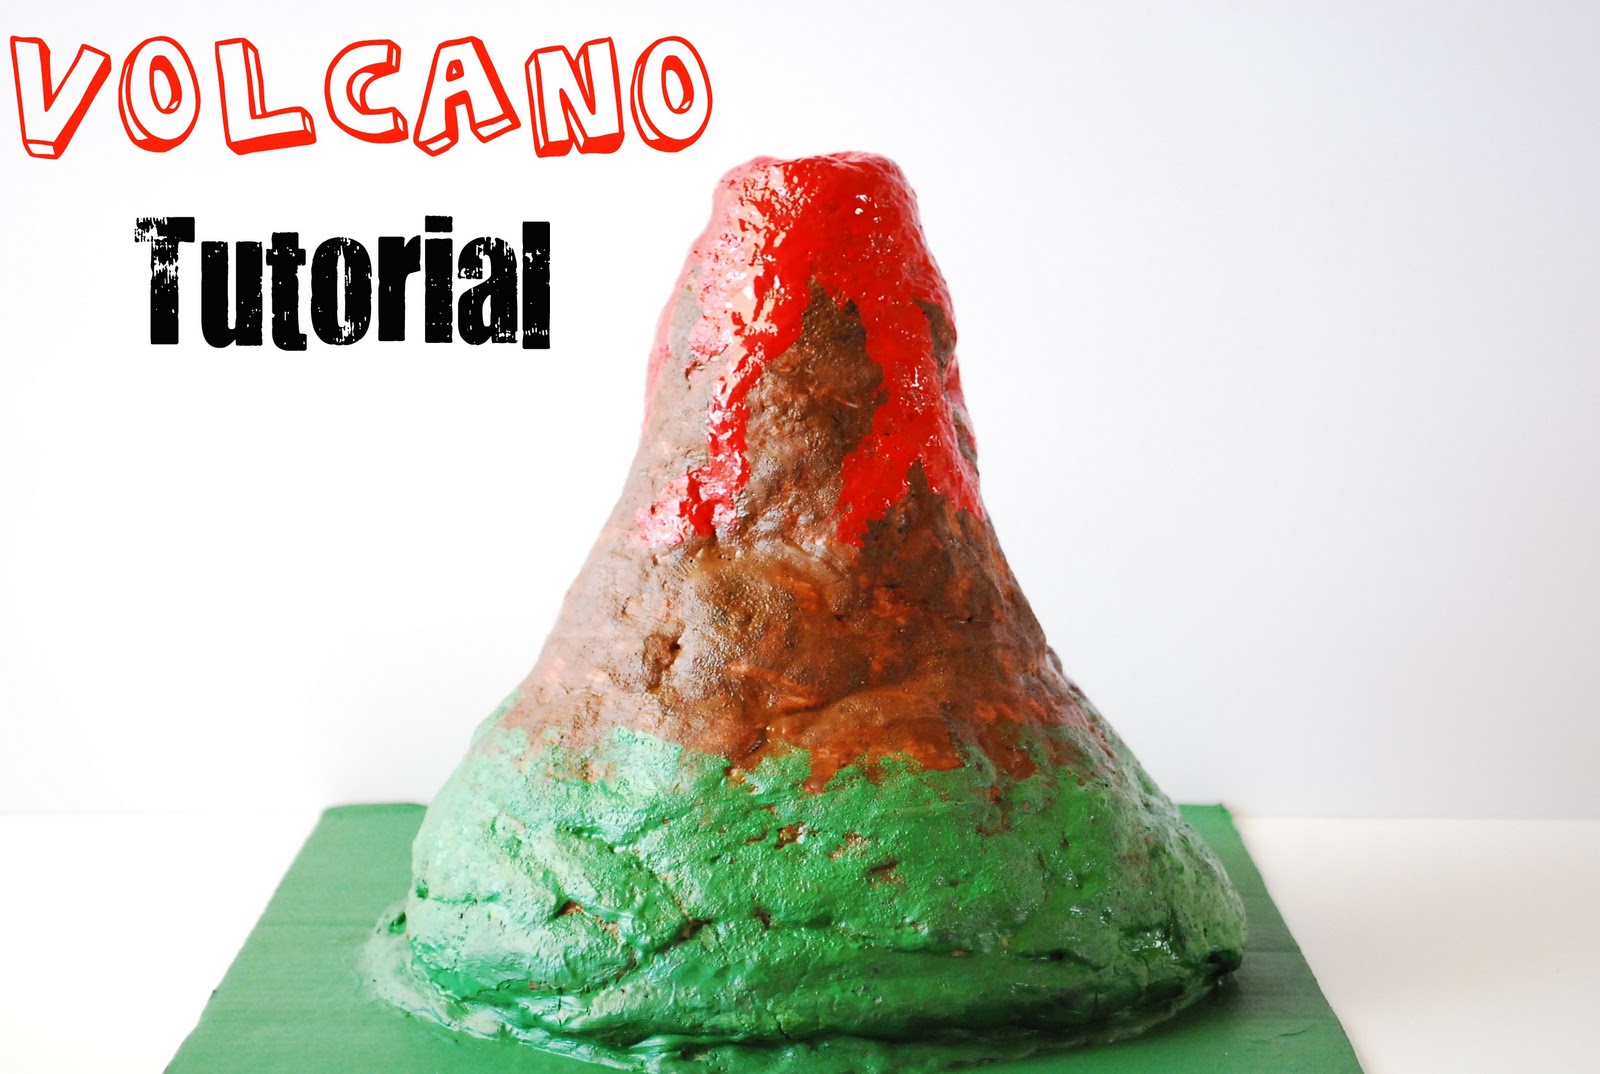
We chose to make a salt dough volcano.
To make your own you will need:
6 cups of flour
2 cups of salt
2 cups of water
4 tbsp of oil
To make your volcano erupt you will need:
1/2 cup of warm water
3 tbsp of dish soap
1/2 cup of vinegar
1/4 c baking soda
Red food coloring (optional)
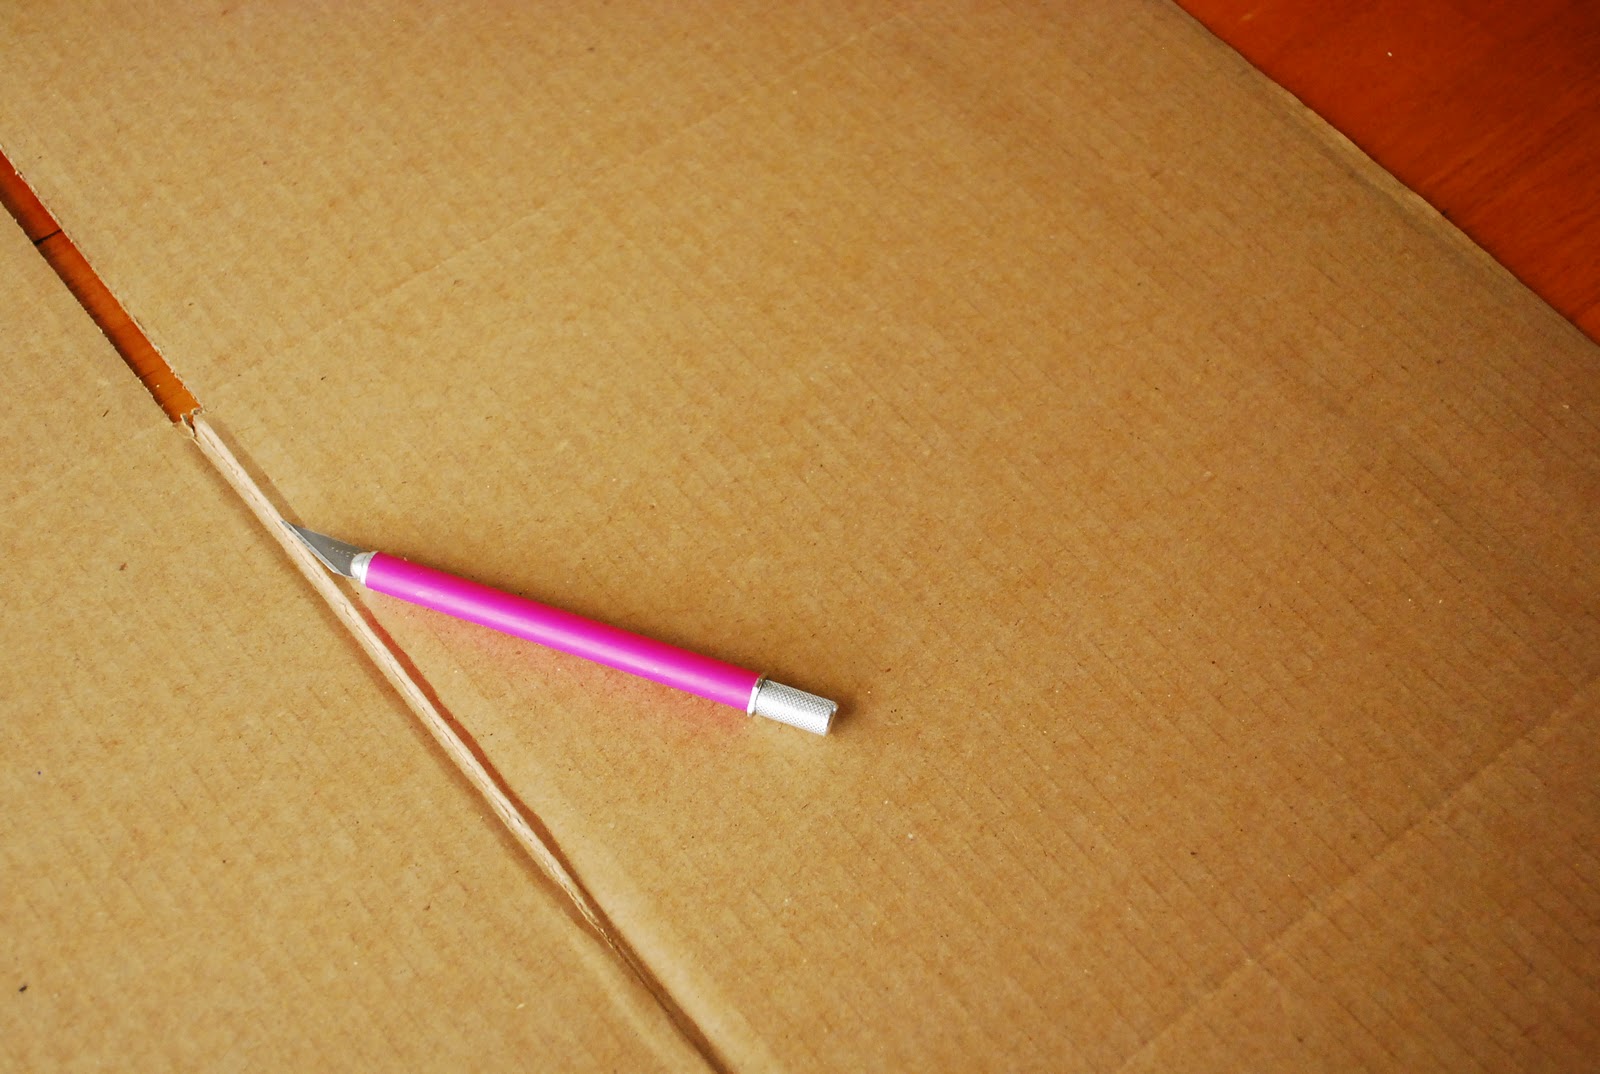
The first thing I did was create a base for the volcano. I used a cardboard box and an X-ACTO knife to make a rectangular base.

In a large bowl mix the flour and salt together. Add 1 cup of water and 2 tbsp of oil. Mix together then add the remaining cup of water and 2 tbsp of oil. Glue a jar or bottle onto your base and begin forming the dough onto it. Keep adding layers until you get the size and shape you desire. Let your volcano dry (can take 3-5 days to dry completely). Once dried paint your volcano.
Using a funnel pour the baking soda into the bottle, then add your dish soap. Add a few drops of red food coloring to your water and pour it into the bottle. Now for the fun part…slowly add your vinegar in and watch your volcano erupt!
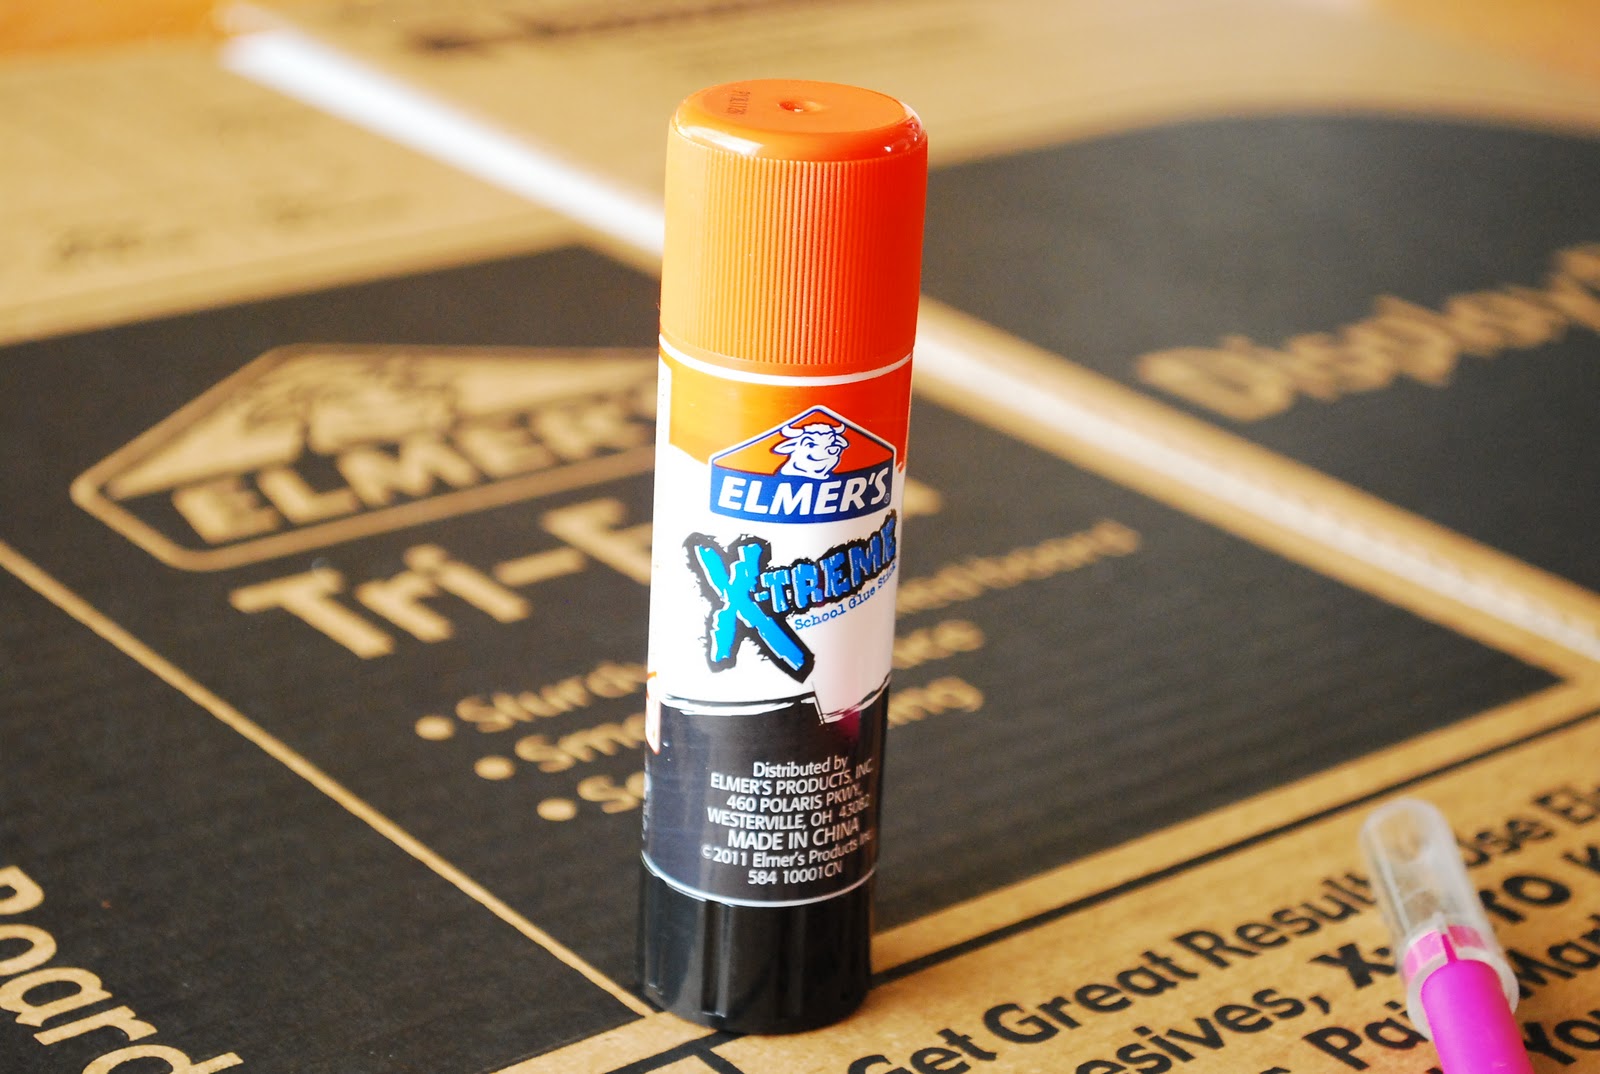
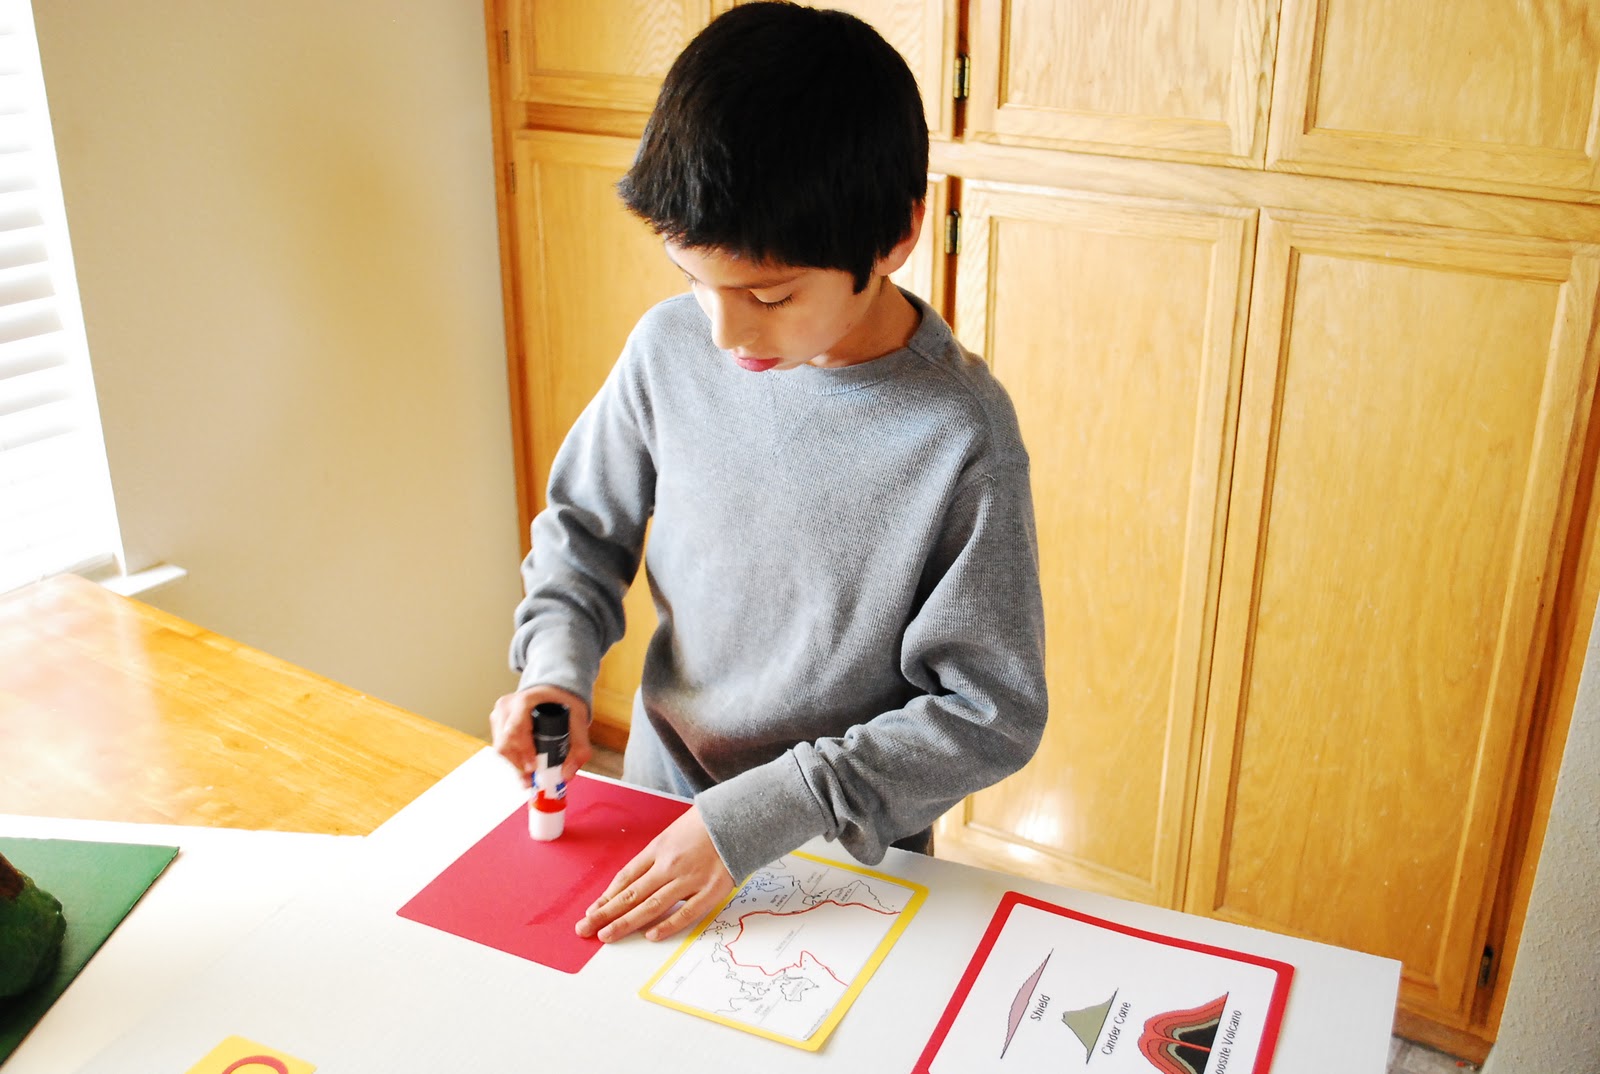
For the display we used an Elmer’s Tri-Fold Display Board, an Elmer’s X-TREME Glue Stick, pictures found online, and letters cut out using my cricut.
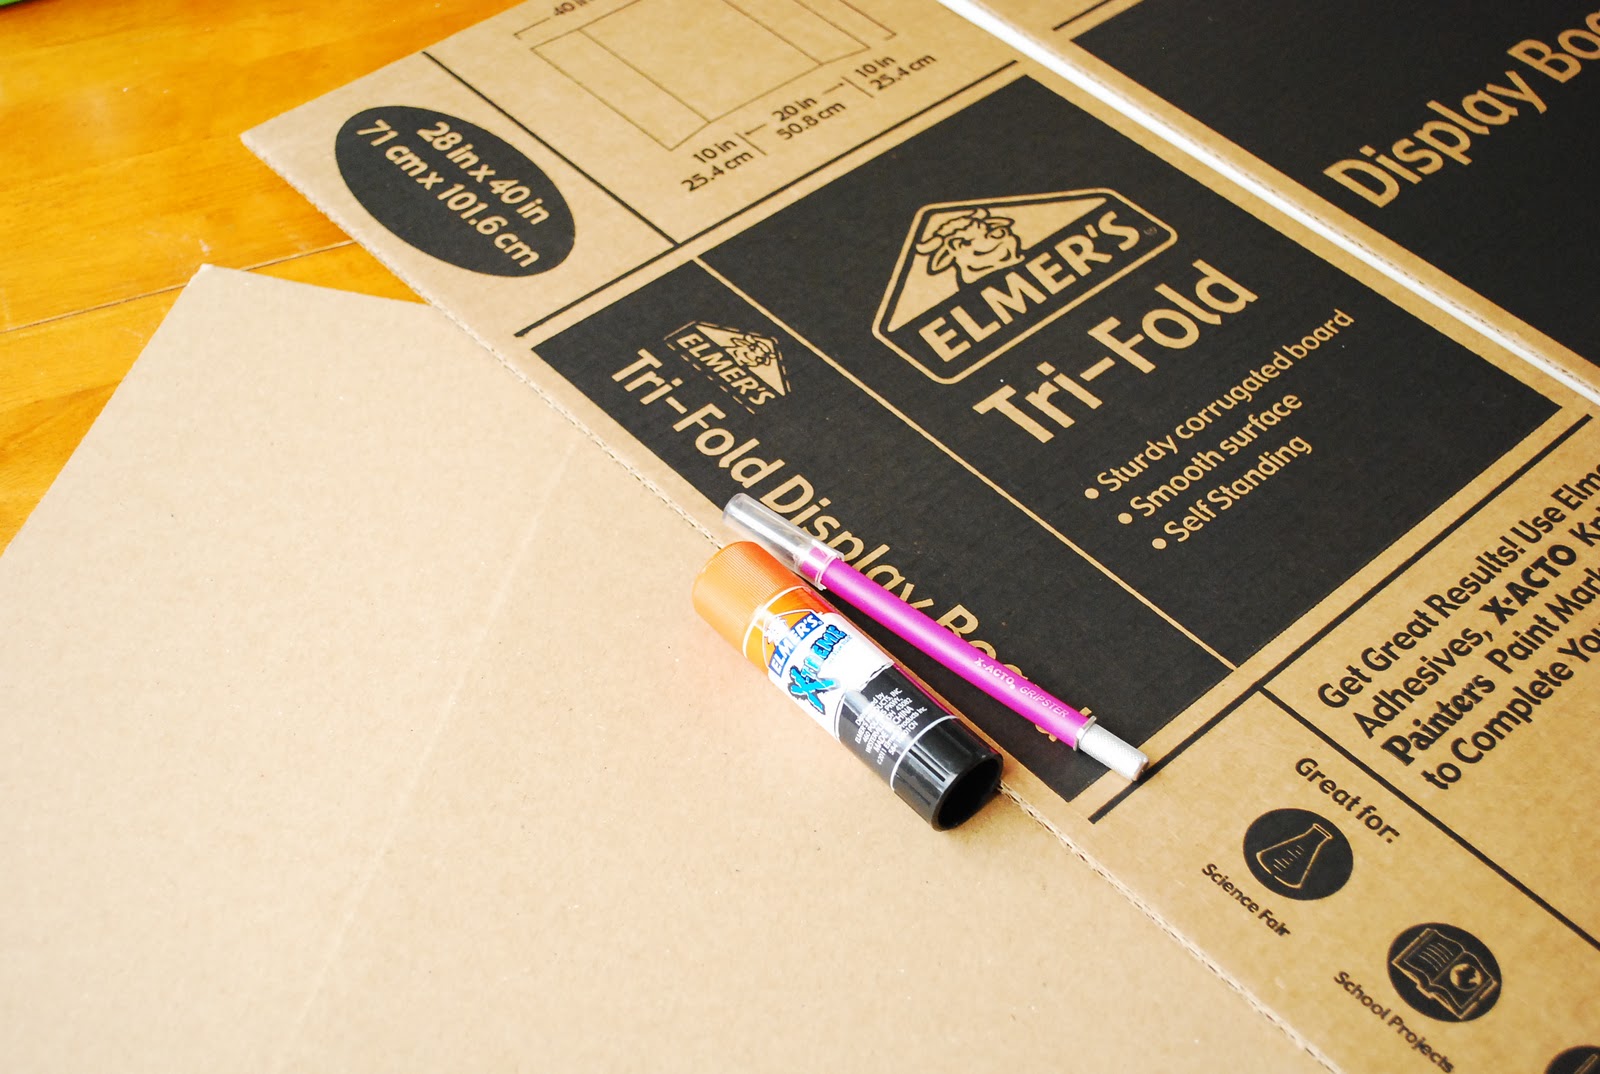
I recommend using the X-TREME glue sticks when gluing onto display boards. This was our first time using it and I’m impressed with how well the glue holds up.
Just for fun here’s a picture of us shopping for supplies. The boy usually loathes shopping, but we had a blast this particular day :)

You can view the rest of our shopping experience on Google +.
I swear, having a child just means I get to go through school all over again, and this time it's just so. much. more. fun. The volcano looks great – I'd be making it erupt all the time :)
We wanted to make a volcano for my daughter's science class project but were told we couldn't do it. I guess everyone would have done volcanos if allowed. They are so fun. Great job.
last year at our science fair the volcano was the biggest hit! Yours is great. My daughter did her project on brine shrimp. I supported her but, yikes! Luckily they have a short life cycle!
This looks like so much fun!!! great job!!!
It's funny, but I kind of dread science projects in the years to come! :) I was never a science whiz–how smart of you to share this with people like me!! Your volcano is amazing!
Fantastic project! My son would be all other this idea. Thank you for sharing :)
This is AWESOME!!! Such a fun activity/experiment PLUS it looks amazing too! I'd love for you to share it over at TGIF (https://livinglifeintentionally.blogspot.com/search/label/Linkey%20Parties) I know my readers would love it too!!
Have a GREAT weekend,
Beth =-)
We are hosting our first Kitchen Fun and Crafty link party next Friday and would love for you to share this! Feel free to stop by and grab a party button! https://kitchenfunwithmy3sons.blogspot.com/
That is fantastic! My kids would love one of these!
This is such a great project! My kids would love this.. and of course they love to make anything with salt dough! Thanks so much for sharing with the Pink Hippo Party.. can't wait to see what you share next!
Oh I love it! Such a fun project.. Thanks for linking at friday fun party..
Wow, this is great! I'm pinning this to do with my little guy.
[…] Have an explosive good time with this volcano tutorial from Crystal at A Pumpkin and a Princess. […]
Making this with my son today and hope it dries in time for his science fair on Tuesday night!