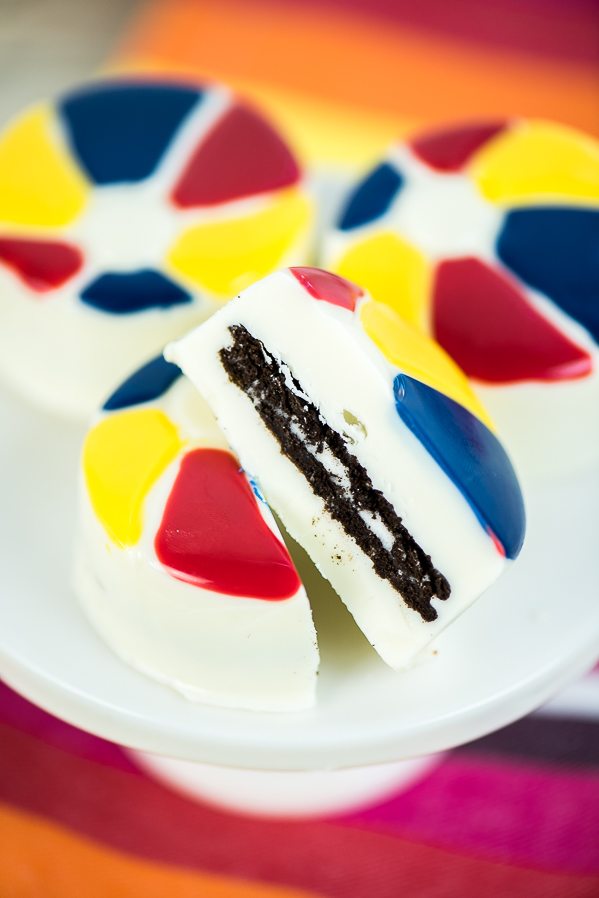
How to make your own Beach Ball Cookies! Chocolate covered OREO cookies – great for summer parties!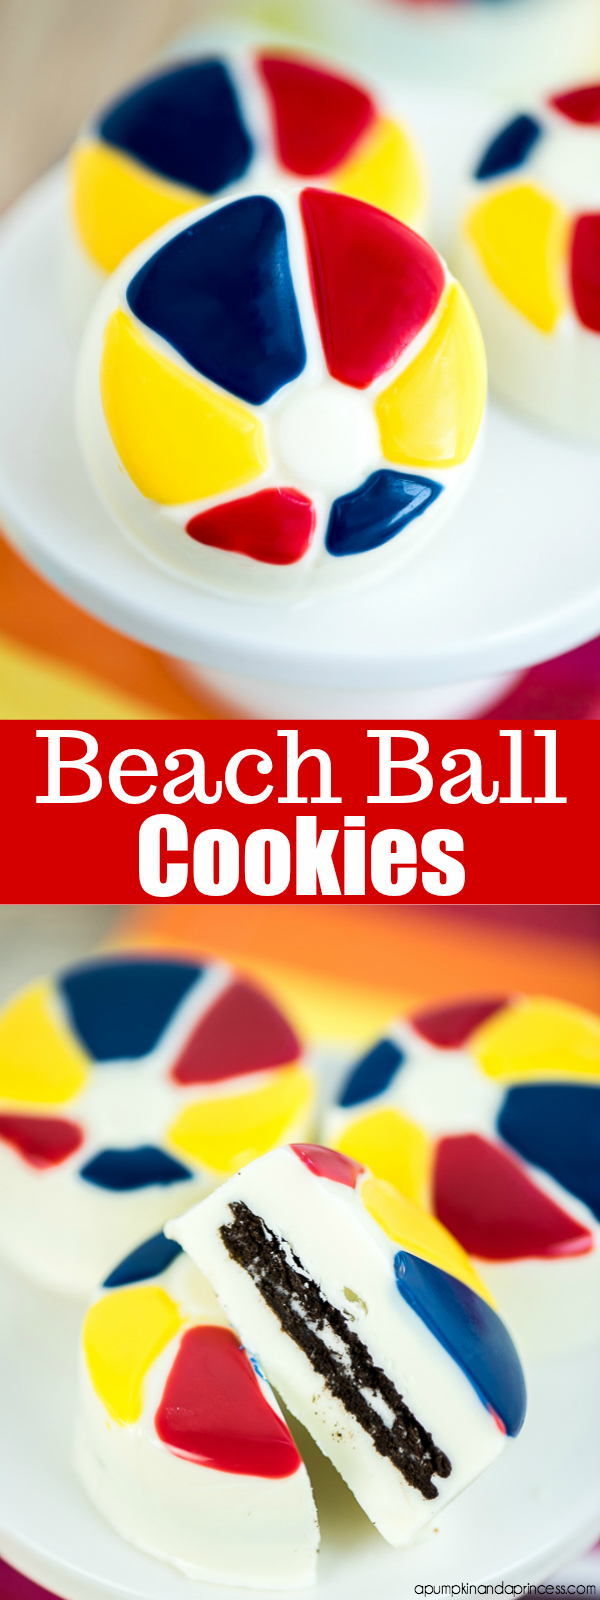 Only a few days left of summer break for us. I’m not sure how I feel about it. Last year we didn’t have a lot going on so the kids quickly became bored and madness ensued. This summer the kids were enrolled in every program imaginable. Then in July we traveled to New York and multiple areas of California. We were away from home more days than we were home. Now I feel as if the summer just flew by and I’m a little sad about school starting. On the other hand, I am looking forward to getting back on a routine. Also, getting back to blogging! It’s been so busy this summer I haven’t had a chance to share some of the projects we worked on. One of them being our annual summer kick-off party we had on the last day of school. It was a tie-dye/swim party. We had a variety of summer themed treats like these beach ball cookies. Today I’m sharing how to make them!
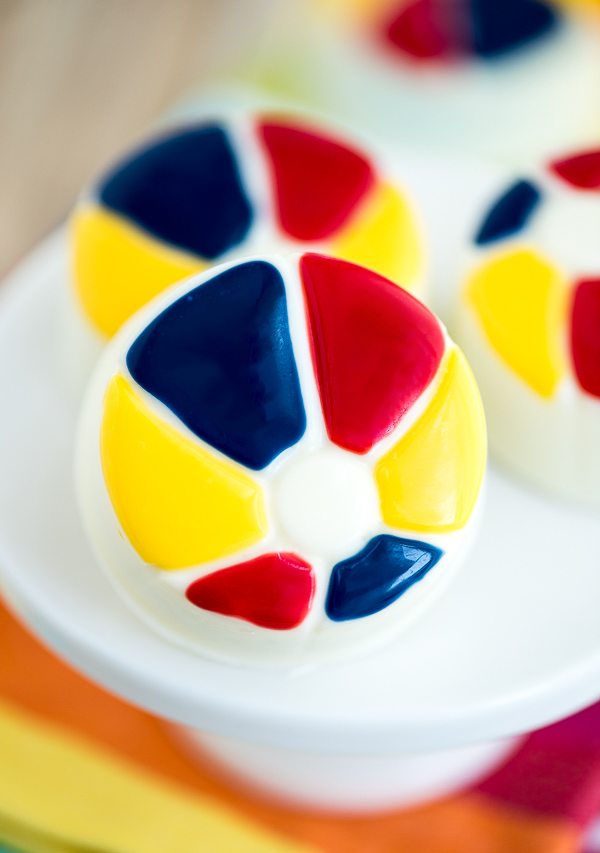 This post contains affiliate links
Supplies:
Beach Ball Cookie Mold
OREO thins
White chocolate
Candy melts in red, yellow and blue
Step one: melt one of the candy melt colors in a small microwaveable bowl. Use a piping bag or small food brush to “paint” the beach ball design on the mold. As someone who doesn’t have a steady hand, this mold was a little trickier to decorate. I personally liked brushing the candy melts on instead of using a piping bag. It takes a little more time but allows for better control of the chocolate. Once you’re done with one color start on the next until you have 2 cavities for each color. Or whatever color/patterns you decide. Pop the old in the refrigerator for 5 minutes.
Step two: melt white chocolate and use either a piping bag or spoon to fill the candy mold ¾ of the way. Gently press an OREO thin and cover with chocolate. Repeat until the whole mold is filled. Place in the refrigerator for 20 minutes. Allow mold to sit at room temperature before removing cookies.