Handmade chalkboard ornament tags – 3 ways to create a chalkboard ornament for gift wrapping.
Are you a fan of the chalkboard trend? Chalkboard crafts have been popular for a few years now and I don’t see it ever going completely away. With the convenience of chalkboard paint it’s hard for me to resist not painting everything in sight. Mason jars, random pieces of wood, storage bins, vases..nothing is safe when there’s chalkboard paint in the house. Today I want to share with you three easy chalkboard ornaments that can be used as gift tags. For this project I’ve teamed up with Spellbinders and DecoArt using their dies and chalkboard paint.
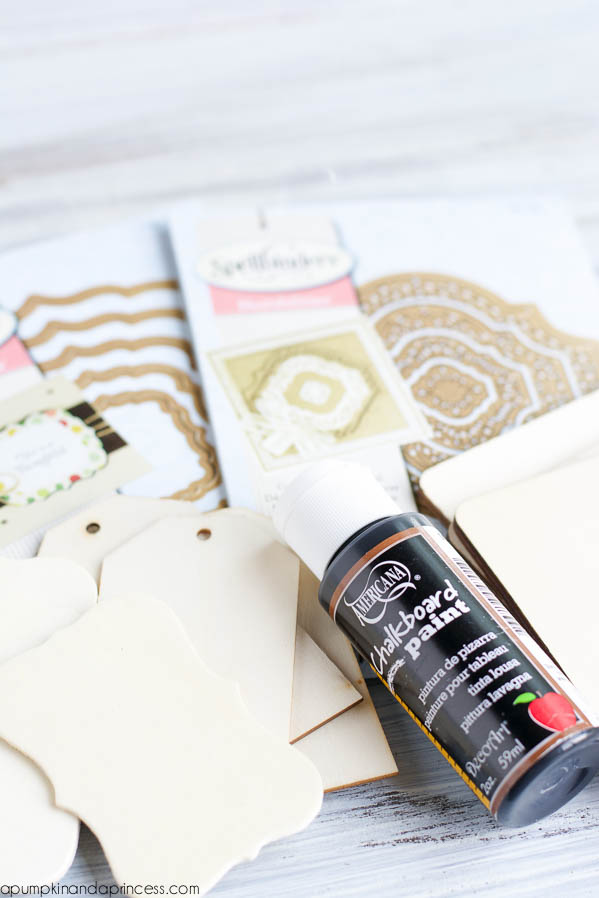
Supplies:
Spellbinders dies
Americana Chalkboard paint
Americana Multi-Surface Cottonball
Decoupage
chalkboard paper
vinyl
wood tag
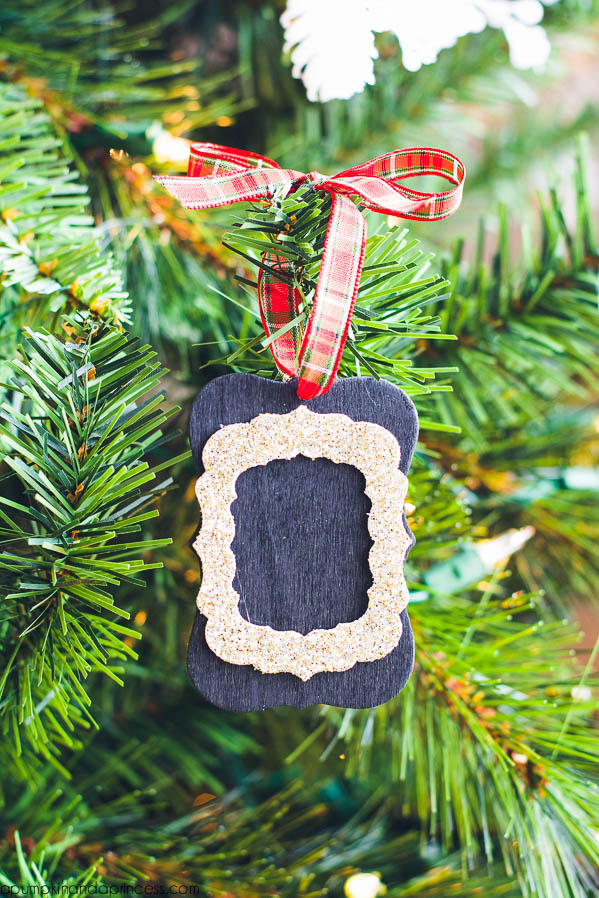
The first is a wooden tag I made with two spellbinder dies. I used my Americana chalkboard paint on a small wooden die cut from Michaels. I then embellished the tag with gold glitter cardstock cut by layering two dies together. This is technically the outline of the smaller die. Since it’s a thick piece of cardstock I used a hot glue gun for extra support. My son said it looks like Santa’s belt buckle, I kind of agree. :) Sidenote: you can find pre made tags or punch a hole for the ribbon with a Crop-A-Dile tool.
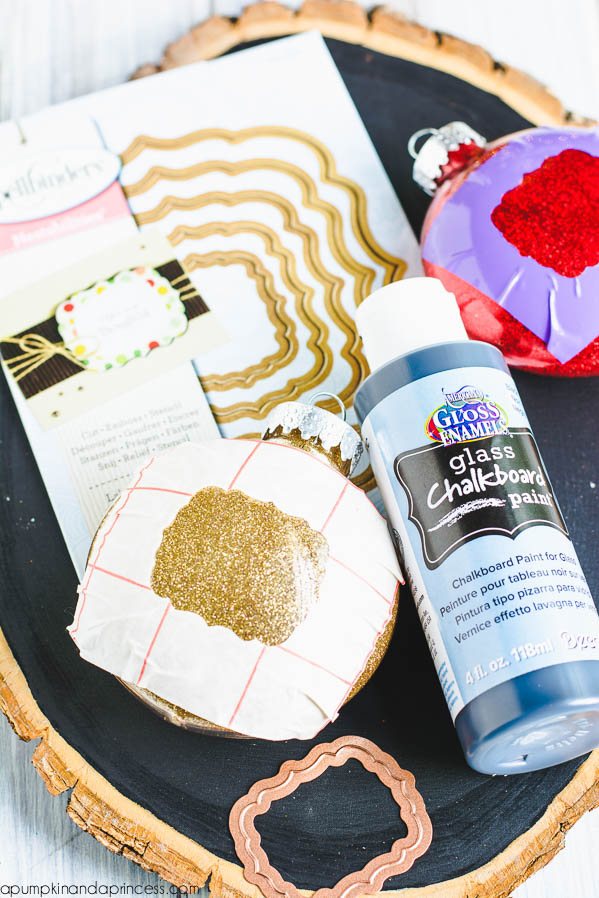
Remember the snowflake ornaments I made with epsom salt? For this snowball ornament I used white paint (Americana CottonBall) on a plastic ornament ball. Once the paint dried I used decoupage glue and epsom salt. With this ornament I used the die to cut a chalkboard paper tag. This is a cute idea for gift wrapping or a place setting at a holiday dinner party.
 Last but not least I used the die and vinyl to create a stencil on a glass ornament ball. With the chalkboard surface you can write initials for gift wrapping or make an advent calendar countdown. Just a tip: make sure you remove the vinyl as soon as you’re done painting. I applied two coats – 10 minutes in between each one. You don’t want the paint to dry before removing the vinyl or else it will peel off along with the vinyl.

Do you have any fun chalkboard gift ideas planned? I have a few more to share with you this holiday season, including printable tags. :)
Thanks for stopping by!
Your ornaments are so cute, love the tag idea and how you did it. I don’t have a die cut machine like a silhouette or Circut Explore (sure wish I did so I could produce professional looking wording), so have to hand cut everything. I was thinking about cutting up a piece of thin plywood for small ornaments and frame them for tree or make tags out of them, get more out of what I have to work with. Have been slower to catch onto the chalkboard idea. I enjoy seeing all the chalkboard ideas out there tho, so many.
It’s so amazing to me how you come up with so many ideas and then implement them so well. Yours is one of my favorite blogs. Admire your style. I don’t have a blog but sure enjoy reading blog posts and seeing all the exceptional crafting and decorating ideas. So glad I found your blog.
Happy weekend and enjoy the season
Too cute!! I love the one with the initial!! Love it!!