DIY Fabric Coloring Notebook made with adhesive fabric sheets and fabric markers.
This post was written in collaboration with Michaels as part of their Michaels Makers blogger program.
Hey friends! I hope you had a great 4th of July! June was a busy month for us and it doesn’t seem like July is going to be any slower. We have a few trips planned, trying to get as much family time in before the kids go back to school. It seems so far away but I know back to school time will be here before we know it. Speaking of back to school, this month our Michaels Makers challenge was to create a fun way to embellish school supplies. Whether it be with pom poms, patches, tassels or other fun trends happening right now. Not too long ago coloring was all the rage, so when I spotted an adhesive fabric sheet at Michaels I knew it would make a great notebook. This DIY coloring notebook is incredibly easy to make and fun to color in between taking notes.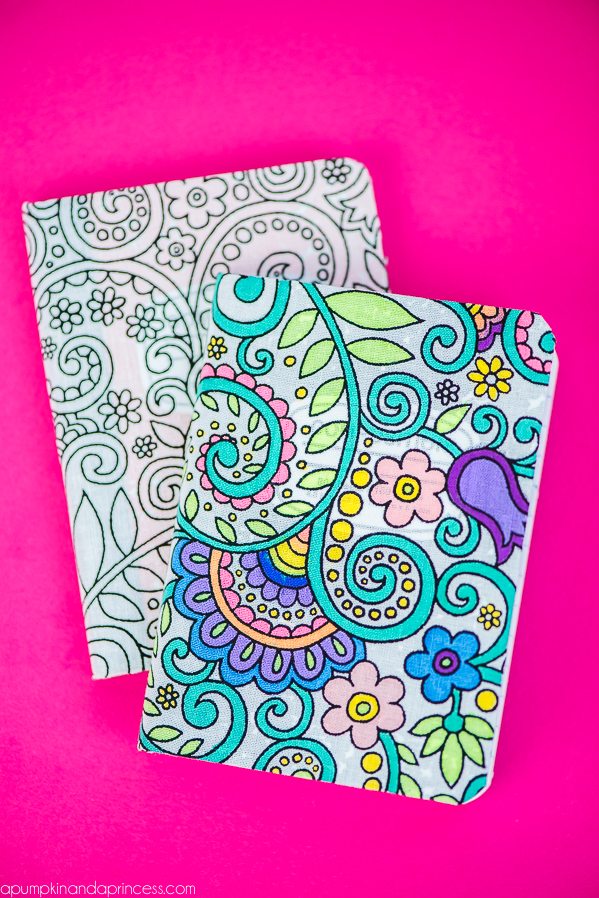
How to make fabric coloring notebooks
Supplies:
Adhesive fabric sheet (sewing aisle at Michaels)
Notebook
Fabric markers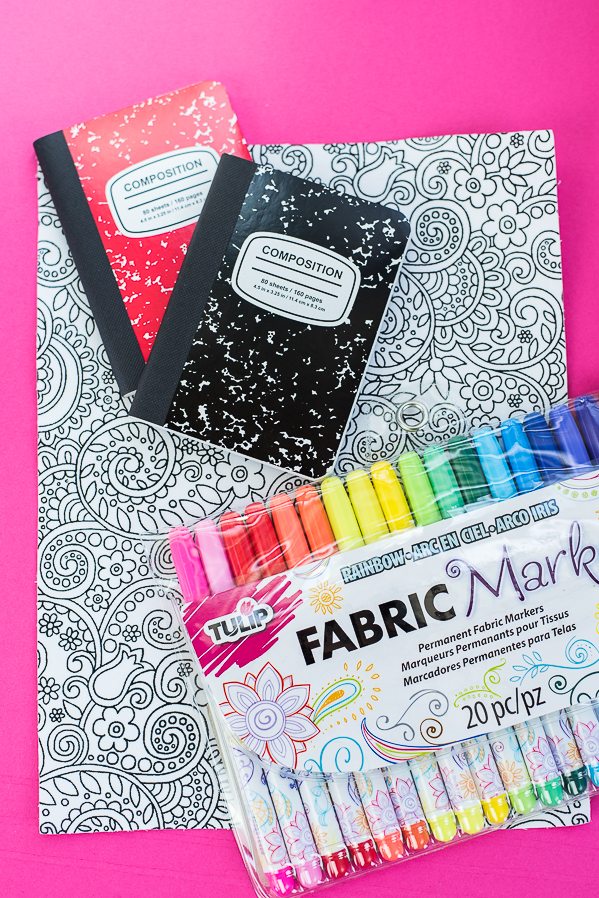 The fabric sheets are 8.5×11 so I trimmed mine to fit a mini composition book. Start at the corner and align your sheet over the notebook. Slowly peel away backing and smooth out any air bubbles as you apply the fabric sheet over the notebook. Tip: you can either trim the sheet precisely to fit the notebook or leave a little extra around the edges to fold over. I tried both methods and preferred folding over the edges best. This helped prevent the fabric from fraying.
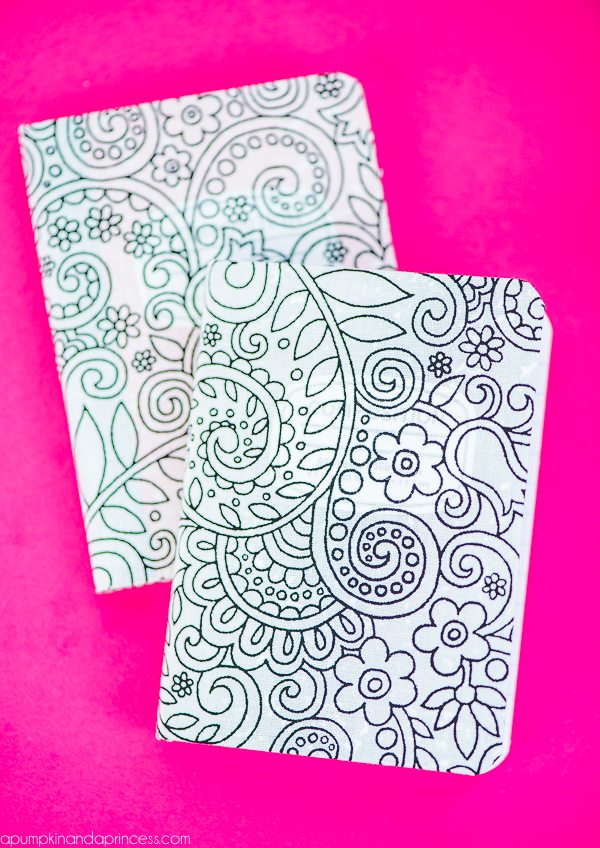
I’ve never used fabric markers before so I was very impressed with how well these worked. I also didn’t notice any color bleeding. My daughter was thrilled when I showed her the notebooks. She’s asked to make more and we’re even thinking about making bookmarks next. We’ll be sure to share pictures if we do!
DIY Fabric Coloring Notebooks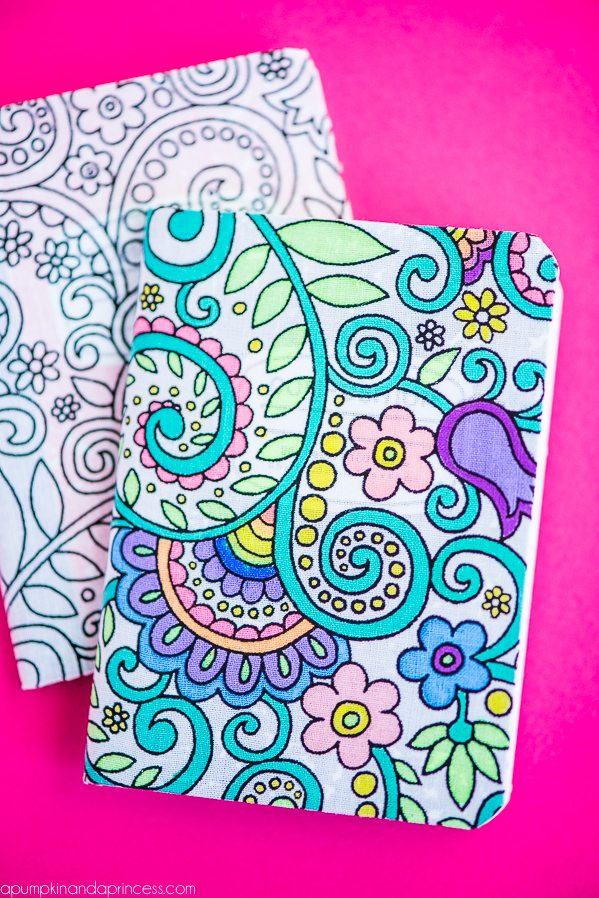
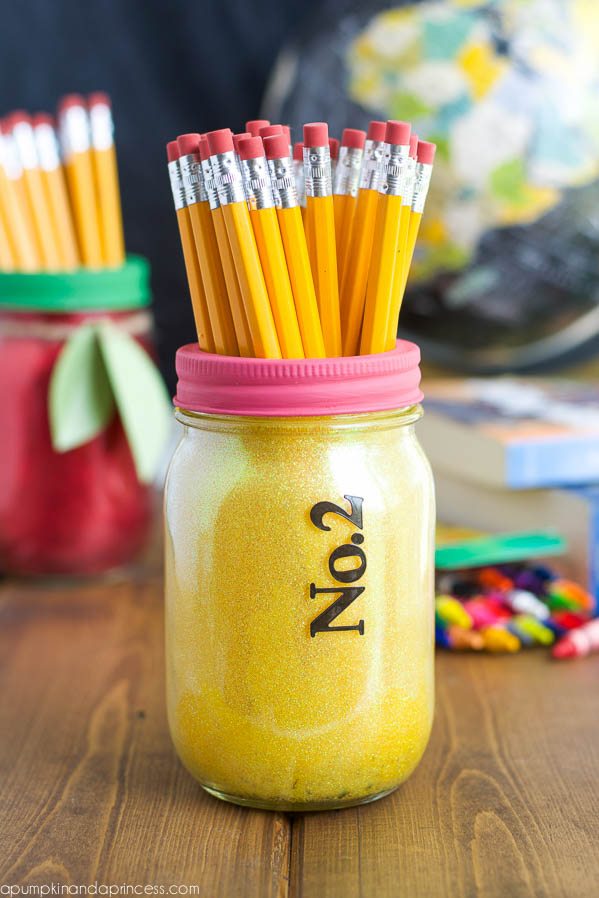
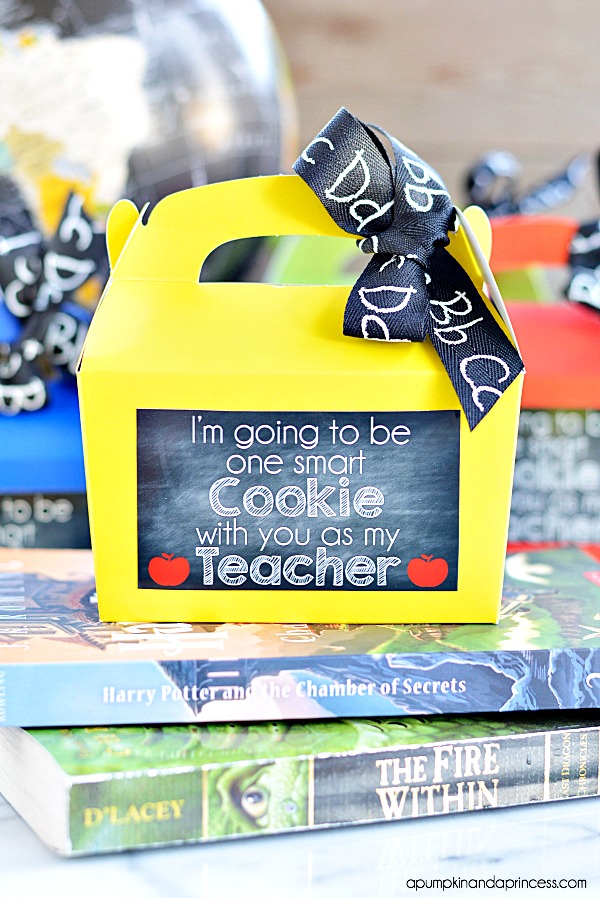
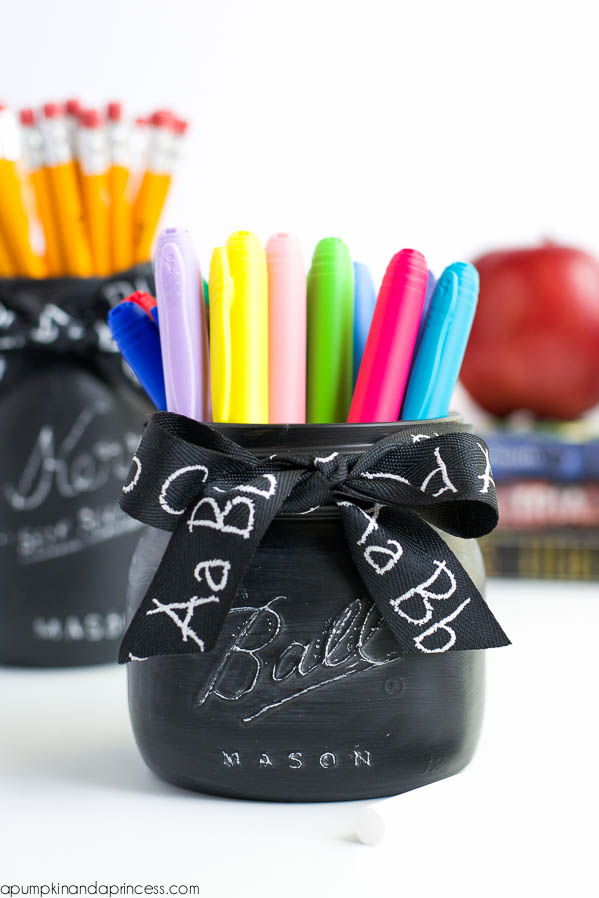
More back to school ideas