DIY Halloween Candy Holder – create a Tombstone Candy Holder out of a 2×2 piece of plywood and paint! Hi friends! I’m back and ready to share my Home Depot Do-It-Herself inspired project! This challenge was really fun and I can’t wait to see what everyone came up with. I wanted to stick to with a similar idea to the workshops’ project but with some decorative vinyl and spiderwebs. Want to make your own? Sign up HERE for the Home Depot workshop this Thursday, October 19th!
Supplies:
2×2 plywood
black and grey spray paint
black vinyl
plastic decorative bones
spiderwebs
candy
During the workshop you can learn how to make the entire project from start to finish. Home Depot will share a step-by-step tutorial with exact measurements to create your own candy holder. You can customize it anyway you want or use their example for inspiration. I considered turning mine into Frankenstein by keeping the plywood a straight cut and painting a face and his hair at the top. In the end I decided to use the tombstone idea as inspiration and add vinyl.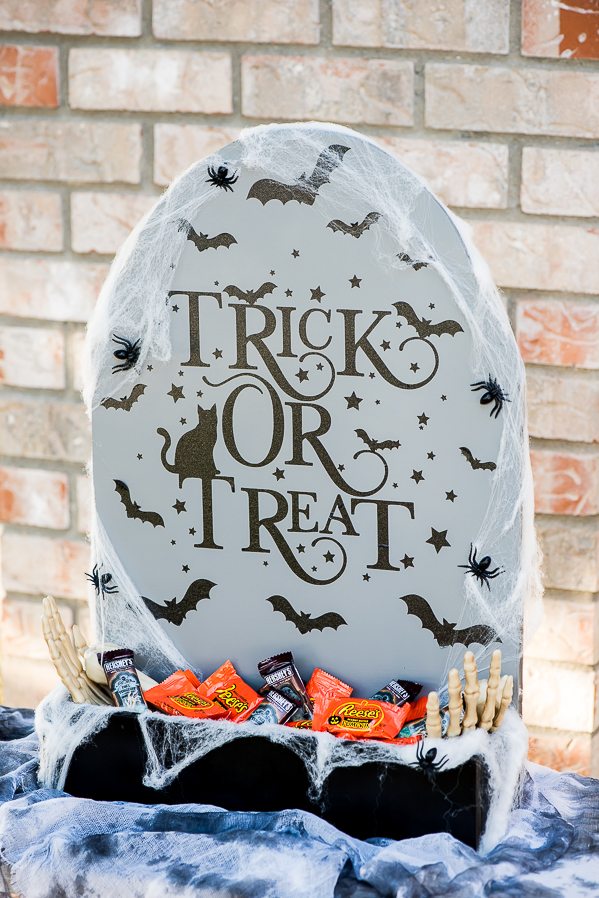
Step one: I cut my plywood into a tombstone shape and used the remaining pieces for the box. I’m going to be honest, I’ve never used a brad nailer so I was a little intimidated about this part. It ended up being so much easier than I thought! It has inspired me to create planter boxes for a Christmas centerpiece after learning how easy it is to make them out of plywood. Oh and I used a skill saw for the top of the tombstone.
Also, if I remember correctly the plywood was under 5 bucks. This is all the wood you need to create the tombstone AND the candy holder box. Making it a great idea for a girl’s night with friends!
Step two: paint your candy box and tombstone. I used spray paint because it’s quick and easy, which meant I could start assembling a lot faster. Once the paint was dry I attached the candy holder box to the front of the tombstone. Sidenote: my box looks a little different than the original instructions. Another idea I ended up changing my mind on but made it work in the end :)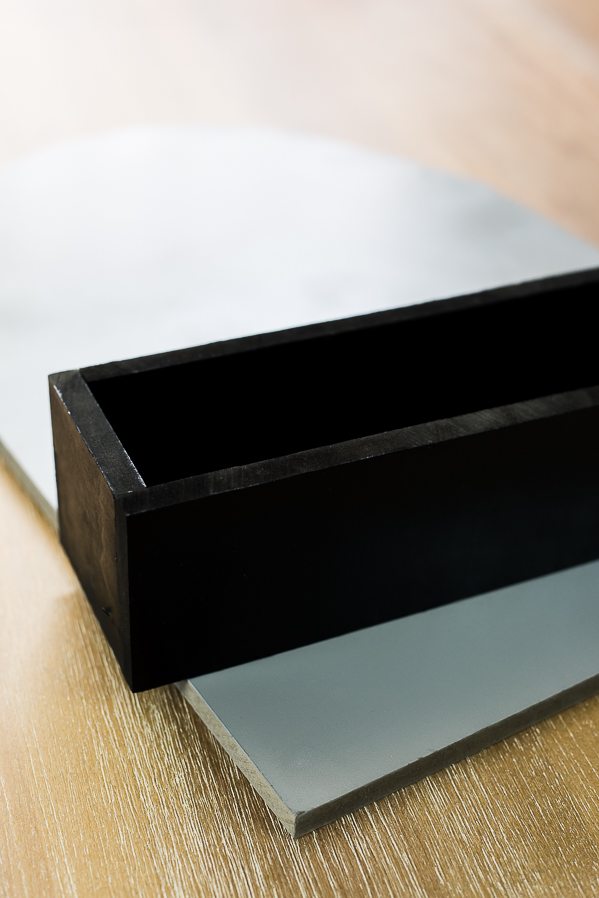
Step three: I then cut the “Trick or Treat” out of vinyl using my electronic cutting machine. Painting is not my specialty so I rely on my cutting machine to create vinyl designs. But if you can create your own design, I think this would look amazing hand painted!
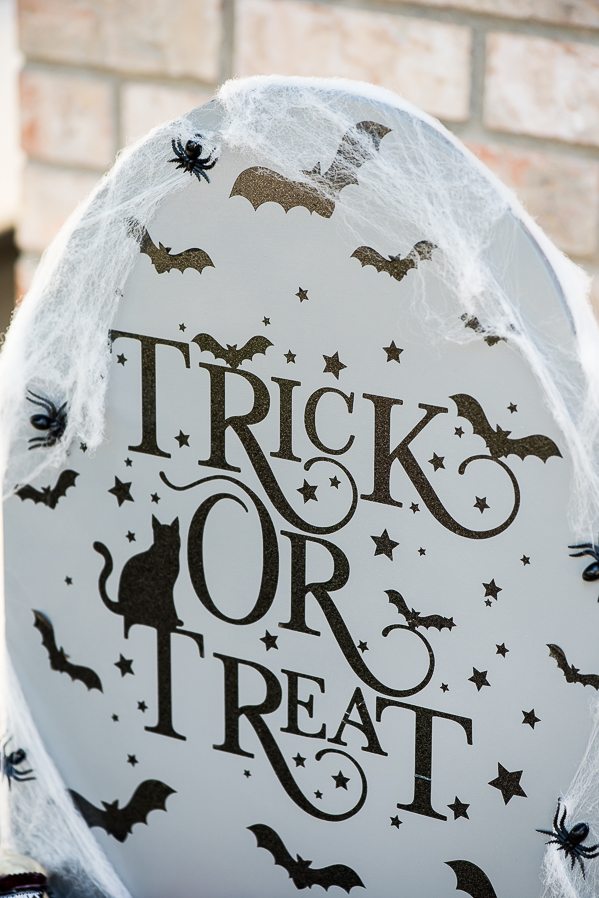
Once you place your vinyl design in the center, add some vinyl bats and spiderwebs to give it a complete look.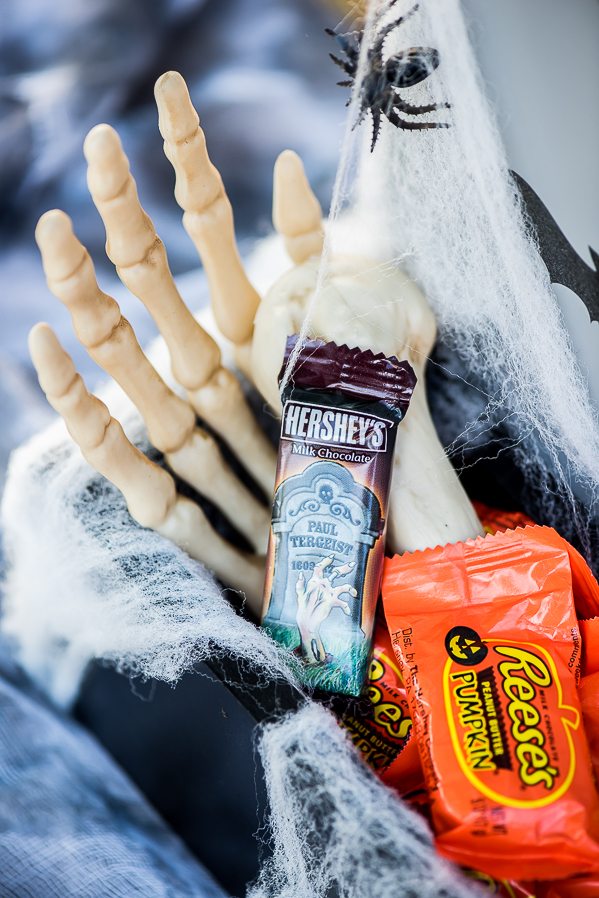
Want to make your own? Sign up for the FREE workshop tutorial happening this Thursday. Spots tend to fill up quickly, so check out the registration page and locate the Home Depot store near you to sign up.
The Home Depot offers workshops for all ages and experience levels. My kids love their Kid friendly workshops, one of the 3 types of workshops offered. You can also find Do-it-Yourself (DIY) and Do-It-Herself (DIH) workshops. These classes are typically offered at no cost to attend and you’re welcome to buy the supplies at Home Depot to make the projects at home. If you have attended one in the past, Home Depot would greatly appreciate some feedback HERE.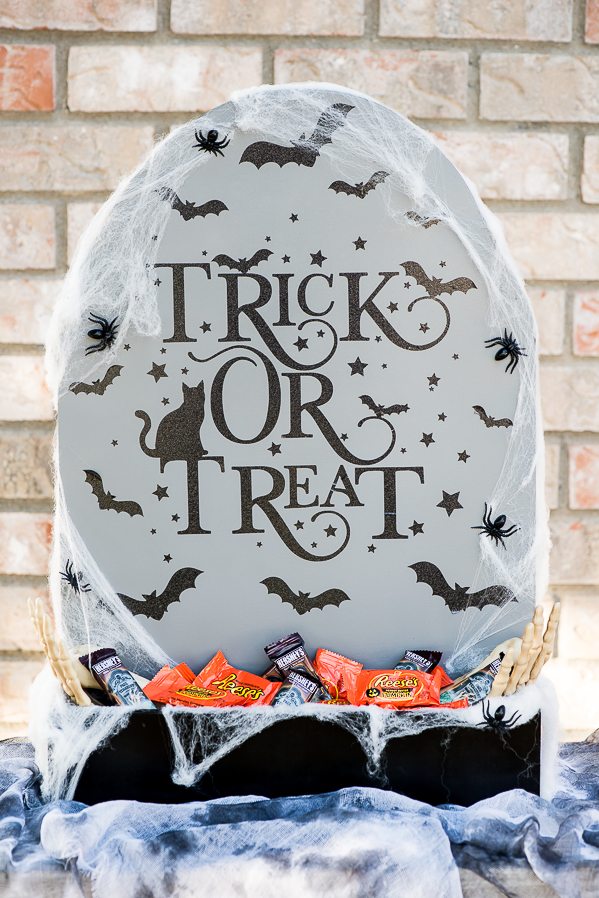
A Pumpkin and A Princess
Junque Cottage
This is a sponsored post in collaboration with Home Depot