This is a sponsored conversation written by me on behalf of Cricut. The opinions and text are all mine.
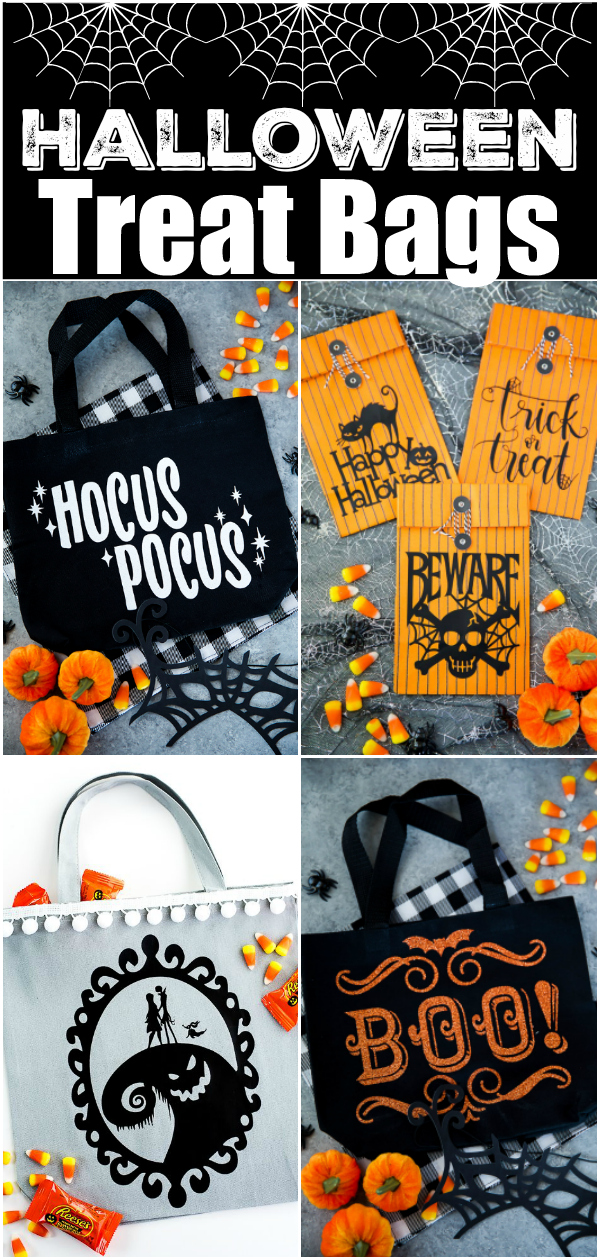
How to make custom Halloween Treat Bags with the Cricut Maker. This post includes easy Halloween ideas using glitter iron-on vinyl, adhesive vinyl and faux leather.

Halloween craft ideas using the Cricut Maker
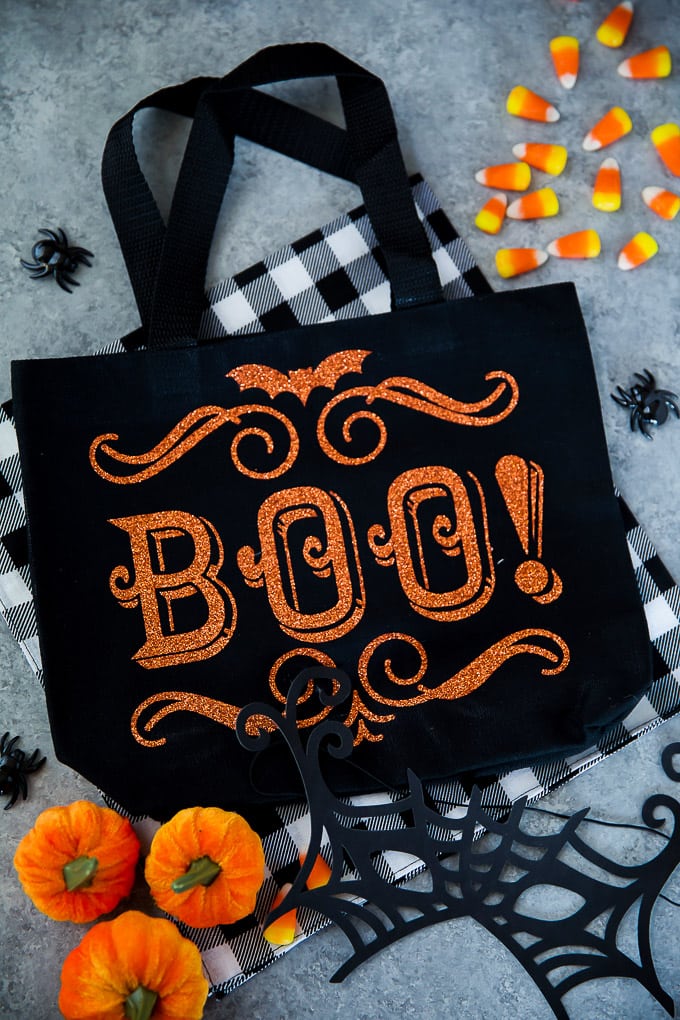
Halloween is right around the corner and I’m so excited to share some easy Halloween treat bag ideas with you. Vinyl has become one of my favorite craft items. It can totally transform a simple item, like a plain bag, into a fun project that you can use for parties and holidays. Today I’m going to share a few different ways you can use the Cricut Maker to customize Halloween treat bags for parties, trick or treating, or to give as a gift. First up is this double-sided Halloween tote bag. This treat bag is made using glitter iron-on with two designs, a flourish BOO! that I used to make the Glow in the Dark pumpkins and a Hocus Pocus design. This post contains affiliate links
DIY Glitter Iron-On Halloween Treat Bags
Materials:
- Cricut Maker
- Canvas tote bag
- Glitter iron-on in orange and white
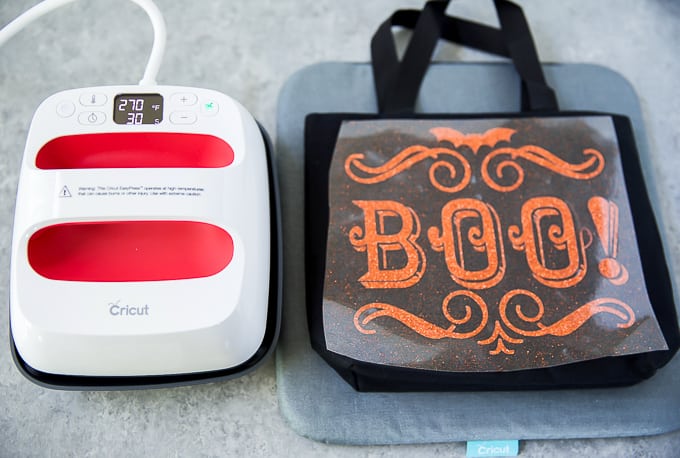
- EasyPress 2 (6×7 size)
To make a double-sided Halloween tote bag you will need two designs from Cricut Design Space. BOO! design is #M36429 and Hocus Pocus design is #M7E82397
- Adjust the size of the designs to fit your tote bag then place the glitter iron on shiny side down on the mat. Mirror the image before cutting and adjust the settings to glitter iron on. Cut designs out and weed out excess vinyl.
- Warm up the EasyPress to correct settings depending on the fabric of your bag. Use the EasyPress mat under the bag to protect your surface.
- Place the EasyPress on your bag for 5 seconds to warm up the fabric and iron out any wrinkles.
- Align the vinyl design to the center of the bag and press EasyPress down for 30 seconds.
- Place the EasyPress back on the protective stand and remove plastic sheet from the vinyl. Tip: start at the corner and gently peel off to make sure the design is fully adhered to the bag. Lightly press heat back on for a few seconds if you notice any sections are not attached to the bag.
- Repeat on the back with your second design.
 Since I’m new to the Cricut Maker, I wanted to play around with a few different materials. I’m used to cutting adhesive and heat transfer vinyl, but really wanted to try something new. Can I just say I’m amazed at how many materials the Cricut Maker can cut? Wood, felt, leather, etc. so many possibilities! Cricut has come a long way from my original Cricut machine I purchased after college! To cut thicker materials you will need a Knife Blade. This blade can cut Balsa wood, basswood, tooling leather, garment leather, chipboard, mat board, and craft foam.
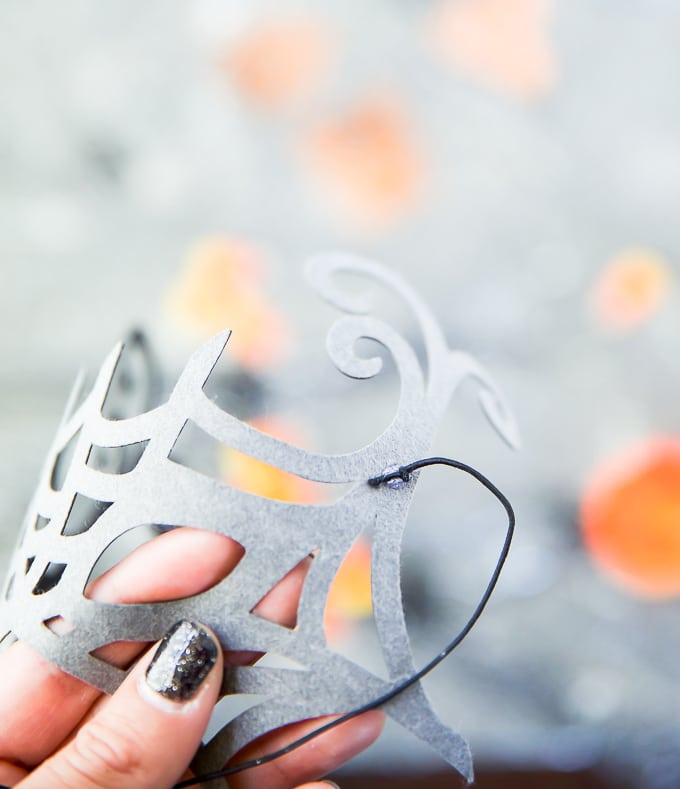
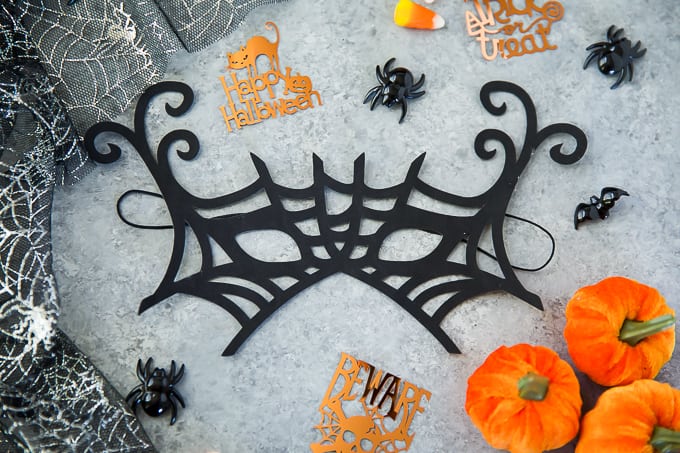
DIY Halloween Mask
I decided to try making a quick and easy spiderweb mask out of soft faux suede. The mask is lightweight and makes a great last-minute costume idea for Halloween. Materials:
- Black faux suede
- Elastic string
- Hot glue
Tutorial:
- Use spiderweb mask design #M3F9C6 and adjust size to your preference. Mine is about 9 inches wide.
- Cut using faux suede settings.
- Add a small dot of hot glue to the inside of the mask edges and attach black elastic.
- Enjoy your quick and easy DIY Halloween mask!
 I also wanted to quickly show you this Halloween confetti I made using party foil. I plan to experiment more with this material and will write a post soon on how you can make your own confetti to fit your party theme.
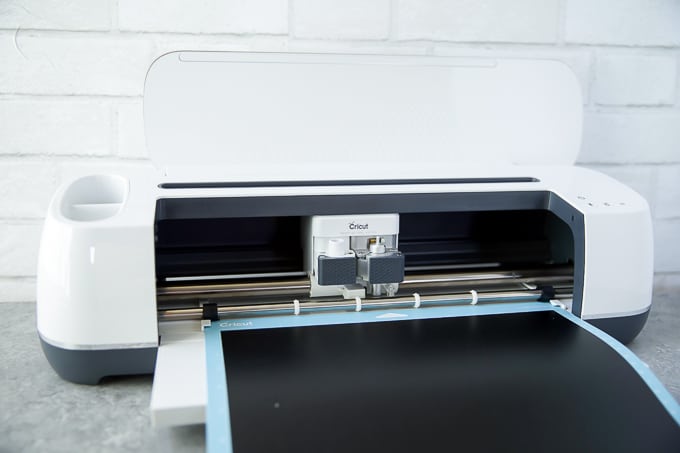
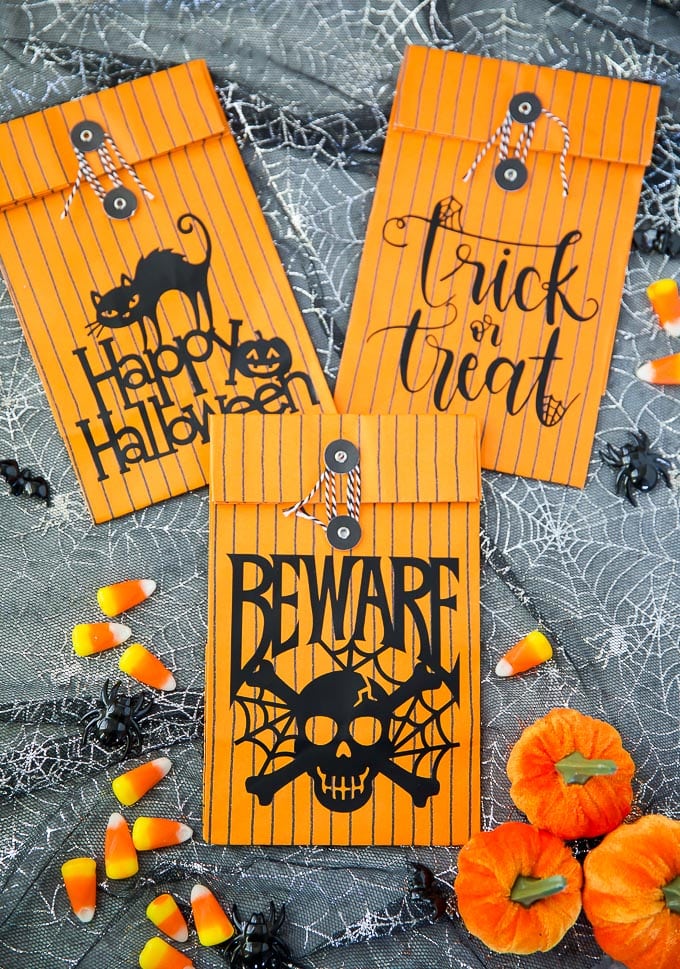
Paper Halloween Treat Bags
One more idea to quickly share and it’s a simple classic Halloween treat bag. I spotted these paper bags at Target and new they would look great with some adhesive vinyl designs on the front. Every year I like to stock up on these small treat bags and surprise the kids with random Halloween goodies throughout the month of October. You can fill them with candy, socks, nail polish, stickers, anything Halloween themed. Materials:
- Paper treat bags
- Adhesive vinyl
- Transfer tape
Tutorial:
- Select designs from the Cricut Design Space (#M3B474B0, #M79E87FA, #M7A182BD)
- Size the designs to fit your bag (mine are about 4 inches wide).
- Cut using vinyl setting and remove excess vinyl.
- Use transfer tape to apply the designs to the center of the bags.

Want more Cricut Halloween ideas? Check out these easy DIY projects:
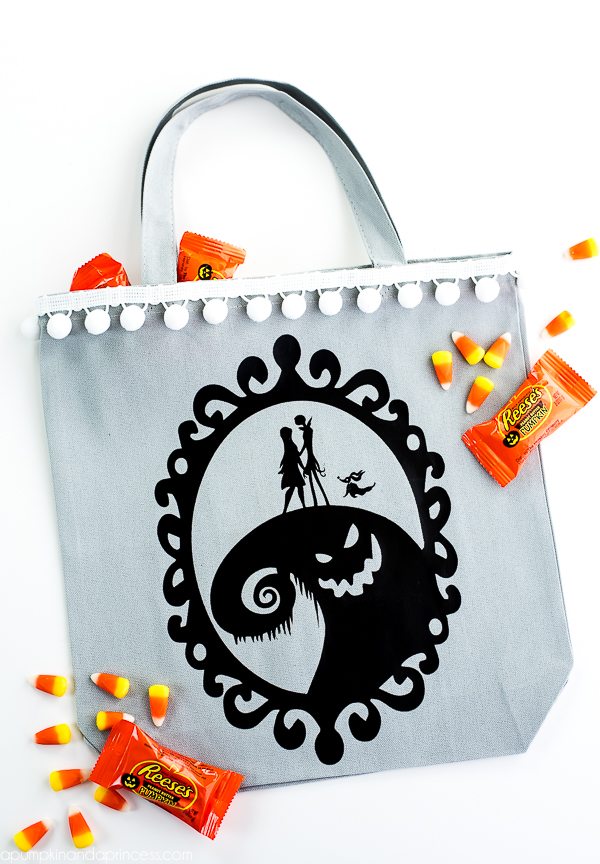
The Nightmare Before Christmas Tote Bag
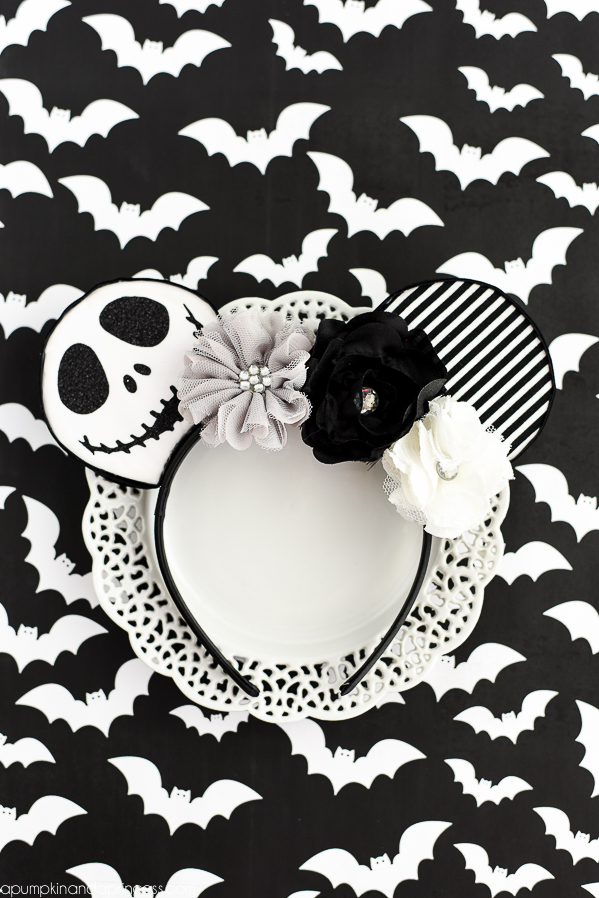
Jack Skellington Disney Ears
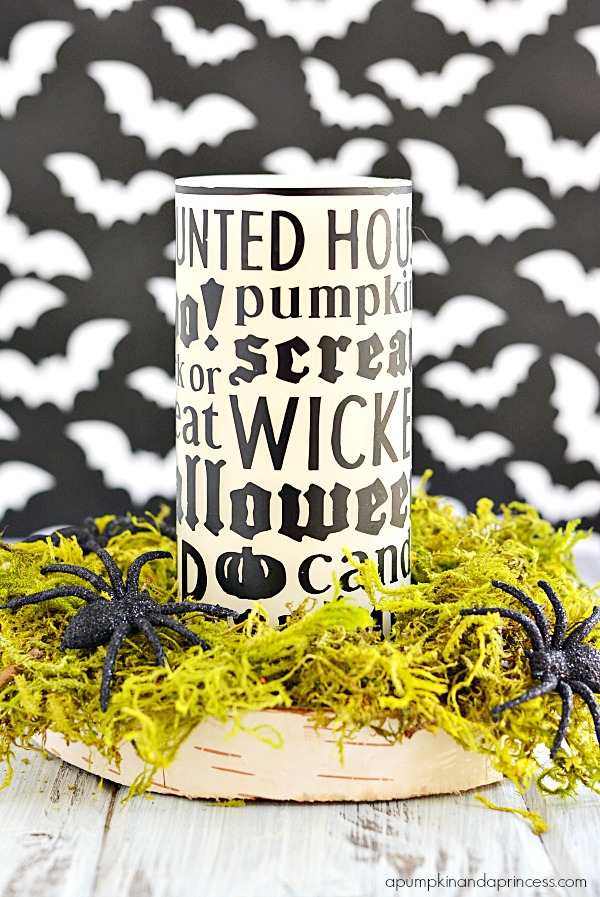
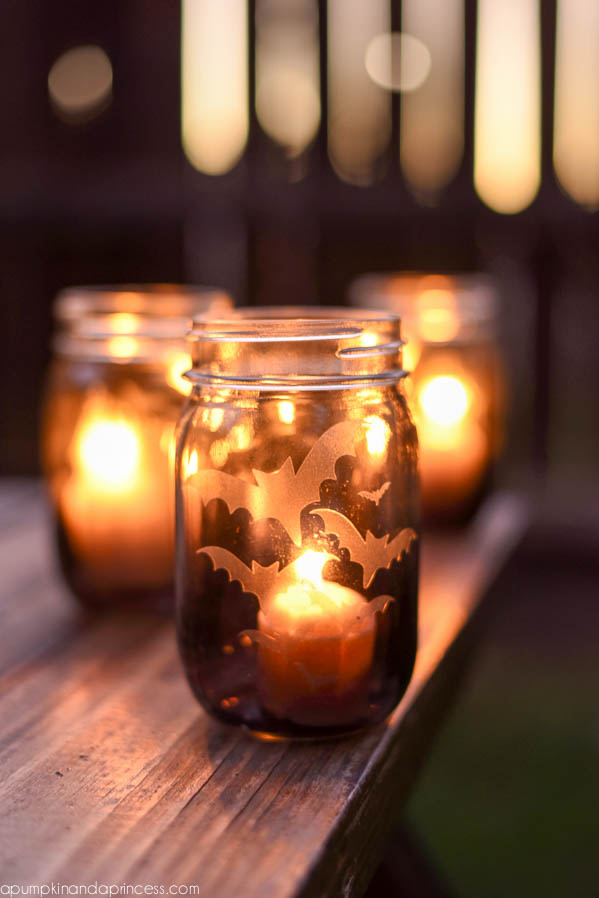
Faux Etched Glass Bat Luminaries
Halloween Subway Art Candle