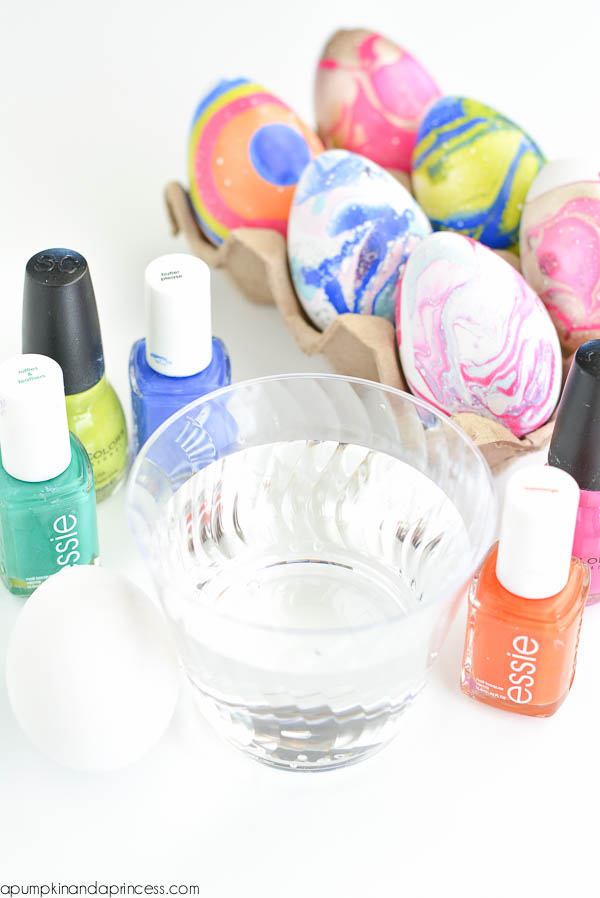
DIY Marbled Nail Polish Easter Eggs – how to make marbled eggs with nail polish and water.
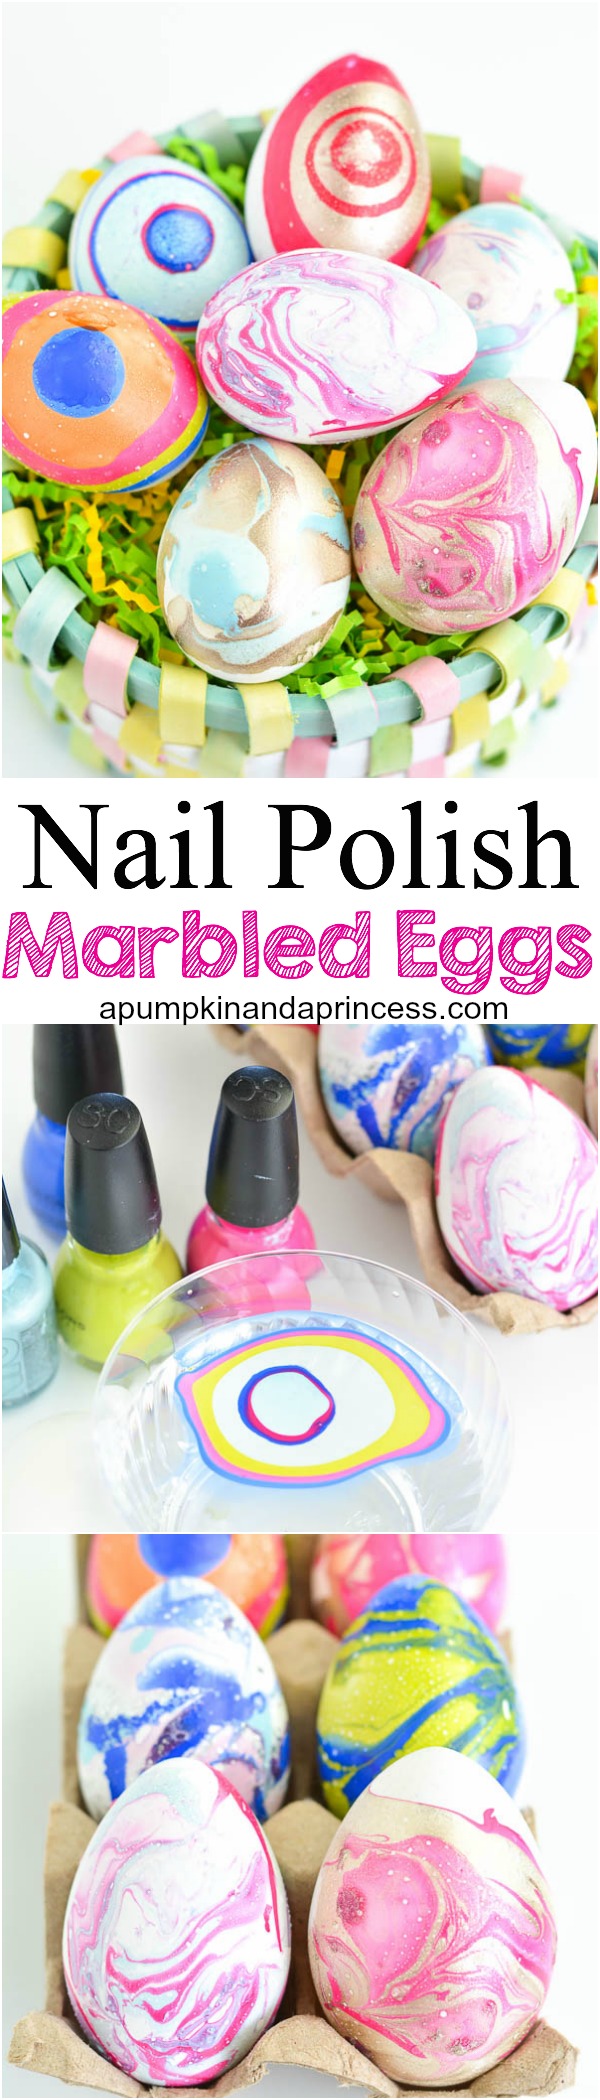
Hey crafty friends! Easter is quickly approaching and we’re still having fun trying new Easter egg decorating techniques. Today I want to share with you our latest craft – marbled eggs made with nail polish. A few years ago the marbled nail polish in water nail technique became quite popular. Since then I’ve seen a variety of crafts made with the nail polish technique and I couldn’t wait to try decorating eggs with the kids. I’m not sure who started this idea but it is addicting! We quickly went through 2 dozen eggs both craft and blown out real eggs. Once you get started you’ll have fun trying new color combinations and swirling the colors together. If you want to get fancy you can create designs with a toothpick or layer the colors on top of each other.

Supplies:
Craft Eggs/Blown out eggs
Nail Polish
toothpick
disposable cup or bowl
room temperature water
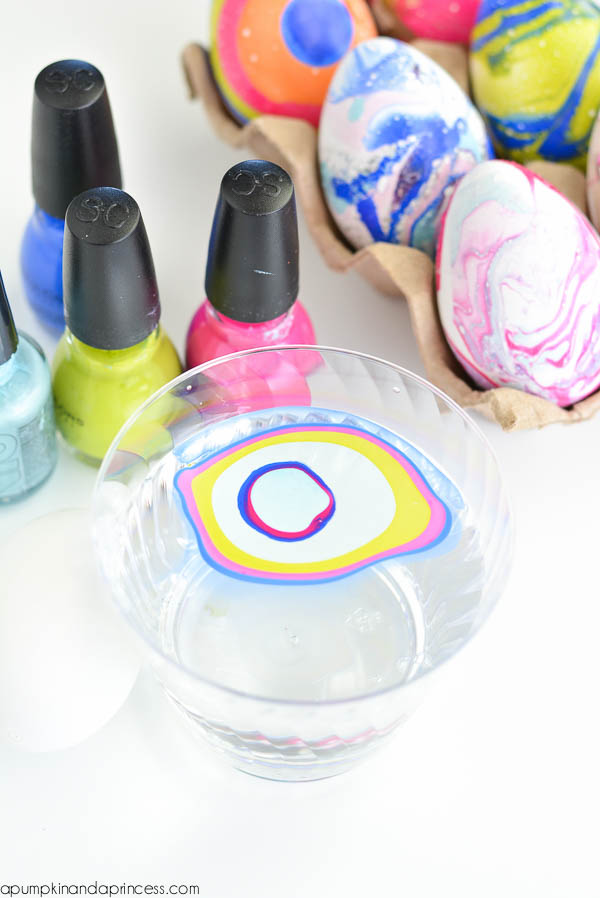
 Step one: Drop nail polish into small water cup or bowl (water should be room temperature). You can either drop various dots for a marbled look or layer the nail polish. In the picture below we added a few drops of each color and used a toothpick to swirl the nail polish together.

You can also layer the nail polish by adding one drop at a time. The trick is to work quickly to avoid having the nail polish dry before dipping the egg in.
 Step two: quickly dip the egg in and watch the nail polish adhere to the egg. My kids loved this part! It’s quite amazing to watch the nail polish cling to the egg and completely separately from the water. This method covers about half of the egg. You can leave them as is or paint the other side once it’s dried. Tip: if you’re using blown out eggs or craft eggs with a small hole on the bottom, use a bamboo stick to dip the egg in the nail polish. Otherwise you can use gloves to avoid getting nail polish all over your hand.
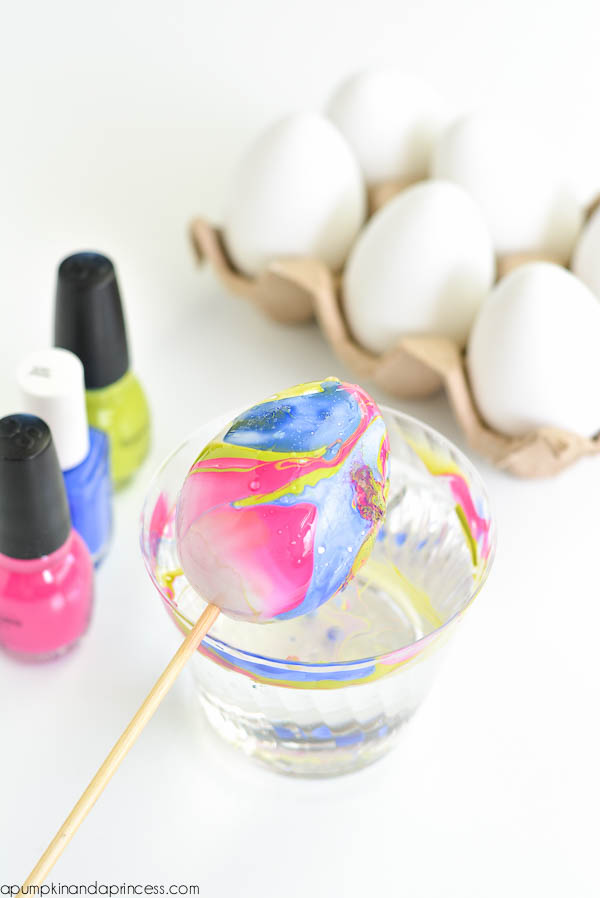 Set eggs to dry for a few hours or overnight.
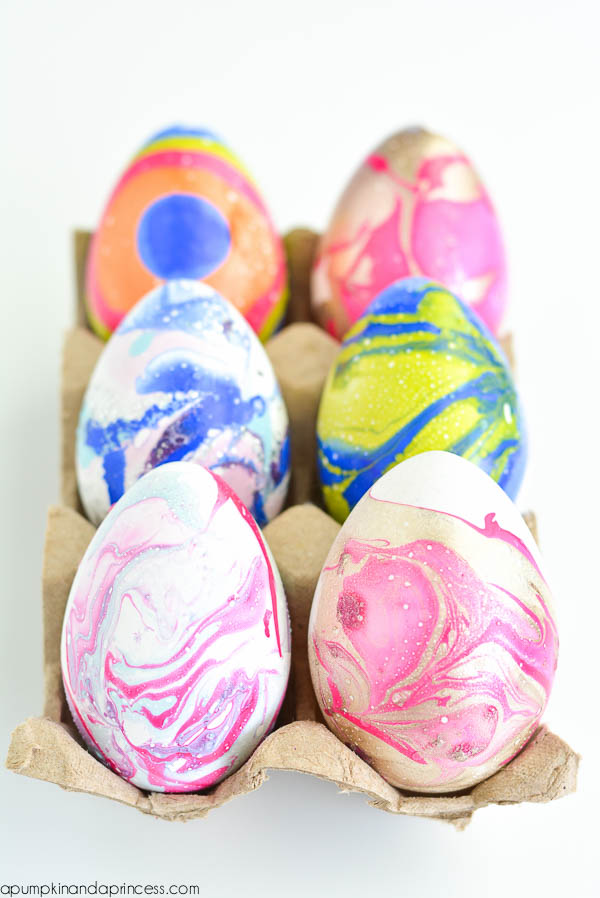
After making two dozen eggs we found that real eggs (that have been boiled or blown out) look slightly better than the craft eggs. The reason being is the water droplets when you remove the egg aren’t as noticeable. I’m not sure if there’s a trick to removing the water but we found that when the droplets dry it leaves white spots where the nail polish should be. It’s not a big difference but it was a small observation with our eggs.
More Easter ideas: