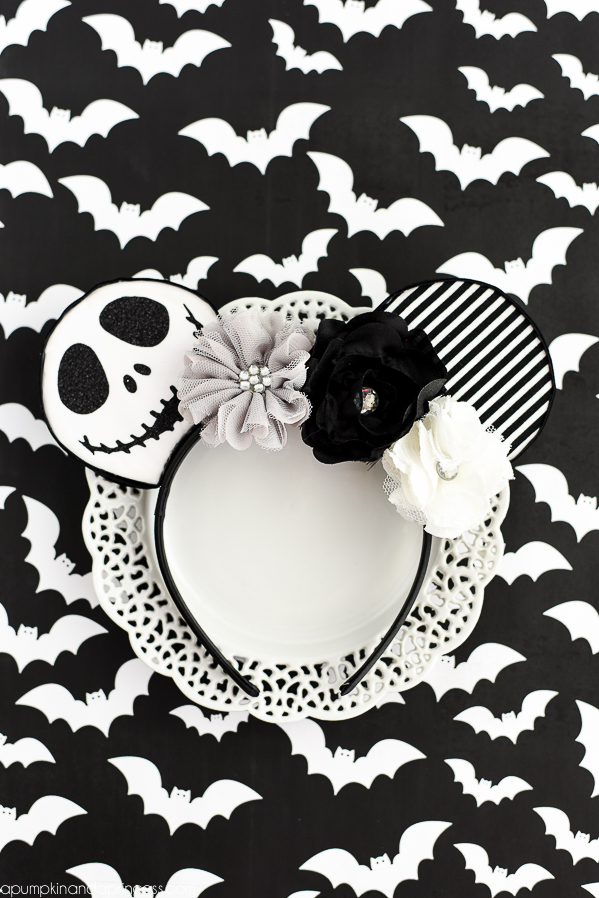
DIY No-Sew Jack Skellington Mouse Ears – easy mouse ears tutorial and template for your next trip to the Happiest Place on Earth!

Hello friends, I have an exciting post to share with you today! I’m partnering with our friends over at Expressions Vinyl & Get Away Today to share a DIY Jack Skellington Mouse Ears Tutorial. But that’s not all…I’m also giving away a Disneyland Vacation to one lucky reader! More on that later. When Expressions Vinyl asked if I wanted to be part of their Disney Blog Hop I immediately said yes. My family loves all things Disney and living so close to Southern California we try to visit the parks as often as we can. My daughter always looks forward to wearing her mouse ears every time we go so I had the idea to start making them for her. I have a sewing tutorial coming up but first I wanted to share with you this no-sew mouse ear tutorial. This method is really and the template can be used for sewing or no-sew mouse ears. So let’s get started!
This post contains affiliate links
How to make no-sew Jack Skellington Mouse Ears
Supplies:
Mouse-ears-template
Glitter Heat Transfer Vinyl
Cricut Cutting Machine
Fabric
Foam Board
Batting
Hot Glue Gun
Ribbon
Headband
Flowers
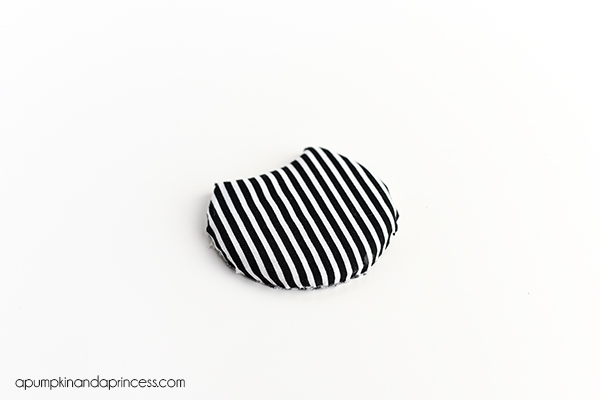
Step one: print & cut mouse ear template. Cut your fabric using the large mouse ear template. You will need 4 pieces of fabric, 2 for each ear. I used a striped fabric on one ear and plain white on the other.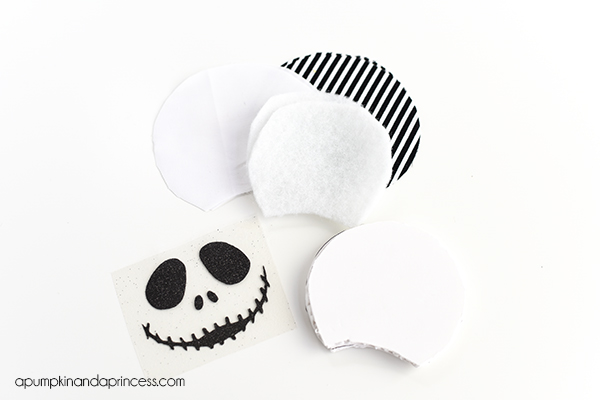
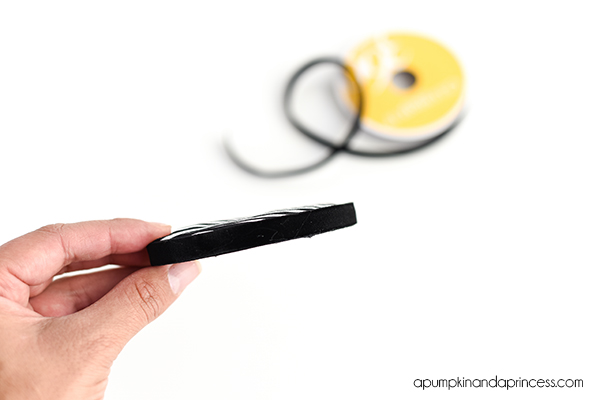
Step two: cut two pieces of foam and batting using the smaller ear template.
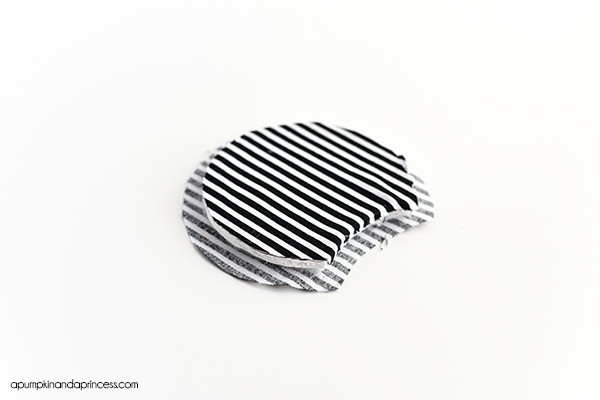
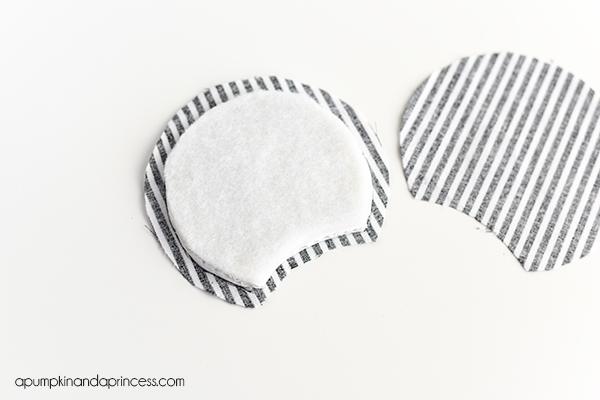 Step three: Glue your foam piece onto the inside (wrong side) of one of your fabric pieces; trim excess fabric. I use a thin line of hot glue around the boarder of the ear to glue each fabric, foam and batting piece together. Hot glue your batting on top of the foam then glue your fabric piece on top, right side up. Layers: fabric, foam, batting, fabric. Trim excess fabric off and glue seams closed.
 Step four: hot glue ribbon around the ear to cover your exposed edges.
Step five: to make the Jack Skellington ear you will need a Jack image or cutting file. I found a few images and converted them into svg cuts in the Cricut design space. Cricut also has an image that resembles Jack Skellington, I used it to make my Glow in the Dark Pumpkins and Jack-o-lantern lollipops. To do this you will click Upload image, then select Simple Image. Click the background or any area you want to remove. Cut your image by placing the heat transfer vinyl shiny side down. Remember to size your image to about 3×3 inches to fit your mouse ear.
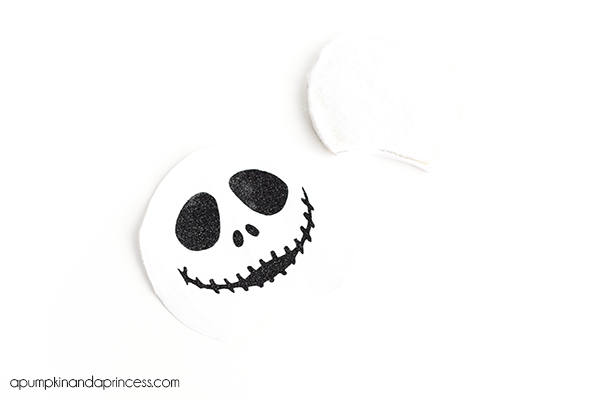
Step six: iron your heat transfer vinyl on your ear. Trim excess fabric and repeat step four.
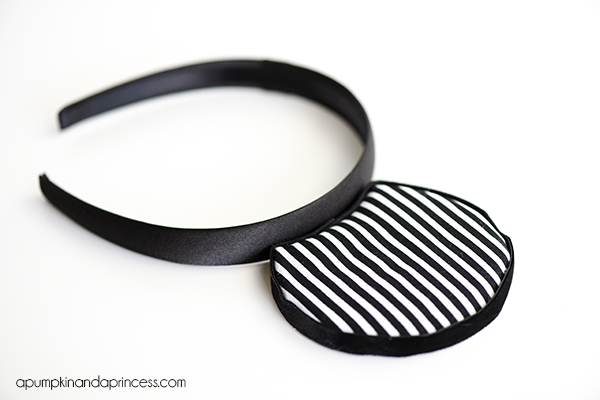
Step 7: hot glue your ears onto your headband. Hold them in place for about 30 seconds.
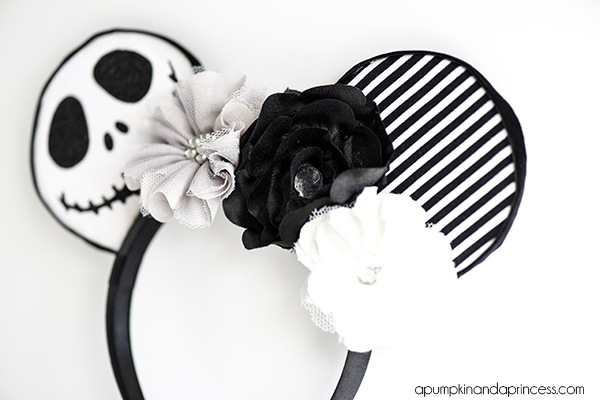
Step 8: add flowers or a bow to decorate your mouse ears!
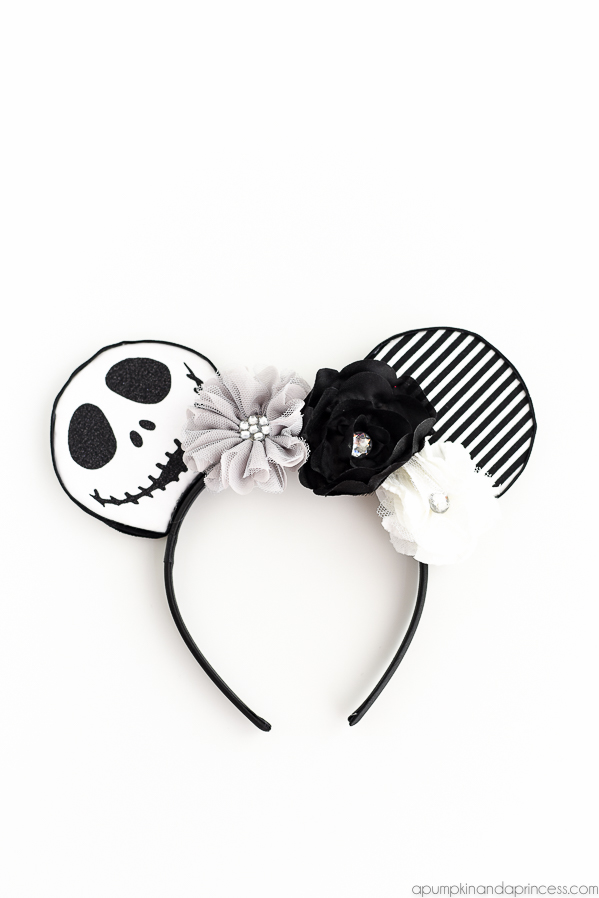
My daughter LOVES Jack Skellington and she is SO excited to wear these on our next Disneyland trip.
Check out all the amazing Disney projects!
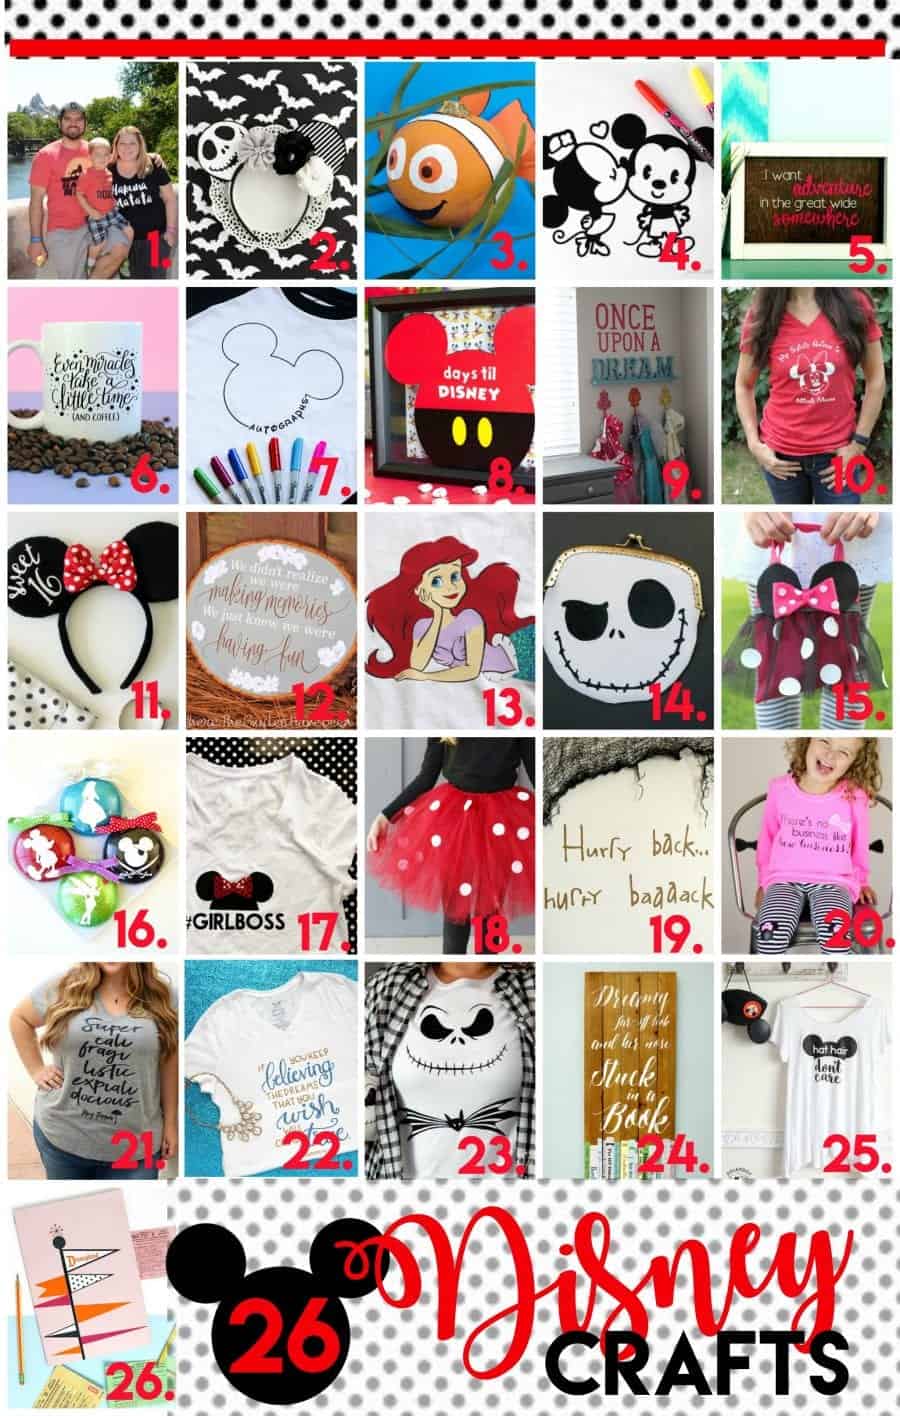
1. Lion King shirts by Play Party Plan
2. Jack Skellington Ears by A Pumpkin and a princess
3. Nemo pumpkin from C.R.A.F.T.
4. Disney coloring shirt by Artsy Fartsy Mama
5. Belle framed art by Crafting in the Rain
6. Miracles free cut file By Dawn Nicole Designs
7. Autograph shirt by the Pinning Mama
8.Disney countdown by Frenchi Wraps
9. Girl dress up by Over the Big Moon
10. Spirit animal shirt by Smashed peas and Carrots
11. Customized Minnie Ears by Inspiration Made Simple
12.Winnie the Pooh quote from Where the Smile Have been!
13. Modest ariel from Kiki & Company
14. Jack Skellington coin purse by Tried and True
15. Minnie Mouse purse by A girl and a glue gun
16. Disney ornaments by Happiness is Homemade
17. Girl Boss shirt by Sweet Rose Studio
18.No Sew Minnie tutu by Sugar Bee Crafts
19. Haunted Mansion door design by Simple simon and Co.
20. Minnie Mouse bow shirt by Girl loves Glam
21. Mary Poppins design by the Crafted Sparrow
22. Cinderella hand lettered shirt by Pitter and Glink
23. Jack Skellington shirt and pumpkin by the Scrap Shoppe
24. Beauty and Beast book sign by Flamingo Toes
25. Hat hair shirt by Polka Dot chair
26. Vintage Disneyland by Persia Lou
These are so cute! Totally need to make some for our next Disney trip