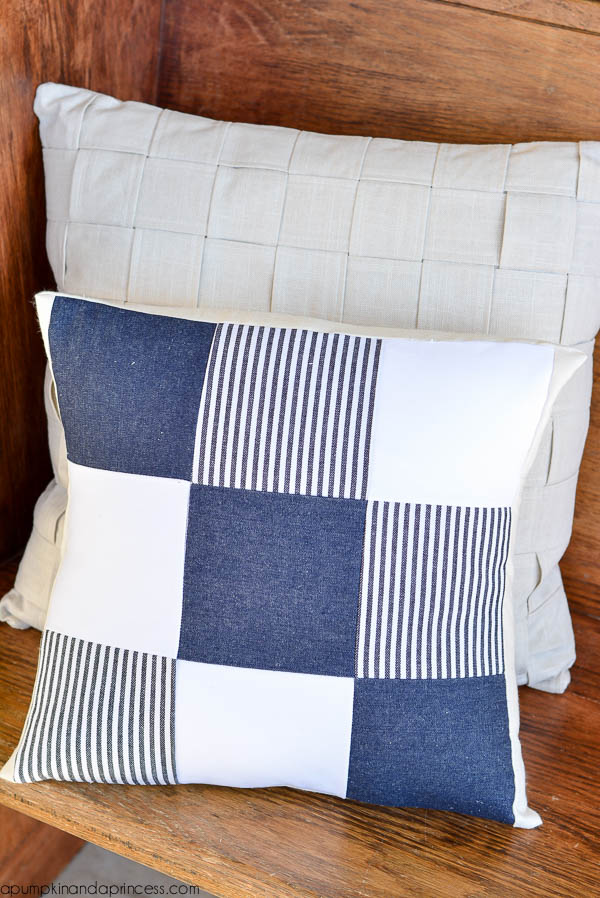
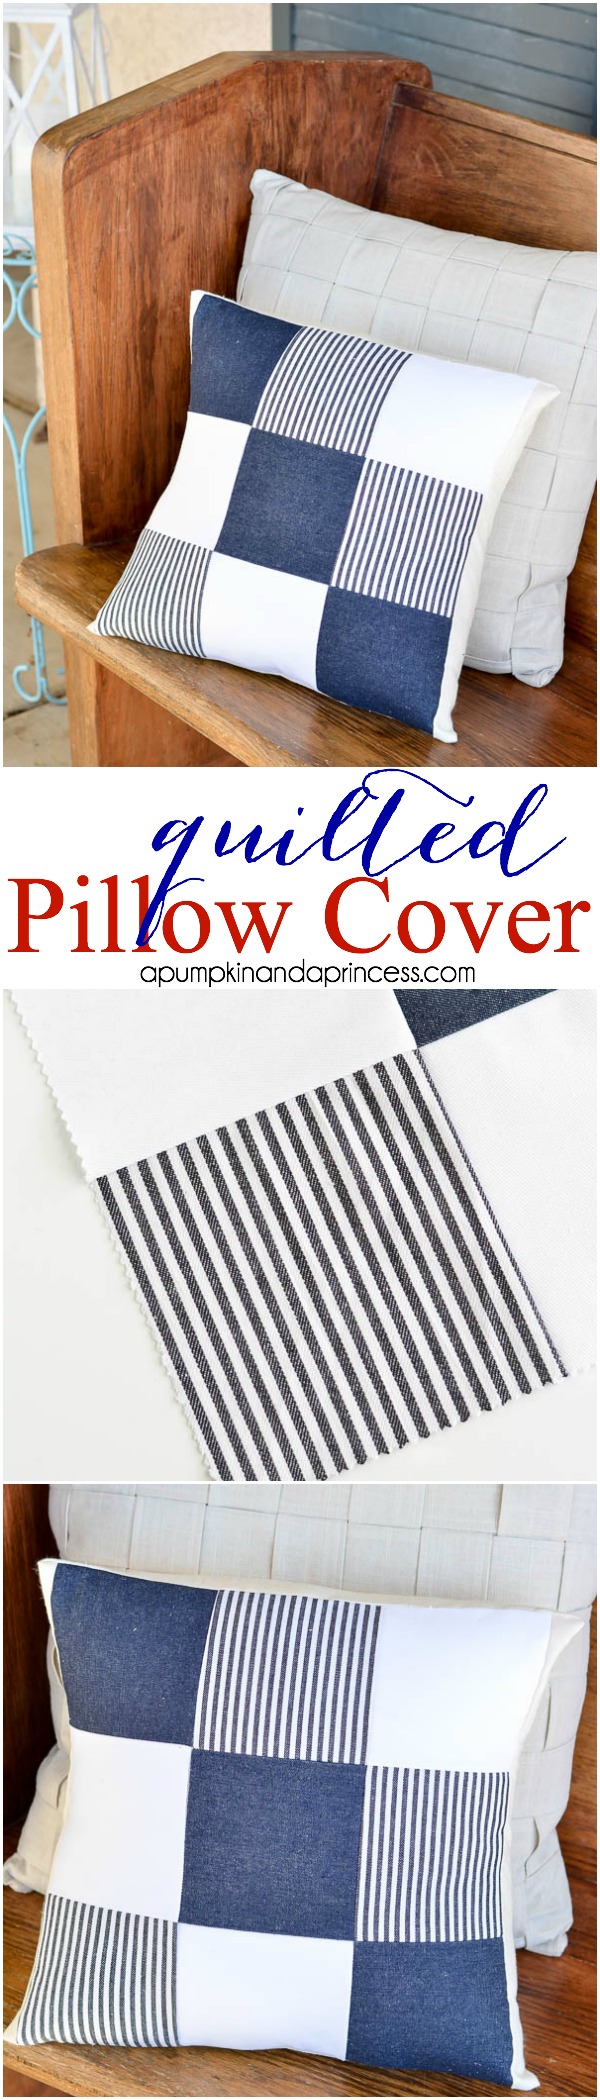
DIY denim quilted pillow
Remember how trendy denim was in the 90s? I happen to have a few cringe worthy pictures of some fabulous, at the time, denim outfits. Although, my sister’s denim vest with sunflowers on the back takes the cake. Yes, that was an actual article of clothing in our home and I still remember exactly what it looked like…the sunflowers were 3D! Denim is one of those fashion trends that has staying power and continues to evolve throughout the years. We go from bellbottoms (another childhood favorite trend of mine) to high waisted jeans to skinny jeans and everything in between. This year Michaels predicts denim to be a big trend in home décor and crafts. Today I’m excited to share this month’s Michaels Makers challenge – denim! For this challenge I made a quilted denim pillow with a nautical theme for my front porch.
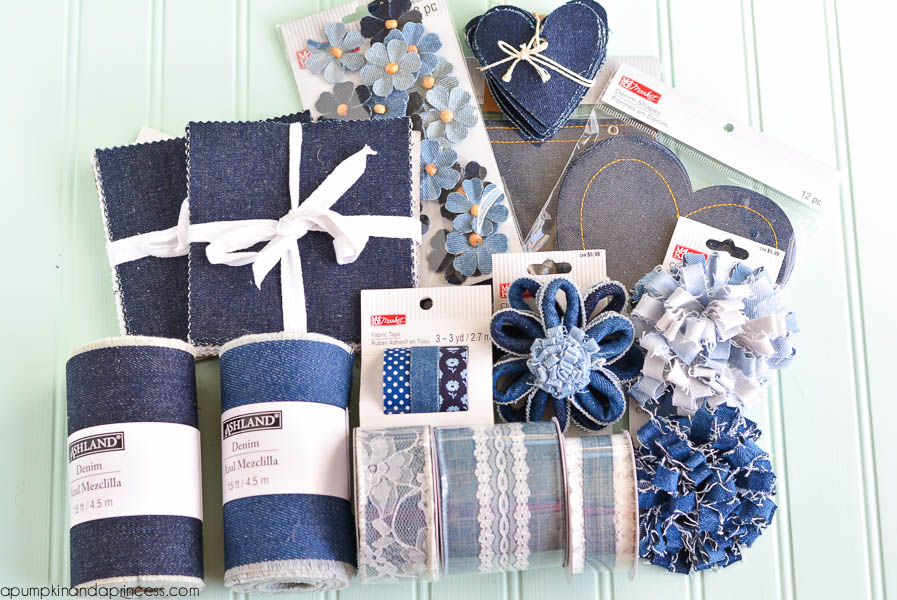
 Before we get to the tutorial take a peek at some of the awesome denim products from the Make it Market line. I can’t wait to play around with the denim ribbon and denim flowers!
 I’m going to preface and say that I’m a beginner level sewer. I can probably count on both hands the amount of times I’ve sewed in my life. I’ll try my best to explain the process of how I adjusted a basic envelope back pillowcase. With that in mind, I’d like to say that if I can do this than you can too.
How to make a denim pillow
Supplies:
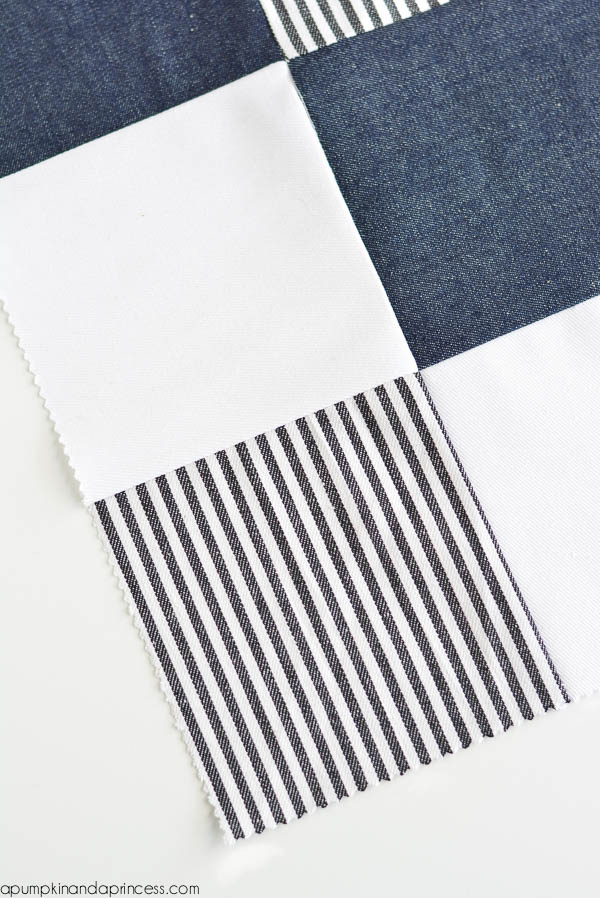
Denim fabric pieces (the pack from Michaels comes in denim, striped denim and white denim)
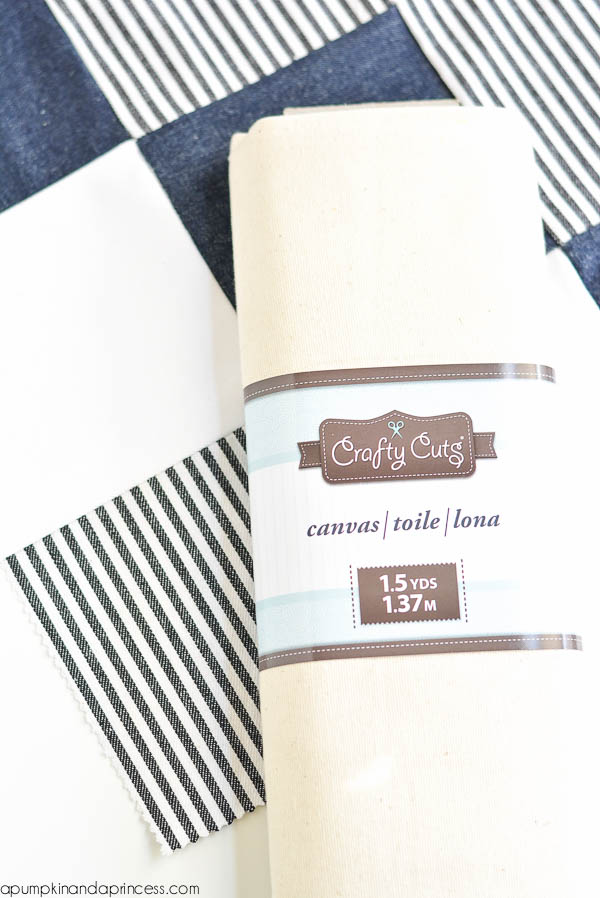
Canvas fabric
Pillow form
Sewing machine and thread
Step one: I sewed together 12 pieces of denim squares using a ¼ inch hem. This resulted in a slightly smaller front for my pillow (16×16). If you’re using a smaller pillow form this isn’t an issue but I had to adjust the back to make up for the difference.
 Step two: Measure and cut the fabric 2 inches wider than your pillow (only if your quilted pieces are smaller than the front, otherwise add only ½ inch). My pieces were
Front: 14×14 after being sewn together
Back piece: 7 ½ x 16
Back piece: 10 ½ x 16
 The extra canvas fabric made up for the missing front area. The only reason I even had to do this step is because the front was quilted. If it was a simple envelope pillow cover you would simple measure the front the same size and the back add 5 inches and cut in half. For example 16-inch pillow cover would be cut 16×16 for the front, back pieces 20 inches cut in half. When you sew the pieces together the 10inch pieces overlap to make an envelope back.
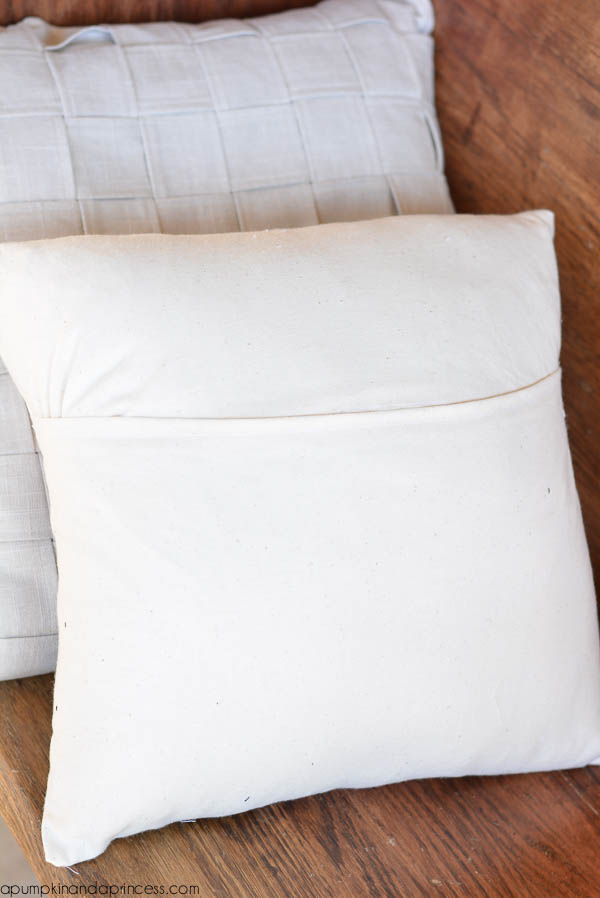 Since I made my back slightly larger I sewed the sides first and then the top and bottom. I did hem the back pieces with a ½ inch seam. You can also check out my flower pillow tutorial for more pictures on the sewing process.
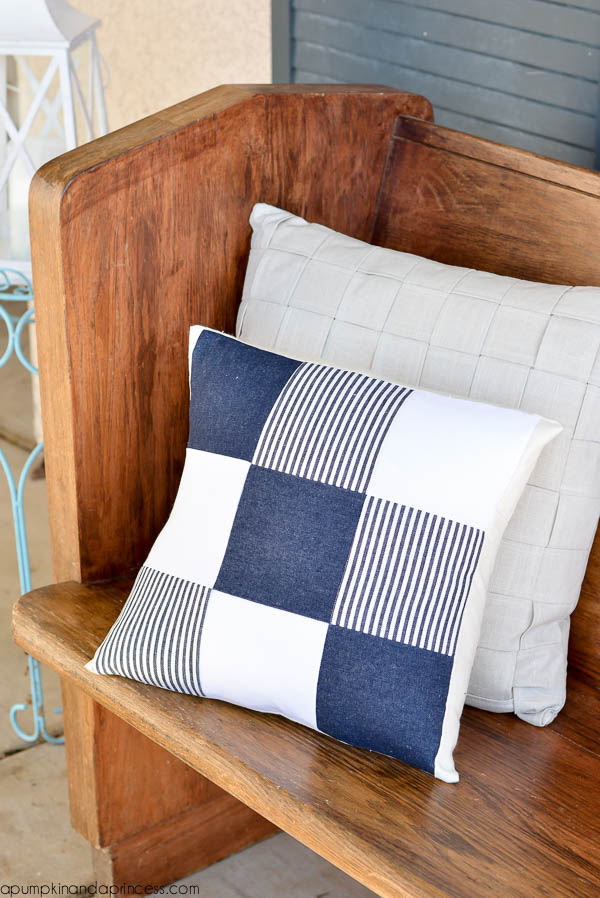
My mother-in-law gave me this beautiful 100+ year-old church pew for our front porch and I couldn’t wait to decorate it with pillows. I plan to add more denim and nautical themed pillows soon. p.s. fabric weaved pillow in the background is also from Michaels.