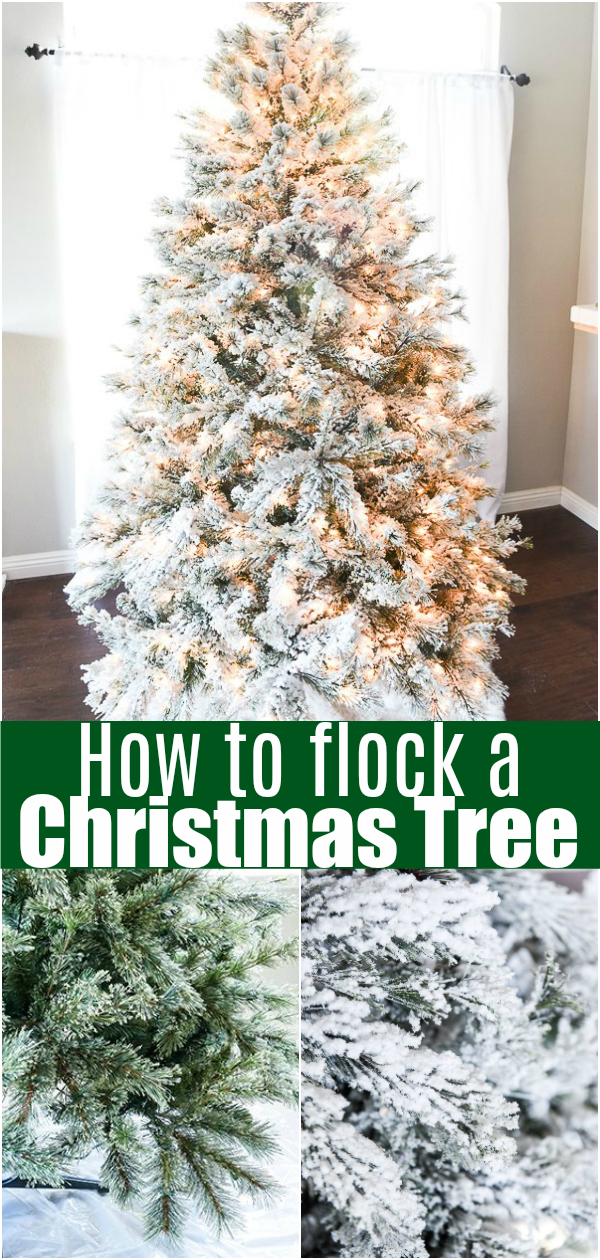
How to flock a Christmas tree – create a snow effect on your artificial tree with this easy DIY Flocking Tutorial.
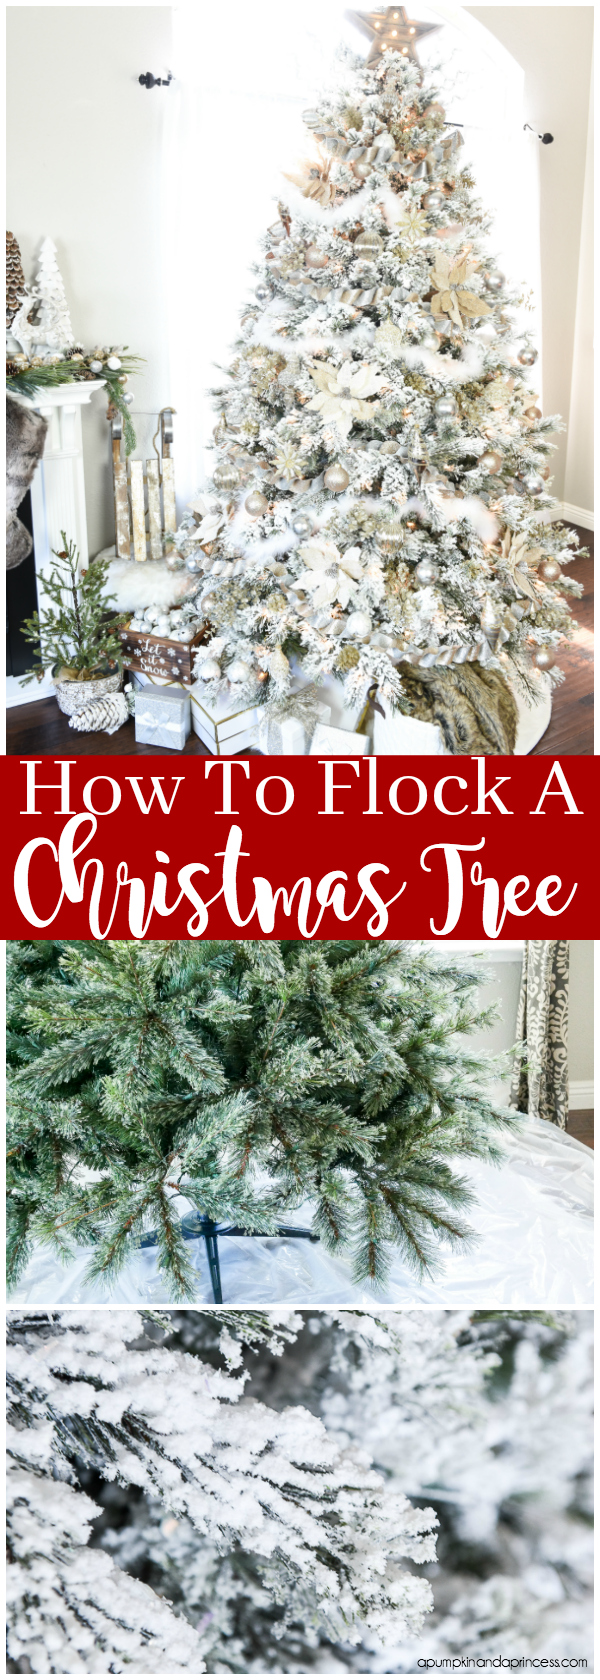
DIY Flocked Christmas Tree
Hello friends! I hope you had a wonderful Thanksgiving. Now that the fall holidays are officially over Christmas season is in full swing. Today I’m sharing how I flocked my Christmas tree. I received a lot of messages after posting my Michaels Dream Tree and hope this helps those of you wanting to add a snowy effect to your tree.
This DIY flocking tutorial can be used on artificial and real Christmas trees. It’s a great way to revamp an old or new tree to fit your holiday decorating theme. If you enjoy decorating with a winter wonderland theme, check out my SNOWY MASON JARS. The look beautiful on a Christmas tablescape and mantel.
This post contains affiliate links
How to flock a Christmas Tree
Supplies:
Christmas tree
Tree Flocking Powder
Water bottle
Strainer
Mask
Tarp or disposable tablecloth
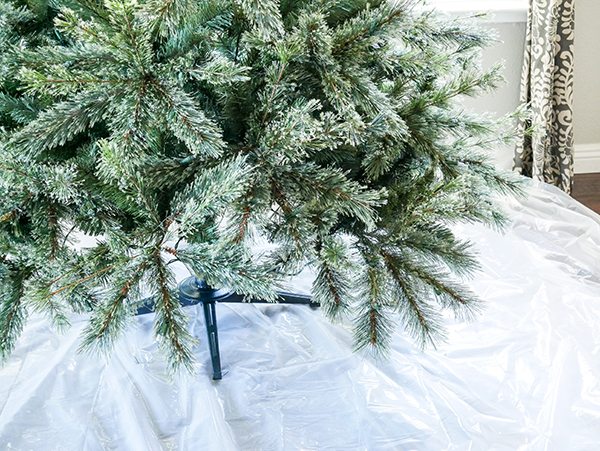

Step two: Work in small sections starting from the bottom up. If you have a tree that attaches in 3 sections, add the bottom section first. Once you’ve flocked that section you can add the second.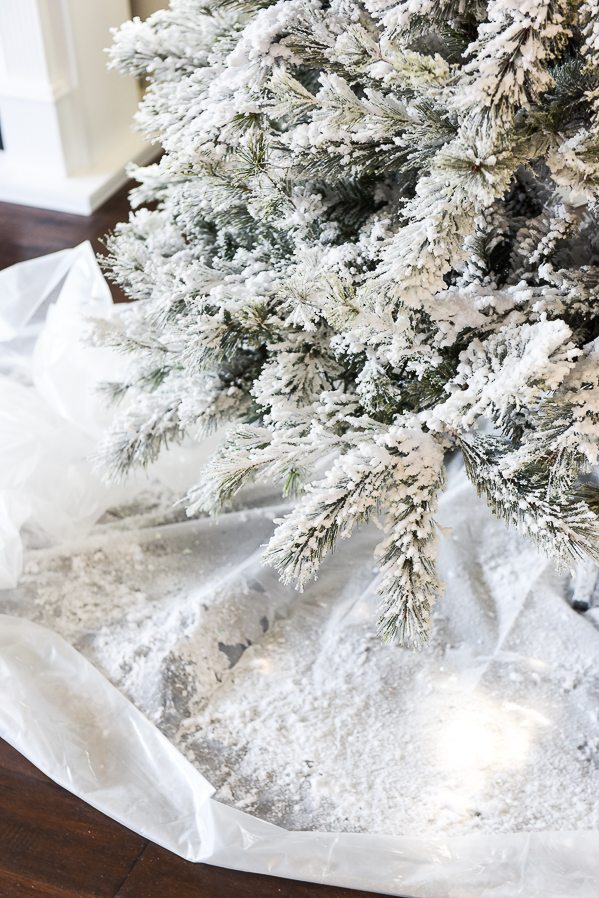
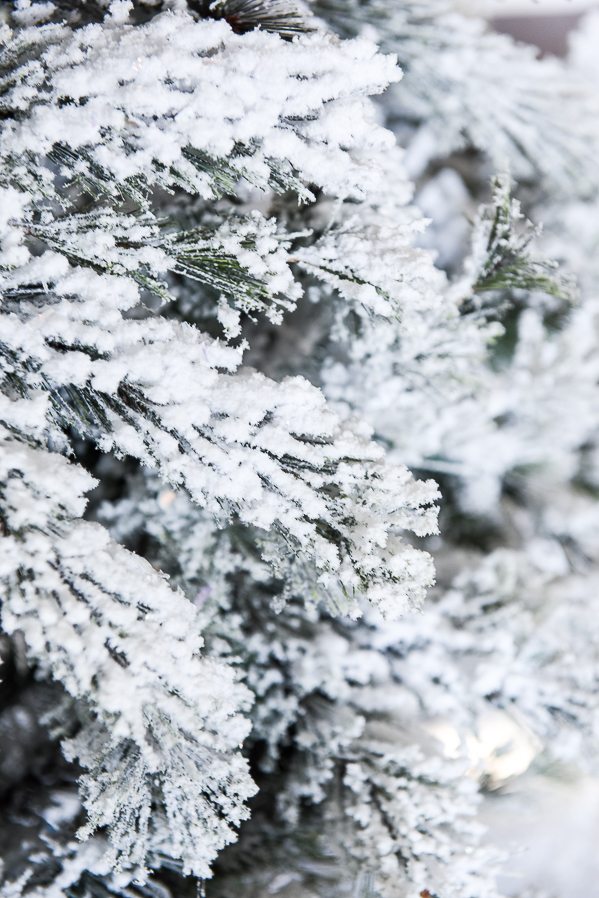
Step three: start flocking! To do this you will need to spray and shake the strainer over the tree at the same time. I sprayed with my left hand and lightly sprinkled the flocking with my right. The flocking and water will bond together and attach itself to the tree. I hope I’m explaining this correctly but once you get the hang of it, it’s quite easy to do. You don’t necessarily spray the tree branches but instead spray in the direction of the tree at the same time the flocking is falling down. The two will bond together and stick to the branches. You can add as much flocking as you’d like, depending on how white you want your tree to look.
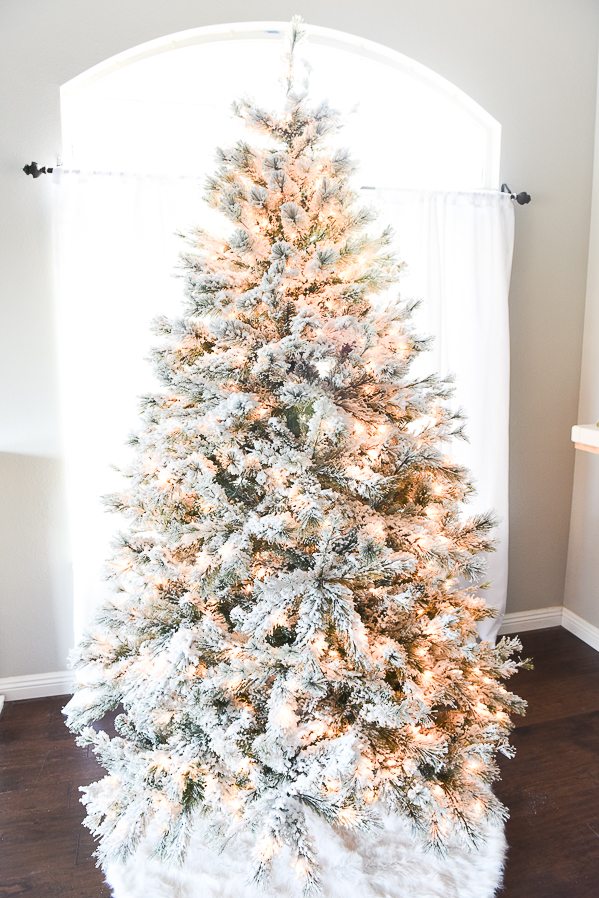
 Step four: once your bottom layer is flocked, work on the second then the top. The package directions say it take 6-36 hours for the flocking to dry. It was in the mid 70’s when I flocked my tree and it was pretty dry in a few hours. I would definitely recommend waiting at least overnight before decorating.
Things I learned when flock a tree:
- This is messy! The tarp is essential, especially if you are flocking indoors. The white flocking tends to spread but thankfully it’s easy to sweep and vacuum up.
- Keep your windows open or do this in a well ventilated area. If I decide to flock another tree I might do it in the garage next time. Then again moving it inside might leave a trail of flocking. But like I said it’s easy to clean up either way.
- One box of flocking is plenty for a 7.5ft tree. I could easily flock a smaller tree and a couple of wreaths with the leftover flocking.
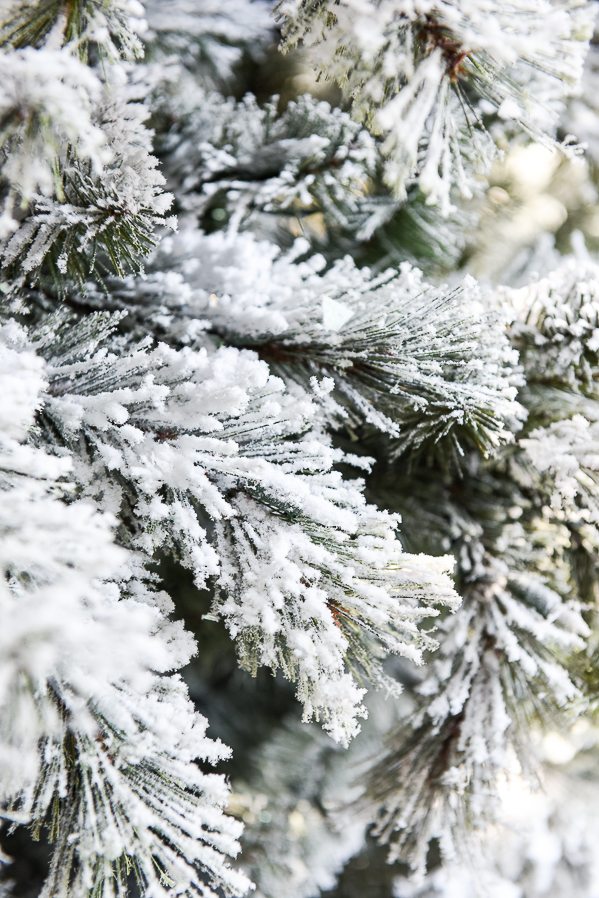
- I’m very happy with the way it turned out! This is a great way to transform an older (or new) artificial tree. The flocking looks absolutely beautiful and fit perfectly with my Christmas décor this year.
More Christmas ideas

The BEST Glue to Glitter Ornaments

When looking for “how to flock a Christmas tree” I saw your post.
It’s gorgeous and of course we all know the process is going to be messy. But will this stay on the tree year after year, especially after it gets taken down and stored after the season?
For a 7.5 ft tree how many pounds of flock did you use?
How do you keep the flock from getting on your lights on the tree? I want to do this on my tree but it seems the flock would stick to the lights and then the lights wouldn’t be as bright.