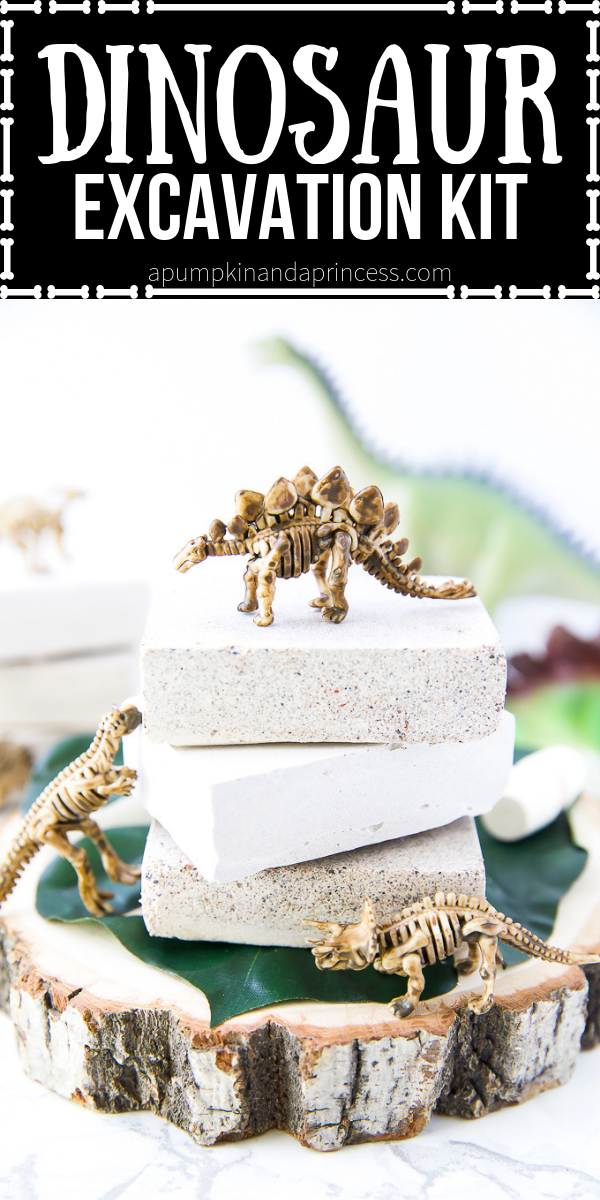
How to make Dinosaur Excavation Kits. Aspiring paleontologists will love digging through this DIY dinosaur dig party favor. Hidden inside they will find a dinosaur fossil toy, rocks, and gems! This craft is great for a dinosaur party, archaeology learning activity, and boredom buster.
DIY Dinosaur Dig Excavation Kits
My son turned 8 this summer and he asked for a dinosaur birthday party theme. We had so much fun planning dinosaur crafts, recipes, and party decorations. The inspiration for the party favors came from my son buying one of those excavation kits at the store. It looked pretty simple to make, with endless possibilities to personalize it with an assortment of toys and gems inside.
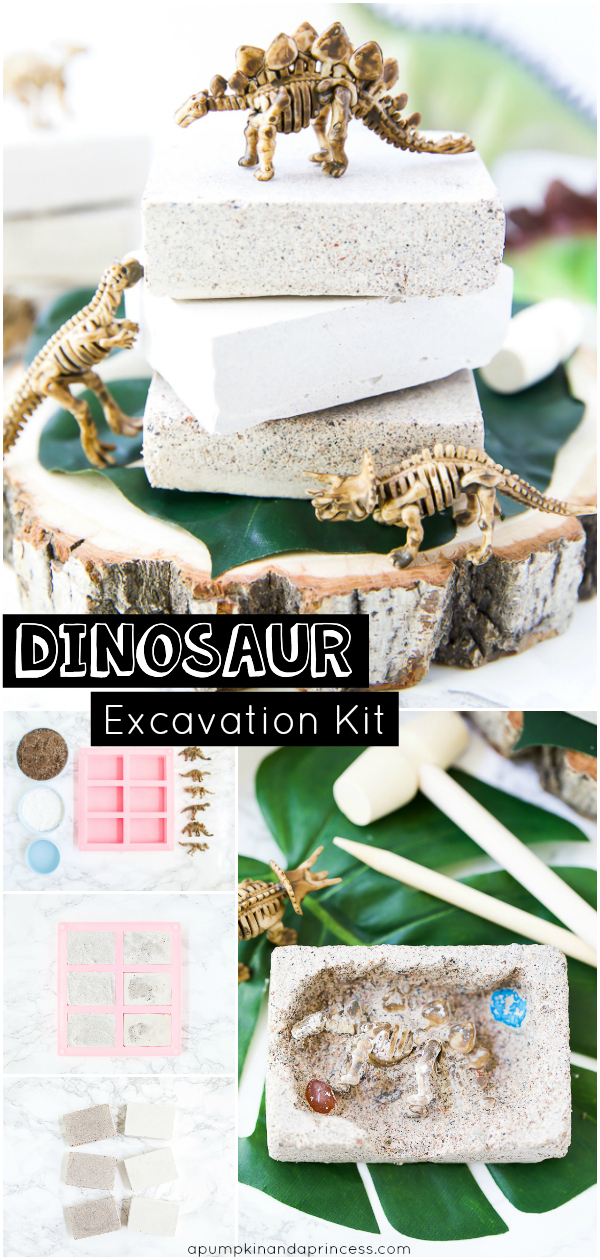
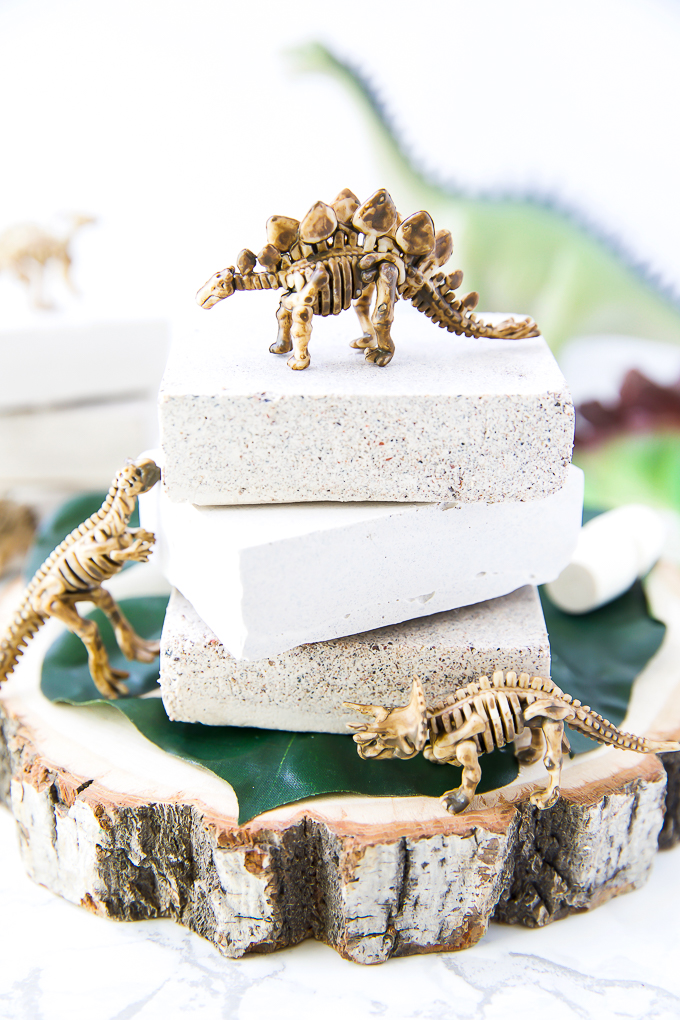
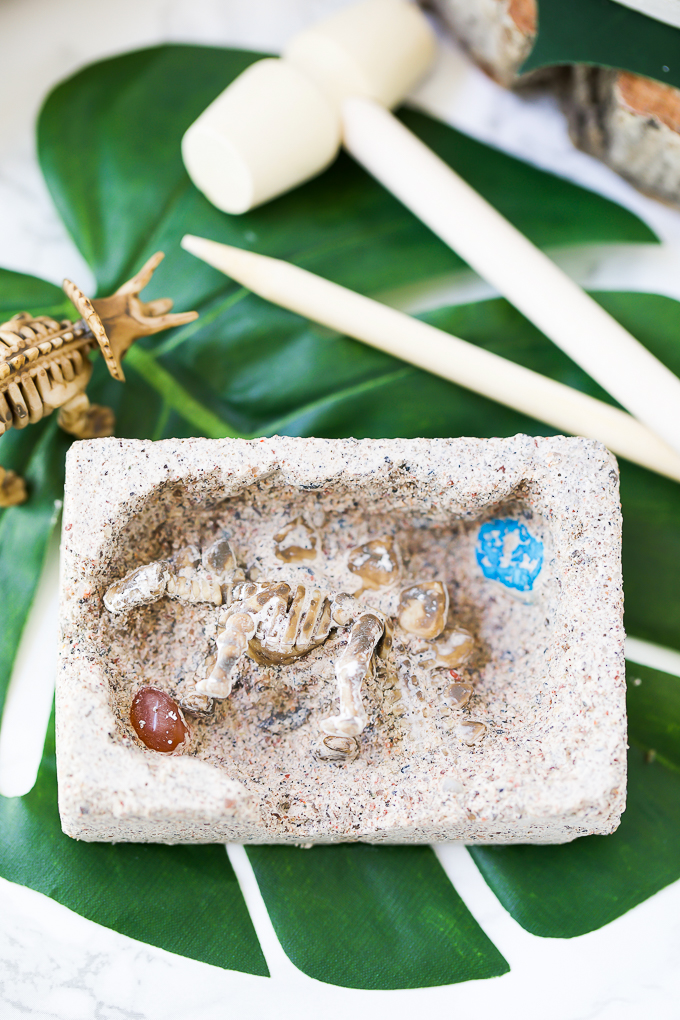
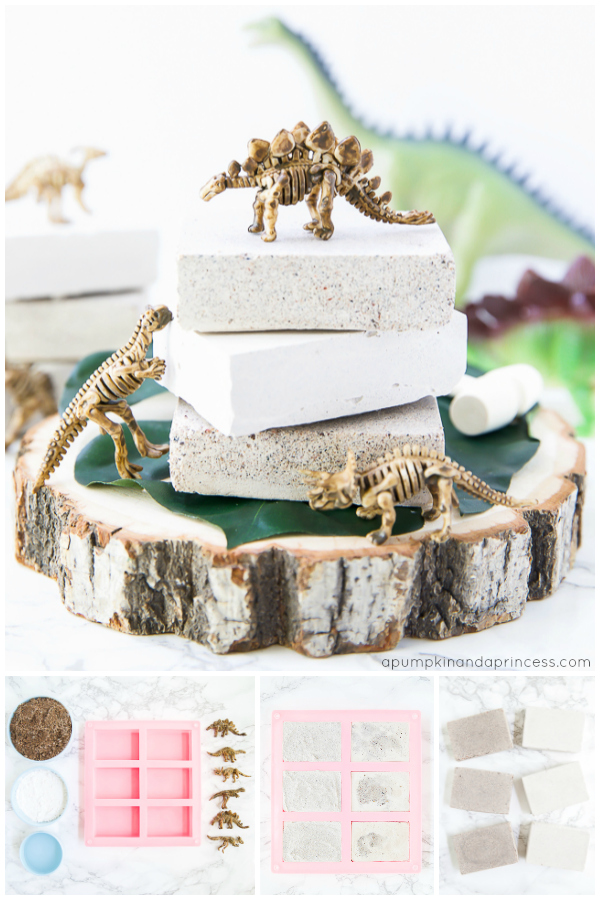
Making your own excavation kit is easy and a lot more cost-effective than buying them in-store if you plan to give them as party favors. The process involves mixing sand, plaster of Paris, and water together to create a rectangular brick that will fit inside a party favor bag. Kids will enjoy digging through the brick to find hidden rocks, gems, and a dinosaur fossil toy.
I’ve added Amazon affiliate links below to the products used to make this project.
Dinosaur Excavation Kit Supplies:
- Silicone Mold
- Sand
- Plaster of Paris
- Water
- Dinosaur Fossil Toys
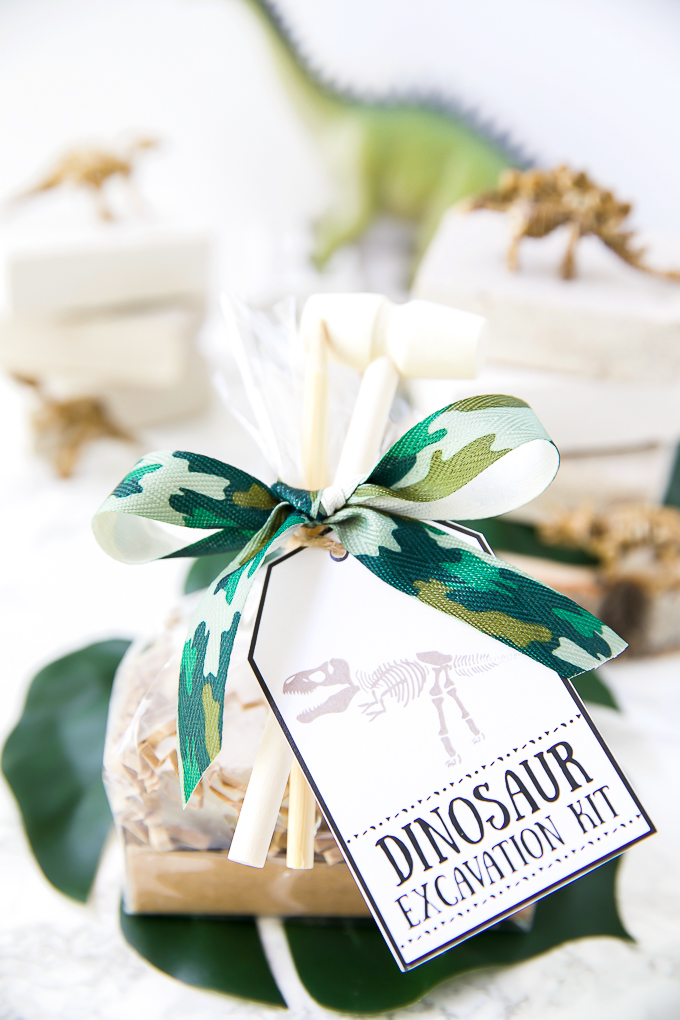
- Excavation kit tools: wooden sticks, a small brush, and a mini wooden hammer
Printable Dinosaur Party Favor Tag
The DINOSAUR FOSSIL TOYS were a big hit! We used them on our dinosaur cupcakes and to hide inside the excavation kits. If your children enjoy collecting and learning about rocks, I highly recommend this ROCK & GEM BOX. My kids had a great time breaking open the geodes, learning about the different rock types, and finding them in the dino dig kits.
How to make Dinosaur Excavation Kits (video tutorial)
- Use an inexpensive or disposable bowl to mix the sand and plaster of Paris together. Add water and stir until evenly mixed.
- Fill each mold cavity halfway then place a dinosaur fossil toy in the center. Optional: add small rocks and gems.
- Pour additional mix to cover the dinosaur. Allow the excavation kits to dry overnight.
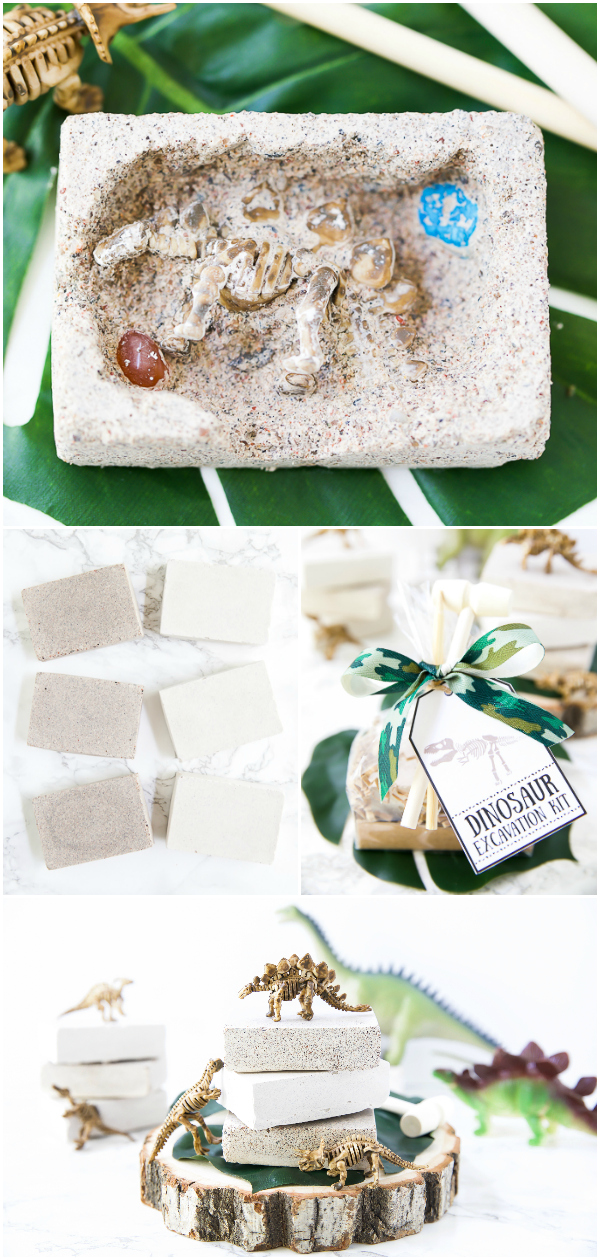
- Remove from the mold and place in a party favor bag with a small wooden hammer and pick.
- Use the tools to dig the dinosaur fossils out. Rinse the dinosaur toy and rocks with water and enjoy!
Assembling the dinosaur party favor bags
- Fold a paper box insert on the perforated lines and place inside a clear bag; add paper shreds. I found them at the craft store in the gift-wrapping section.
- Gently place the dino dig brick inside the box.
- Download, print, cut, and tie a printable dinosaur tag using twine.
- Wrap a bow around the bag to hold the excavation kit tools in place.
Tips on making your own dinosaur dig excavation bricks
- Use an old bowl or pick one up at the dollar store. You’ll likely want to avoid using the bowl again unless it’s to make more excavation kits. The plaster of Paris and sand dry quickly in the bowl and will require a quick wipe down to make the second batch. Use a napkin to remove the extra mixture while it’s still wet.
- The mixture with more sand added will be easier for younger kids to dig through. The recipe with more plaster of Paris is great for older kids and takes a little longer to work through. This was perfect for my kids (8 and 10).
- Important note: the recipe with more sand added in will be watery. This is normal and will still work. You have two options: you can pour out a little bit of the excess water into a disposable cup or carefully scoop in the mixture, leaving behind some of the water. I suggest starting with ½ cup of water and adding another ¼ cup if needed. It’s easier to work with a watery mixture than one that starts to harden quickly. There will be a difference in color depending on which recipe is used. In the photos above you can see that the darker kits were made with more sand.
- It’s easier to work in batches of 3 in case the mixture begins to harden quickly. Feel free to play around with the recipe to see what works best for you.
- The excavation kits need to be completely dry before wrapping in the party favor bags. If not, the moisture will dampen the brown paper shreds. If time allows, its best to make them one week ahead or set out to dry in the sun after letting them sit overnight.
Dinosaur Dig Excavation Kit Recipe
Hard Brick
- 1 cup of sand
- 1 cup of plaster of Paris
- 3/4 cup of water, more if needed
- fossil toy
Soft Brick
- 1 1/2 cups of sand
- 1/2 cup of plaster of Paris
- 1/2-3/4 cup of water
- fossil toy
More craft ideas for kids: