DIY Grateful Sign – how to make a Thanksgiving canvas with vinyl.
This project was made in collaboration with Expressions Vinyl.
Hi friends! Are you ready for the holidays? It’s been a little bit crazy since our return from France earlier this month. We haven’t had a lot of time to sneak in Halloween activities and soon Thanksgiving will be here. I’m feeling like it’s all going by so fast! I’m going to be honest, I usually skip right over Thanksgiving decorations and head into Christmas. This year I’d like to keep a little bit of fall décor out for most of November. Now that the Halloween decorations are coming down, I’m focusing on neutral fall décor to match my upcoming holiday décor. To make it work I dedicated a small area in my entry way for fall décor, including my new DIY Grateful Sign.
This post contains affiliate links
Supplies:
9×12 canvas
acrylic paint in Steel Grey from Americana
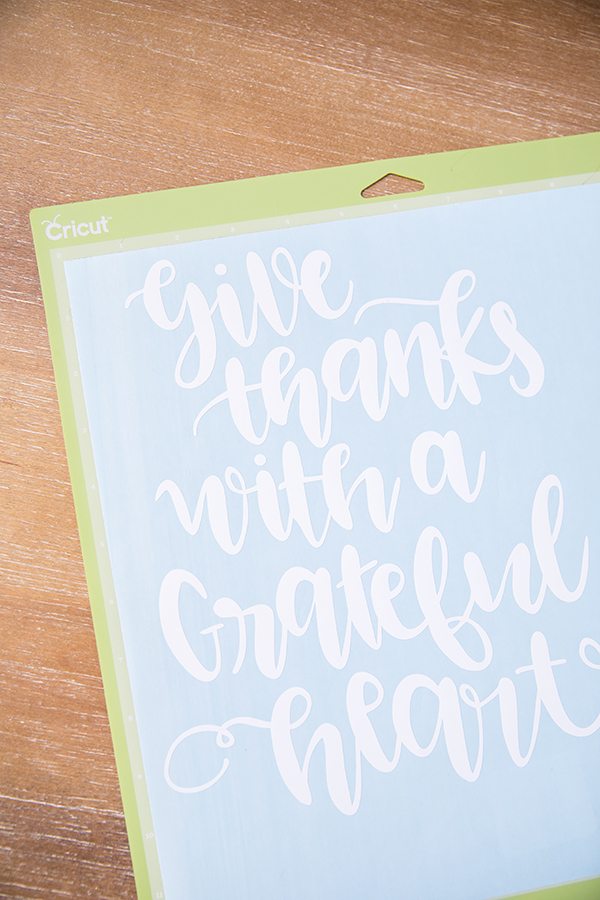
white vinyl
glitter vinyl
Cricut machine using design #M3D28261
- Paint your canvas with two coats of grey paint. Let the paint dry overnight or several hours before adding the vinyl.
- Size your design to fit your canvas. Cut using permanent white vinyl. You can also use heat transfer vinyl like I did with my Halloween Twinkle Light Canvas.
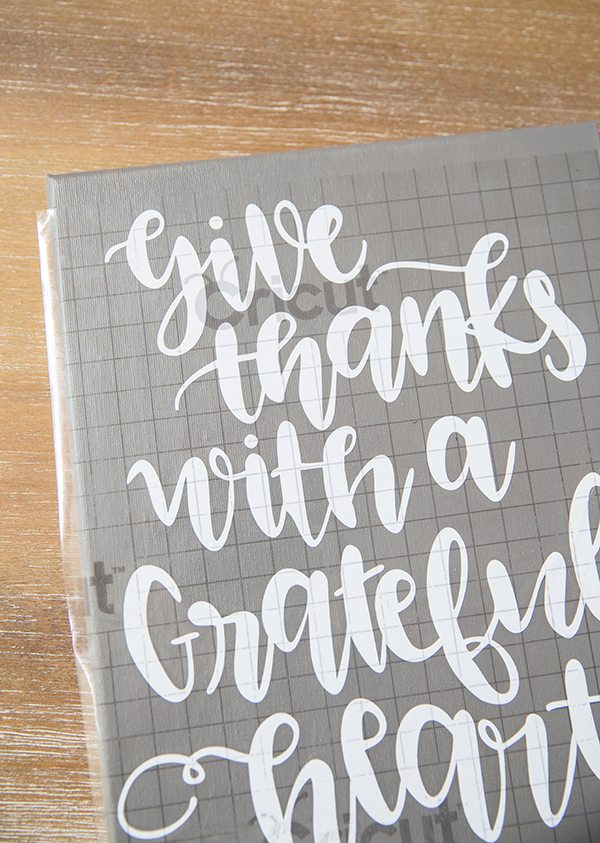
- Apply your vinyl using transfer tape. Note: I cut the leaves separately using gold glitter vinyl and applied them by hand since they didn’t have intricate shapes.

I’ve thought about turning it into a twinkle light canvas. I’ve been a big fan of them since my Merry & Bright Twinkle Light Canvas. My kids enjoy lighting them up in the evenings, especially during movie nights. I’ll update the post with pictures if we decide to add lights before Thanksgiving :)
More Thanksgiving Ideas:


Crystal,
Can you tell me where you got the Grateful file for the sign?I looked in DS and it is not coming up. Did you purchase it somewhere else?