How to make Grinch Bath Bombs for every Who down in Whoville to enjoy! This DIY Grinch bath bomb is green and made in a classic round bath bomb shape with a red heart in the center. The bath bomb makes a great handmade gift for kids this holiday season and is the perfect size for adding to a Christmas stocking.

DIY Grinch Bath Bomb
Wow, it’s been a while since I’ve shared a new bath bomb recipe! With over 30 bath bomb recipes on here, I’m always trying to think of new ideas. This Grinch bath bomb was inspired by the new Grinch movie. My kids loved it, but the Jim Carey version will always be my favorite. I knew I wanted to make them a bath bomb to put in their stocking this year and this Grinch bath bomb is perfect for the occasion.
The bath bomb is made with green cosmetic mica pigment powder in a round bath bomb mold. The center features a heart sprinkle that is placed in the mold prior to adding the bath bomb mixture.
Picking a scent for the bath bomb is the fun part! You can use a classic peppermint essential oil or something fun like this assortment of Christmas scented oils.
This post contains affiliate links
Bath Bomb Making Supplies
- Citric acid
- Epsom salt
- Baking soda
- Cornstarch
- Grapeseed oil
- Water
- Essential oil
- Green cosmetic-safe mica powder
- Red heart icing decoration
- Small spray bottle of witch hazel, if needed
Quick video tutorial on how to make bath bombs
Bath Bomb making tips
- Bath bomb making can differ depending on the climate. If you live in a humid area, it may help to eliminate the water unless the recipe needs it. Always test your mixture before deciding to add more/less liquid. I share an example of how to test the bath bomb mixture in the video above.
- This bath bomb recipe works with grapeseed oil, coconut oil and almond oil. If using coconut oil, I would skip the water. Grapeseed oil works well with sensitive skin and helps replenish moisture.
- Allow your bath bombs to dry overnight before removing from the stainless-steel bath bomb mold.
- Use sturdy molds like stainless steel or hard plastic molds that won’t crack. In the past, I used plastic ornaments to make bath bombs, and they still work well in a pinch, but I think the stainless-steel molds work the best. The mold doesn’t crack if the bath bomb expands and it is easy to remove the bath bomb without breaking it. If you find the bath bomb stuck, gently tap on the back of the mold with a spoon and it will immediately pop right out. Aluminum molds will dent if you do this, which is why stainless-steel molds are my favorite.
- Store bath bombs in an airtight container or bag. This will help keep moisture out of the bath bombs and keep their scent.
- If gifting the bath bombs, I highly recommend these shrink wrap bags. I used them almost every time I make a batch. The bath bomb is placed inside the bag and you use a hair dryer to shrink the plastic around the bath bomb. This is helps me keep bath bombs on hand to give as gifts all year long.
More DIY Bath Bombs for kids
- Panda Bear Bath Bomb
- Snowflake Bath Bomb
- Harry Potter Bath Bombs
- Unicorn Bath Bomb
- Starbucks Frappuccino Bath Bomb
Want more Grinch ideas? Try these Grinch Thumbprint Cookies from my friend Melissa!
How to make a Grinch Bath Bomb

DIY Grinch Bath Bomb
Ingredients
- 1 cup baking soda
- 1/2 cup citric acid
- 1/2 cup epsom salt
- 1/2 cup cornstarch
- 2 tbsp grapeseed oil
- 3/4 tsp water
- 15 drops essential oil
- 1 tsp mica powder
Instructions
- In a large bowl, combine citric acid, baking soda, cornstarch, Epsom salt and mica pigment powder.
- Use a small cup to combine grapeseed oil, water, and essential oil
- Slowly add the liquid ingredients into the dry bath bomb mixture, stirring quickly to disperse the liquid.
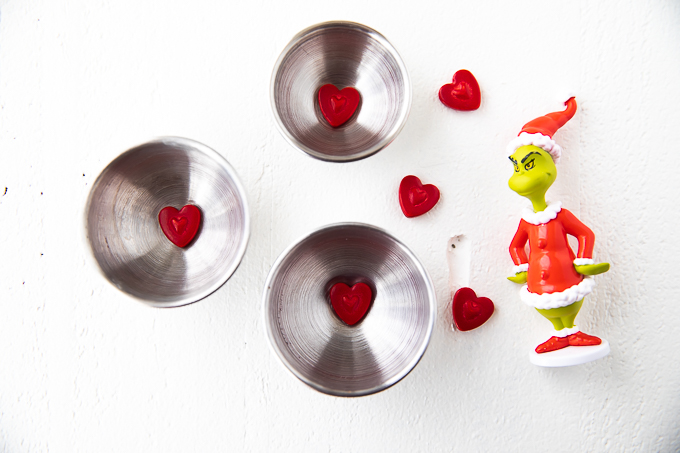
- Place a heart sprinkle in the center of the mold and firmly press bath bomb mixture into each half. Press the mold closed and allow to set overnight.
- Carefully remove bath bomb from mold and store in airtight container.
- Drop bath bomb in a warm bath and enjoy!

Note: this recipe will make 4-6 bath bombs, depending on the size of the molds.

Well written, step by step DIY recipe post. Pictures looks amazing. Thanks for sharing this…