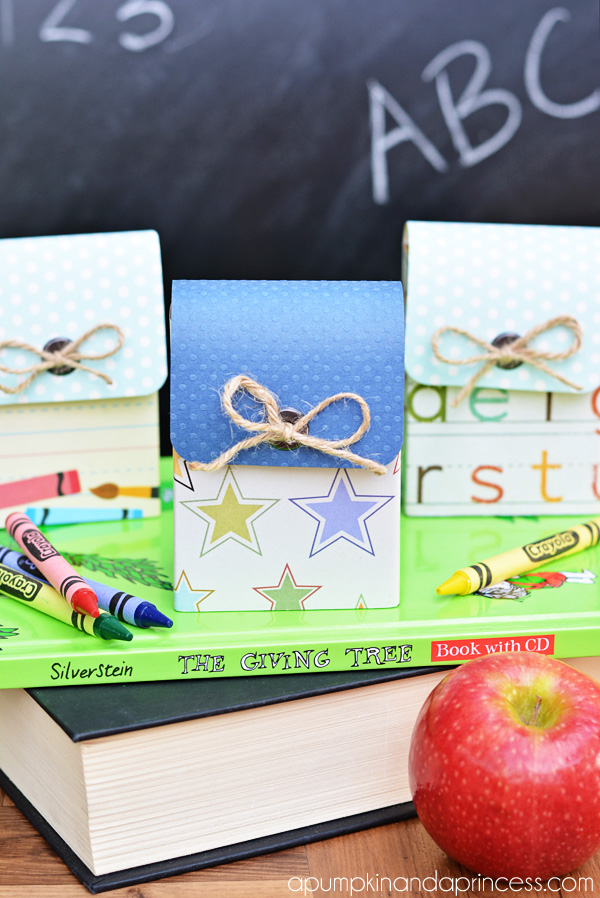
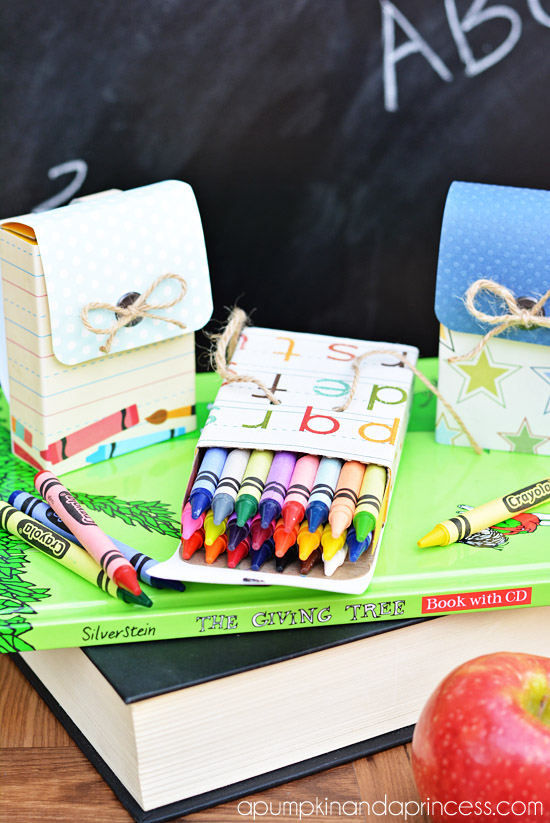
Back to school crafts – create mini paper backpacks out of crayon boxes!
I’m still in disbelief that summer vacation is ending, it went by too fast! We didn’t get to cross off everything from our summer bucket list, so we’re sneaking in some surprise fun-filled days and a mini trip. I plan to pack as much fun as we can into our last week of Summer break. The kids don’t know this but I’m making them a little back to school party this upcoming week. Something small, and just for our immediate family, but a fun way to get them excited about school.
Last year I spotted mini paper backpacks all around the web and thought they were SO cute! I saw them made out of a crystal light container, an svg file you can purchase, and even from the Silhouette store. I decided to make these mini paper backpacks for the kids back to school party. Can you guess what these are made from? Crayon boxes! I wanted them to be cute AND functional.
To make a mini paper backpack you will need:
Crayon Box Crafts
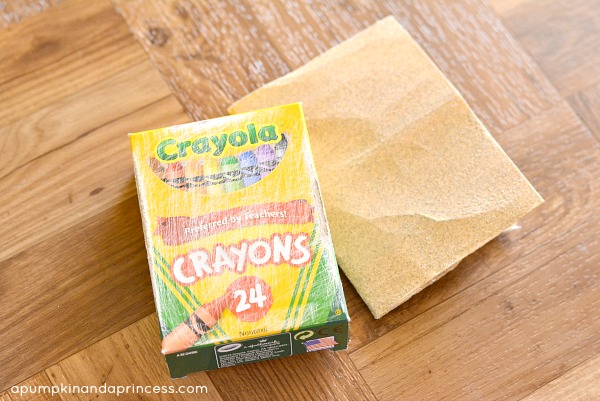
a crayon box
two different patterned papers
strong glue
sand paper
paper trimmer
Crop A Dile 1 or 2 (We R Memory Keepers)
Wide Eyelet (We R Memory Keepers)
Twine
Step one: sand the crayon box with a piece of sand paper. You’ll want to sand the front, back, and sides of the box This will help the paper adhere to the crayon box.
Step two: cover the box with a sheet of paper cut to 3.75 x 7.75 inches. Note: To use the flap on the box in the same direction of the backpack flap I made the back of the box the front (keep this in mind when you’re gluing your paper).
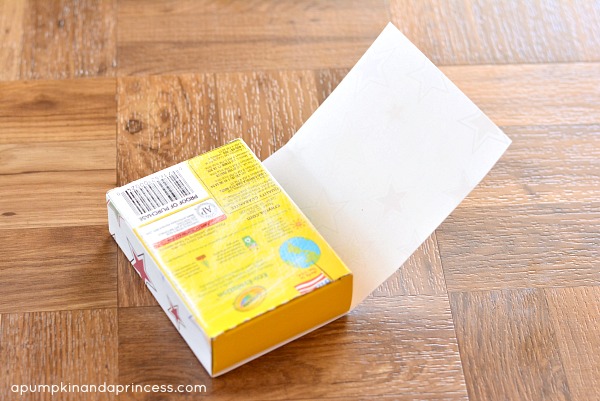
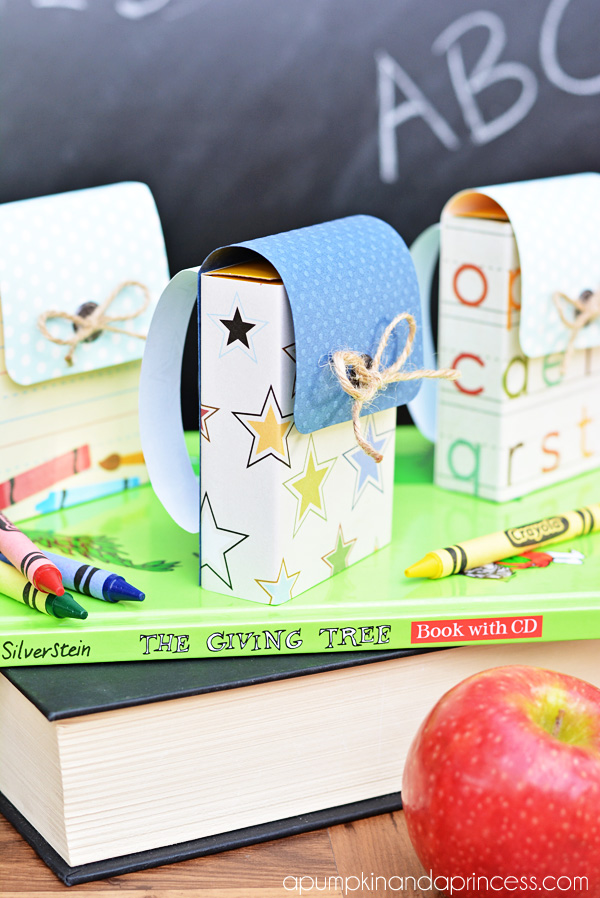
Step three: cut another sheet of paper in a contrasting color or pattern to use as the backpack flap. This piece will be about 3 x 7 inches (trim if necessary). Round the corners of one end of the paper then glue the opposite end to the back of the crayon box. This piece will go from the bottom back of the box, over the top and to the font. Note: make sure you only glue the back, not the top or front (see picture below).
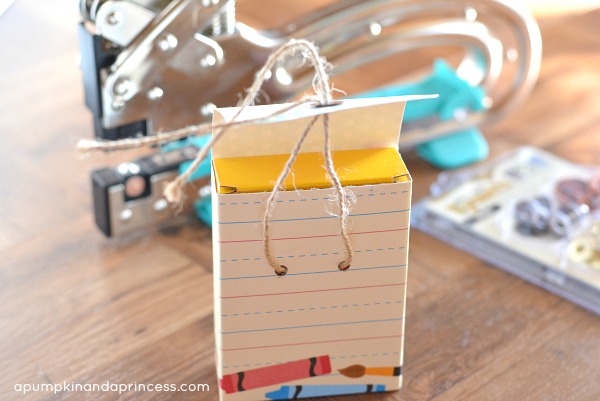
Step four: punch a hole in the center of the flap then add a wide mouth eyelet with your Crop A Dile. Punch two holes in the box to the side of where the eyelet is centered on the flap. You will thread twine through the two holes in the box then through the eyelet in the flap. You will then tie a bow in the front to keep the box closed.
Step four: cut the straps to glue on the back of the backpack. The straps will be about .75 x 6 inches.
By the way, isn’t The Giving Tree one of the best children’s book? My kids love it! There’s a tree stump outside of our local zoo and my daughter truly believes its The Giving Tree. Love her and her heart! :)
Love it!! So adorable!! Pinned it :)
You are so creative ~ I always love your ideas!