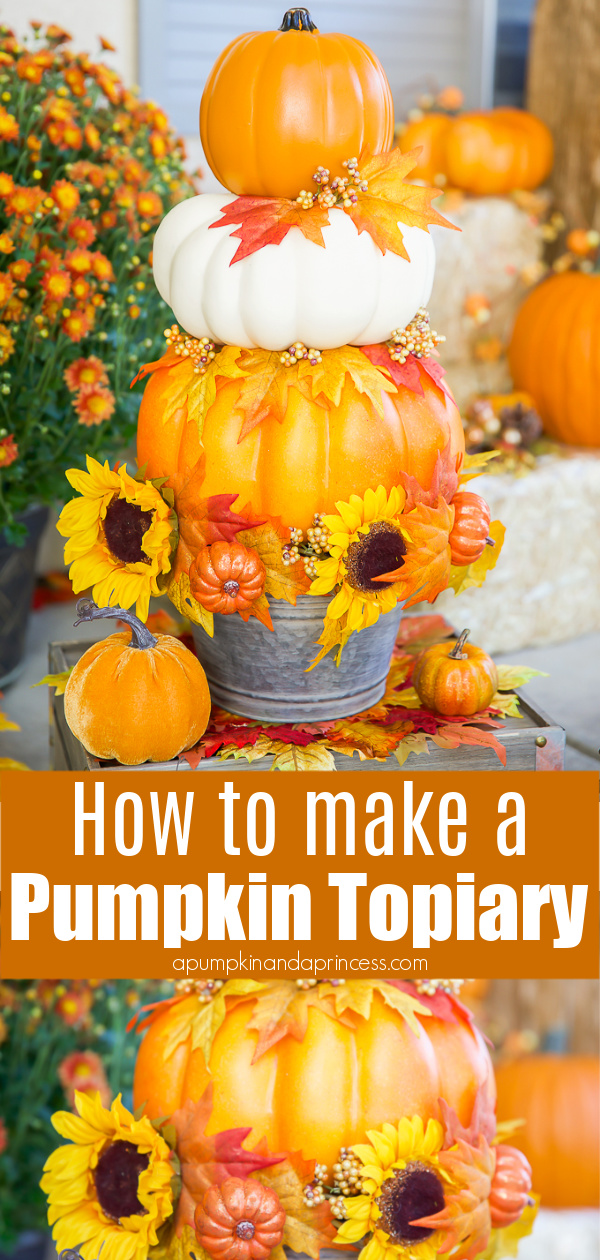
How to make a stacked fall pumpkin topiary using faux pumpkins, fall leaves, and sunflowers. This DIY pumpkin topiary is easy to make and is perfect for a fall porch or mantel decoration.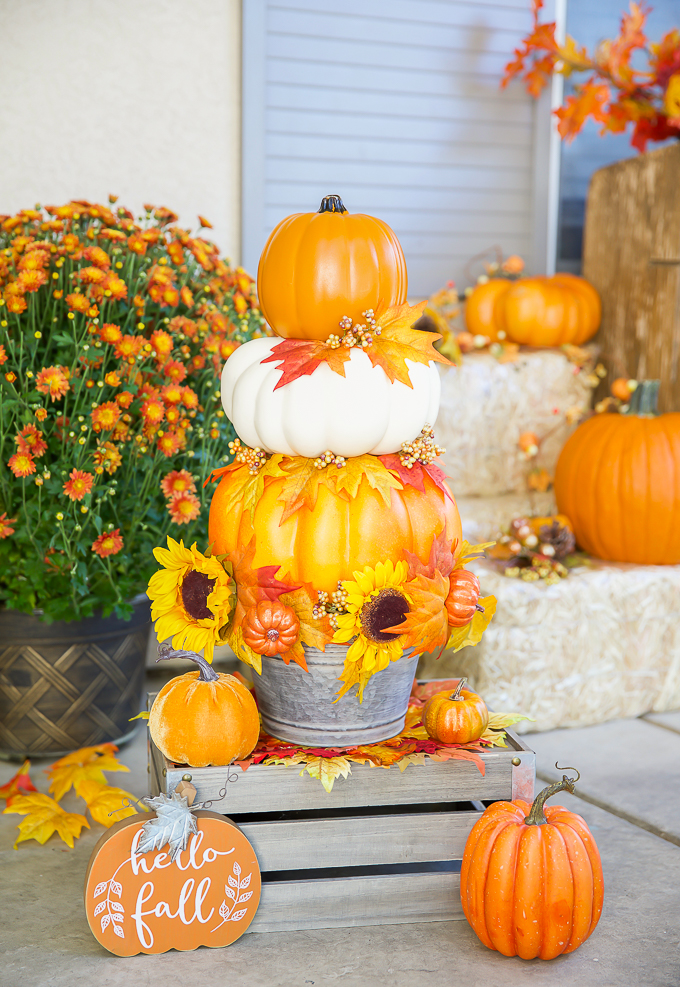
This project was created in collaboration with Michaels Stores
Fall is almost here, and I couldn’t be more excited to start decorating. The pumpkins are starting to come out, the weather has cooled down a tiny bit, and I’m ready to enjoy pumpkin spice treats for the next couple months. Over the past week, I’ve slowly started decorating our home for the autumn season. This year I’m incorporating traditional fall colors with pops of sunflowers, orange fall leaves, white and orange pumpkins.
DIY Fall Pumpkin Topiary
To make this pumpkin topiary I used two heirloom pumpkins from the Ashland fall décor line and one small orange craft pumpkin from Michaels. The pumpkins are stacked on top of a metal bucket with a vintage wash that fits the farmhouse theme perfectly. You can also use a wooden bucket, an urn, or terra cotta pot to make this project.
In between each pumpkin, I’ve added leaves from a beautiful fall sunflower garland. The garland is wrapped around the bucket to create a full base for the topiary to sit on and the coordinating leaves are tucked into the pumpkin layers.
Michaels has a wide assortment of craft and home décor pumpkins that you can mix and match to fit your style. Over the years, I’ve enjoyed using craft pumpkins to make some of my favorite Fall and Halloween projects. You can find more pumpkin decorating ideas using Michaels craft pumpkins here:
Pumpkin Decorating Ideas
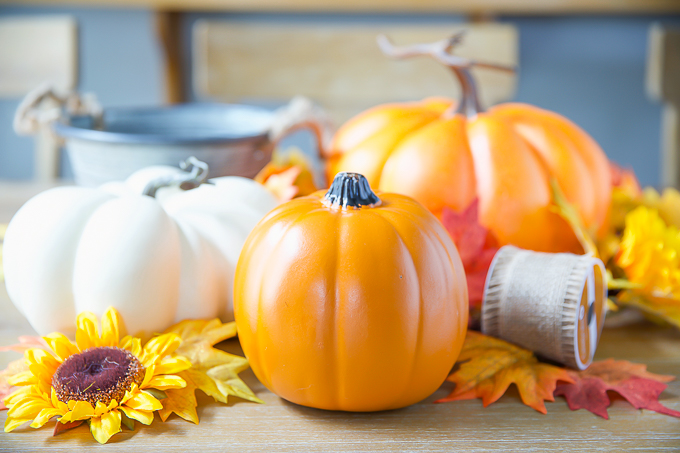
Pumpkin Topiary Supplies
- 3 craft pumpkins<- you can find the pumpkins for this project online
- Fall garland
- Metal bucket
- Hot glue gun
- Scissors
How to make a pumpkin topiary (VIDEO TUTORIAL)
- Measure the circumference of the top of the bucket and trim the fall garland accordingly. Use scissors or floral cutters to cut the garland and save the remaining pieces for later.
- Hot glue the garland around the top of the metal bucket. Carefully press the garland down until the glue dries.
- Remove the stems from the two heirloom pumpkins. To do this you’ll want to firmly pull and twist the stem until it releases from the Styrofoam.
- Glue the largest pumpkin on top of the metal bucket and garland. Tip: glue a Styrofoam block inside the bucket and glue the pumpkin on top. To make it even sturdier, you can add a dowel in the center and cut a hole in the top and bottom of the pumpkins to stack them on top. If you plan to keep the topiary inside, the glue around the bucket and the bottom of the pumpkin will work just fine. I was pretty generous with the glue and felt like my topiary is pretty secure without the Styrofoam and dowel.
- Add a medium size pumpkin on top by adding hot glue to the bottom points that will lay on top of the large orange pumpkin. Again, be generous with the hot glue to firmly keep them in place.
- Finish the topiary with a small orange craft pumpkin on top of the white heirloom pumpkin.
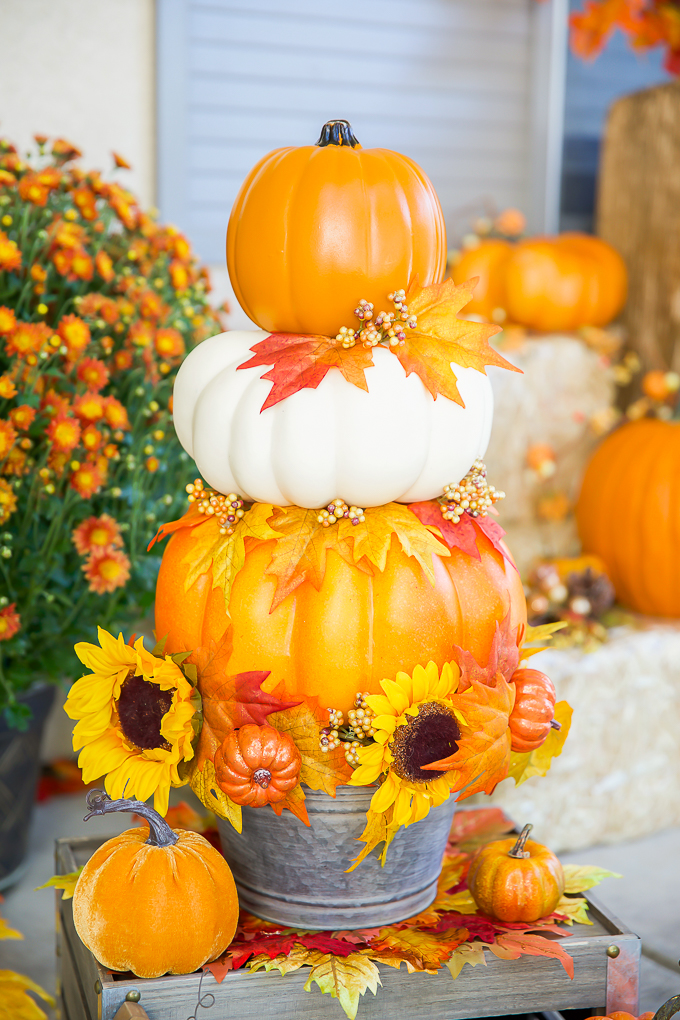
Decorate pumpkin topiary with fall leaves and sunflowers
- Fill in the empty space between the pumpkins with the remaining leaves and berry stems from the fall garland. Add a small amount of hot glue to the stems and tuck them in between the pumpkin layers. Feel free to use leaves all around the pumpkins or strategically place them in the empty spaces.
The hardest part is figuring out where I want to use it as a fall decoration for the autumn season. Not only does it look great perched on a wooden crate on the porch, but the pumpkin topiary is small enough to fit perfectly on our mantel and dining room table. I’m still debating whether to keep it on the front porch or as an accent piece on our fall mantel.
Completing this project has really put me in the fall spirit and I can’t wait to finish decorating and enjoy my favorite season.