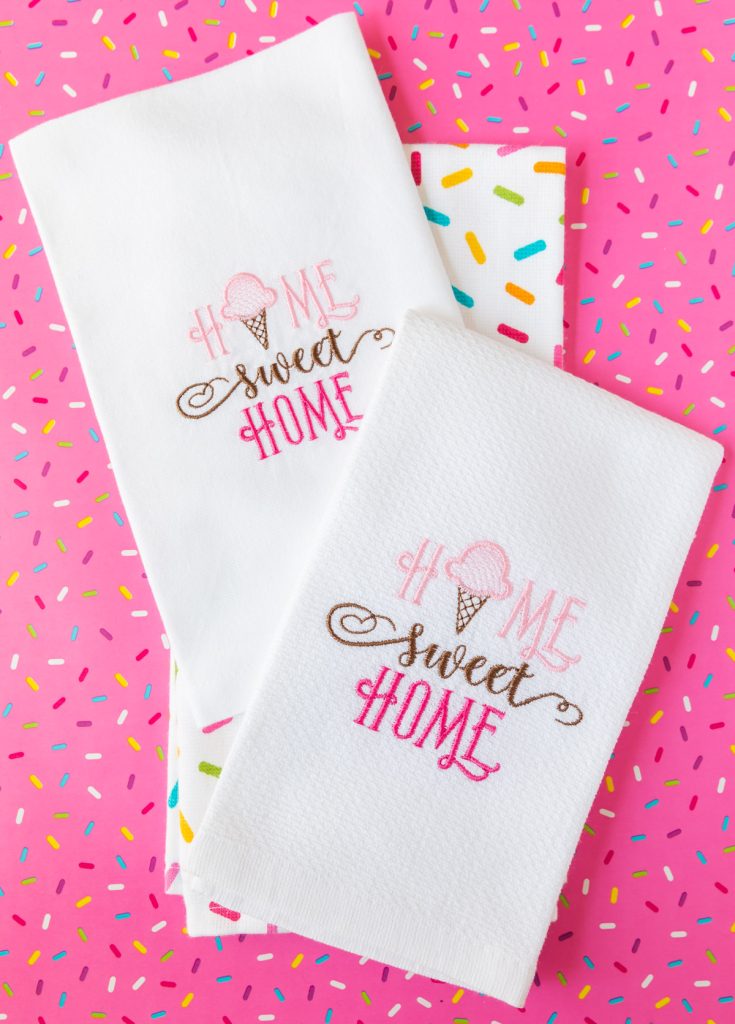
Easy to follow step-by-step tutorial on how to make an ice cream embroidered towel using an embroidery machine. This easy embroidery project is made with only 3 thread colors and stitched in under 10 minutes. The phrase home sweet home is embroidered with swashes in the font and an ice cream cone design.
This year I decided I wanted to learn embroidery. After much research, I found an embroidery machine for my needs and have enjoyed learning this new craft. One of my favorite things to embroider is towels and napkins. When I came across this home sweet home ice cream embroidery design, I knew it would make a great hostess gift.
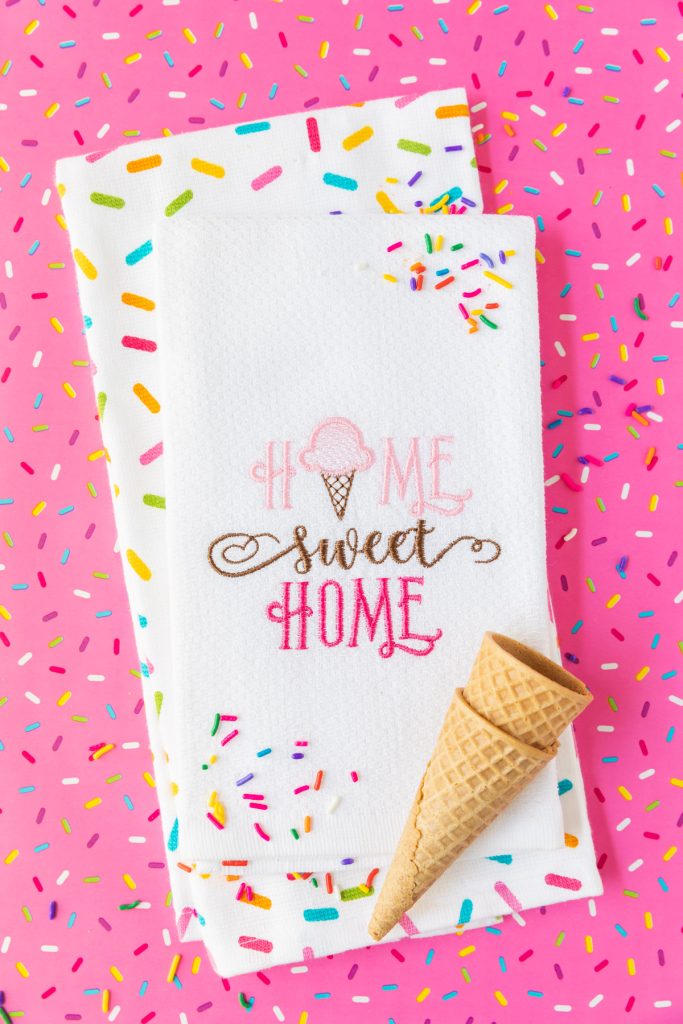
I’m putting together an ice cream sundae gift for a friend and wanted to add a handmade kitchen towel to the gift basket. This basket would make a great gift idea for a housewarming party, ice cream sundae gift basket, or ice cream-themed birthday gift.
I made a kitchen towel and napkin for the gift basket, but it would also pair well with a container of Homemade Chocolate Chip Ice Cream. To see how I used this handmade embroidery towel as a gift idea, check out my DIY Sundae Gift Basket.
To embroider an ice cream towel, you will need:
- Kitchen towel or napkin
- Ice Cream embroidery design
- Stabilizer
- Embroidery thread in pink and brown
- Embroidery machine (this is a great starter/hobby embroidery machine)
- Optional: WSS topper

How to embroider an ice cream-themed kitchen towel
- Download your embroidery design to a pen drive or send it electronically if your machine allows the wireless transfer.
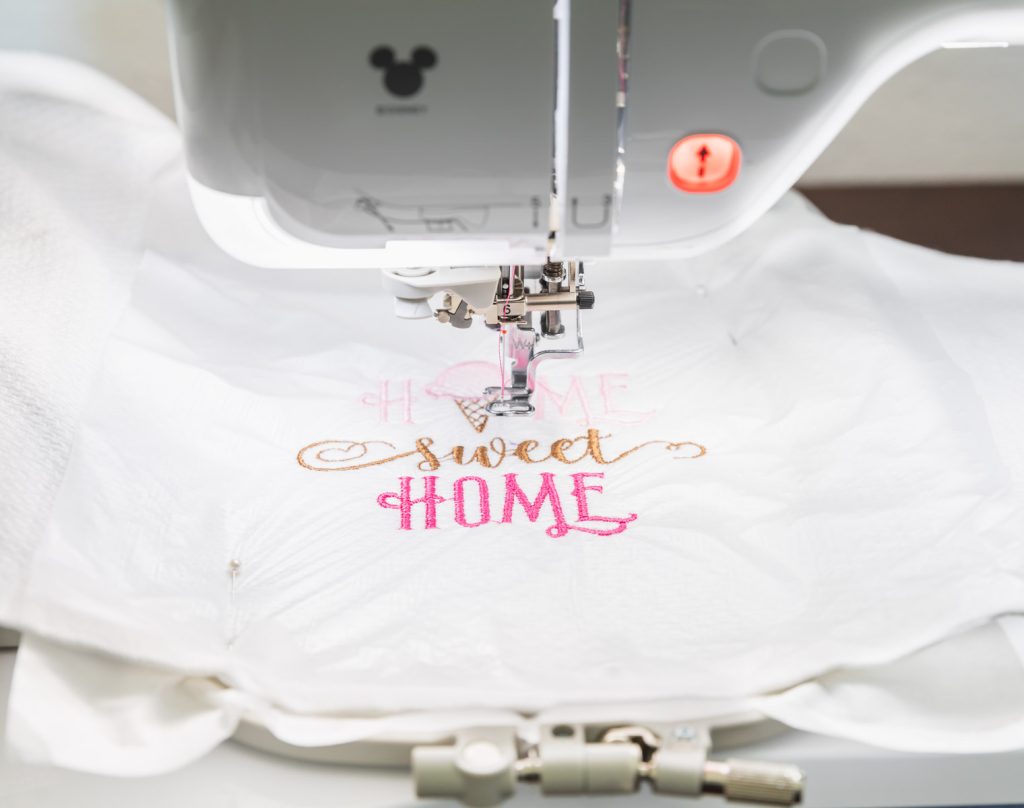
- Select the correct hoop size and adjust the sizing if desired. This project was made with a 4×4 design on a 5×7 hoop and slightly increased in size directly on the machine.
- Hoop tear-away stabilizer, then pin the towel to float on top of the stabilizer. Optional: add water soluble stabilizer on top of the towel.

- Gather thread colors; begin with the brown thread. The machine will stop when it’s time to switch to the next thread color.
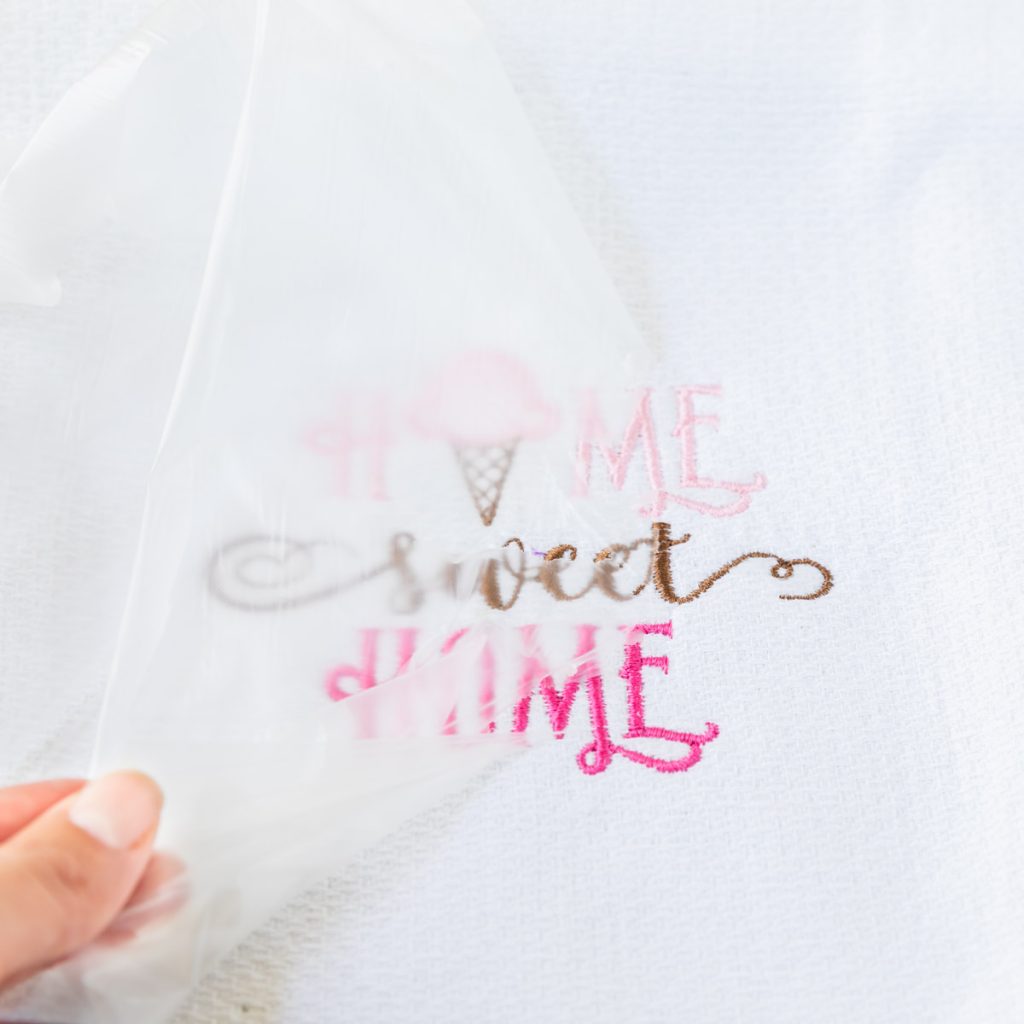
- Once the project is finished stitching, remove from the hoop and tear off stabilizers. Use warm water to remove the excess water-soluble stabilizer.

Tips and tricks for embroidering kitchen towels or napkins
- Fold the towel and measure the size you would like your design to fit. Mark the center point with a water-soluble marker.
- I find floating easiest when embroidering towels on a single needle machine. This means the stabilizer is placed in the hoop, but the towel is pinned on top.
- A water-soluble stabilizer helps prevent the stitching from falling between the towel’s density. It makes the design easier to see. I pin the WSS on top of the towel and tear off the excess after stitching. Warm water will help dissolve any leftover pieces.