• Skip to primary navigation
  • Skip to main content
  • Skip to primary sidebar
About Contact Advertising

A Pumpkin And A Princess

Crafts, Recipes, Home Decor, Family Activities

  • Home
  • About
    • Contact Me
    • Advertising
  • Recipes
  • Crafts & DIY
About Contact Advertising
Home » Crafts & DIY » DIY Clay Erasers

DIY Clay Erasers

Created On: March 12, 2021  |  Updated: March 12, 2021  |   Leave a comment  

This post may contain affiliate links. Please see our full Disclosure Policy for details.

121 shares

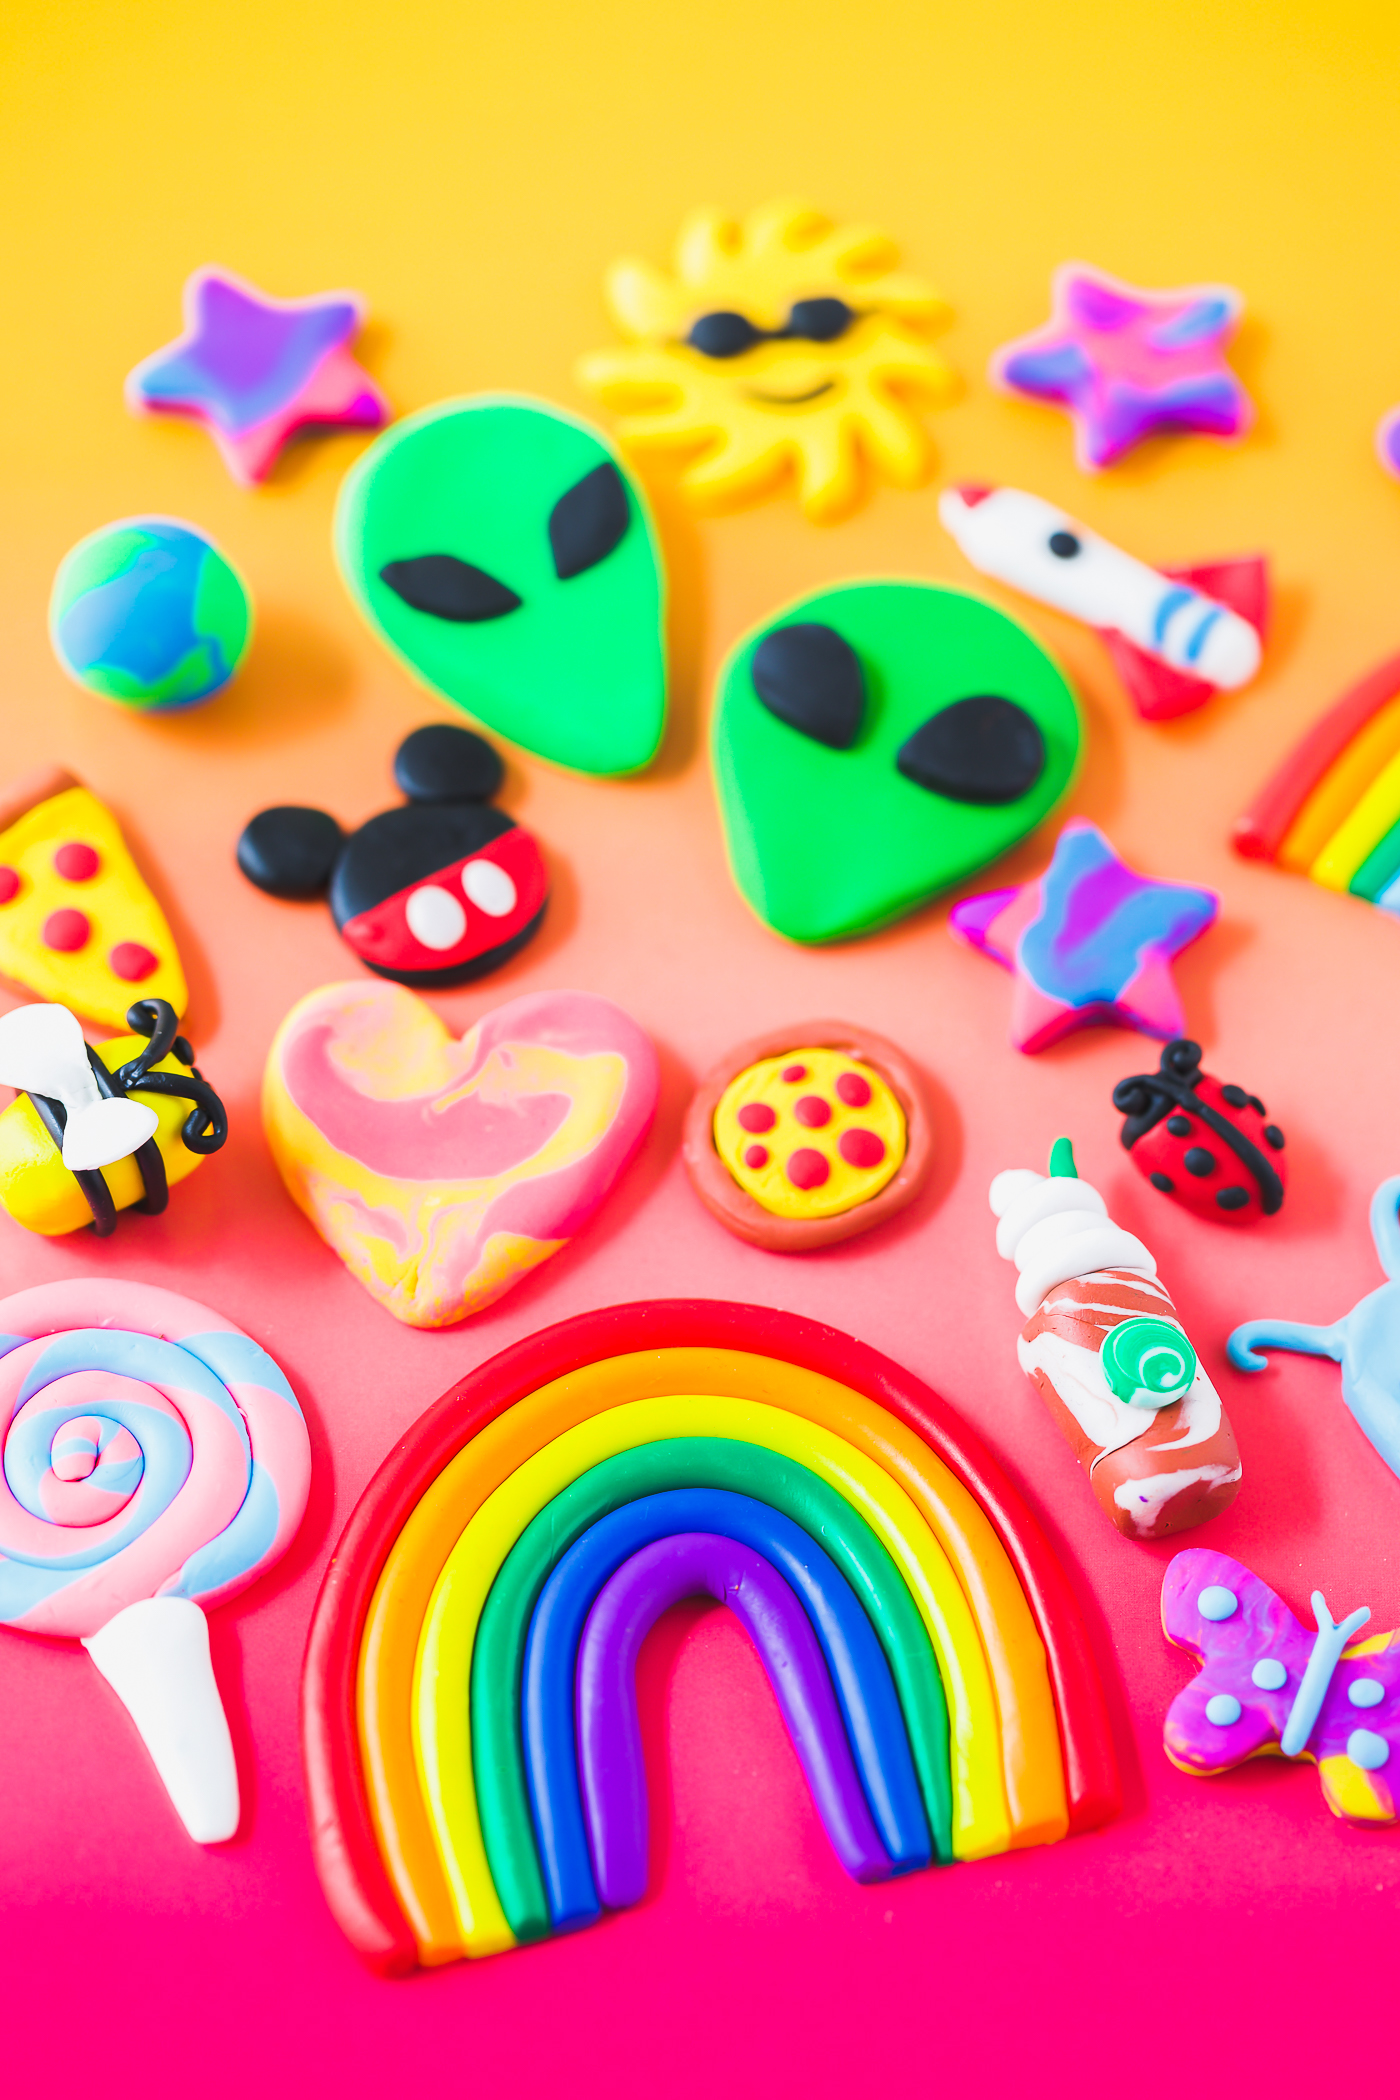
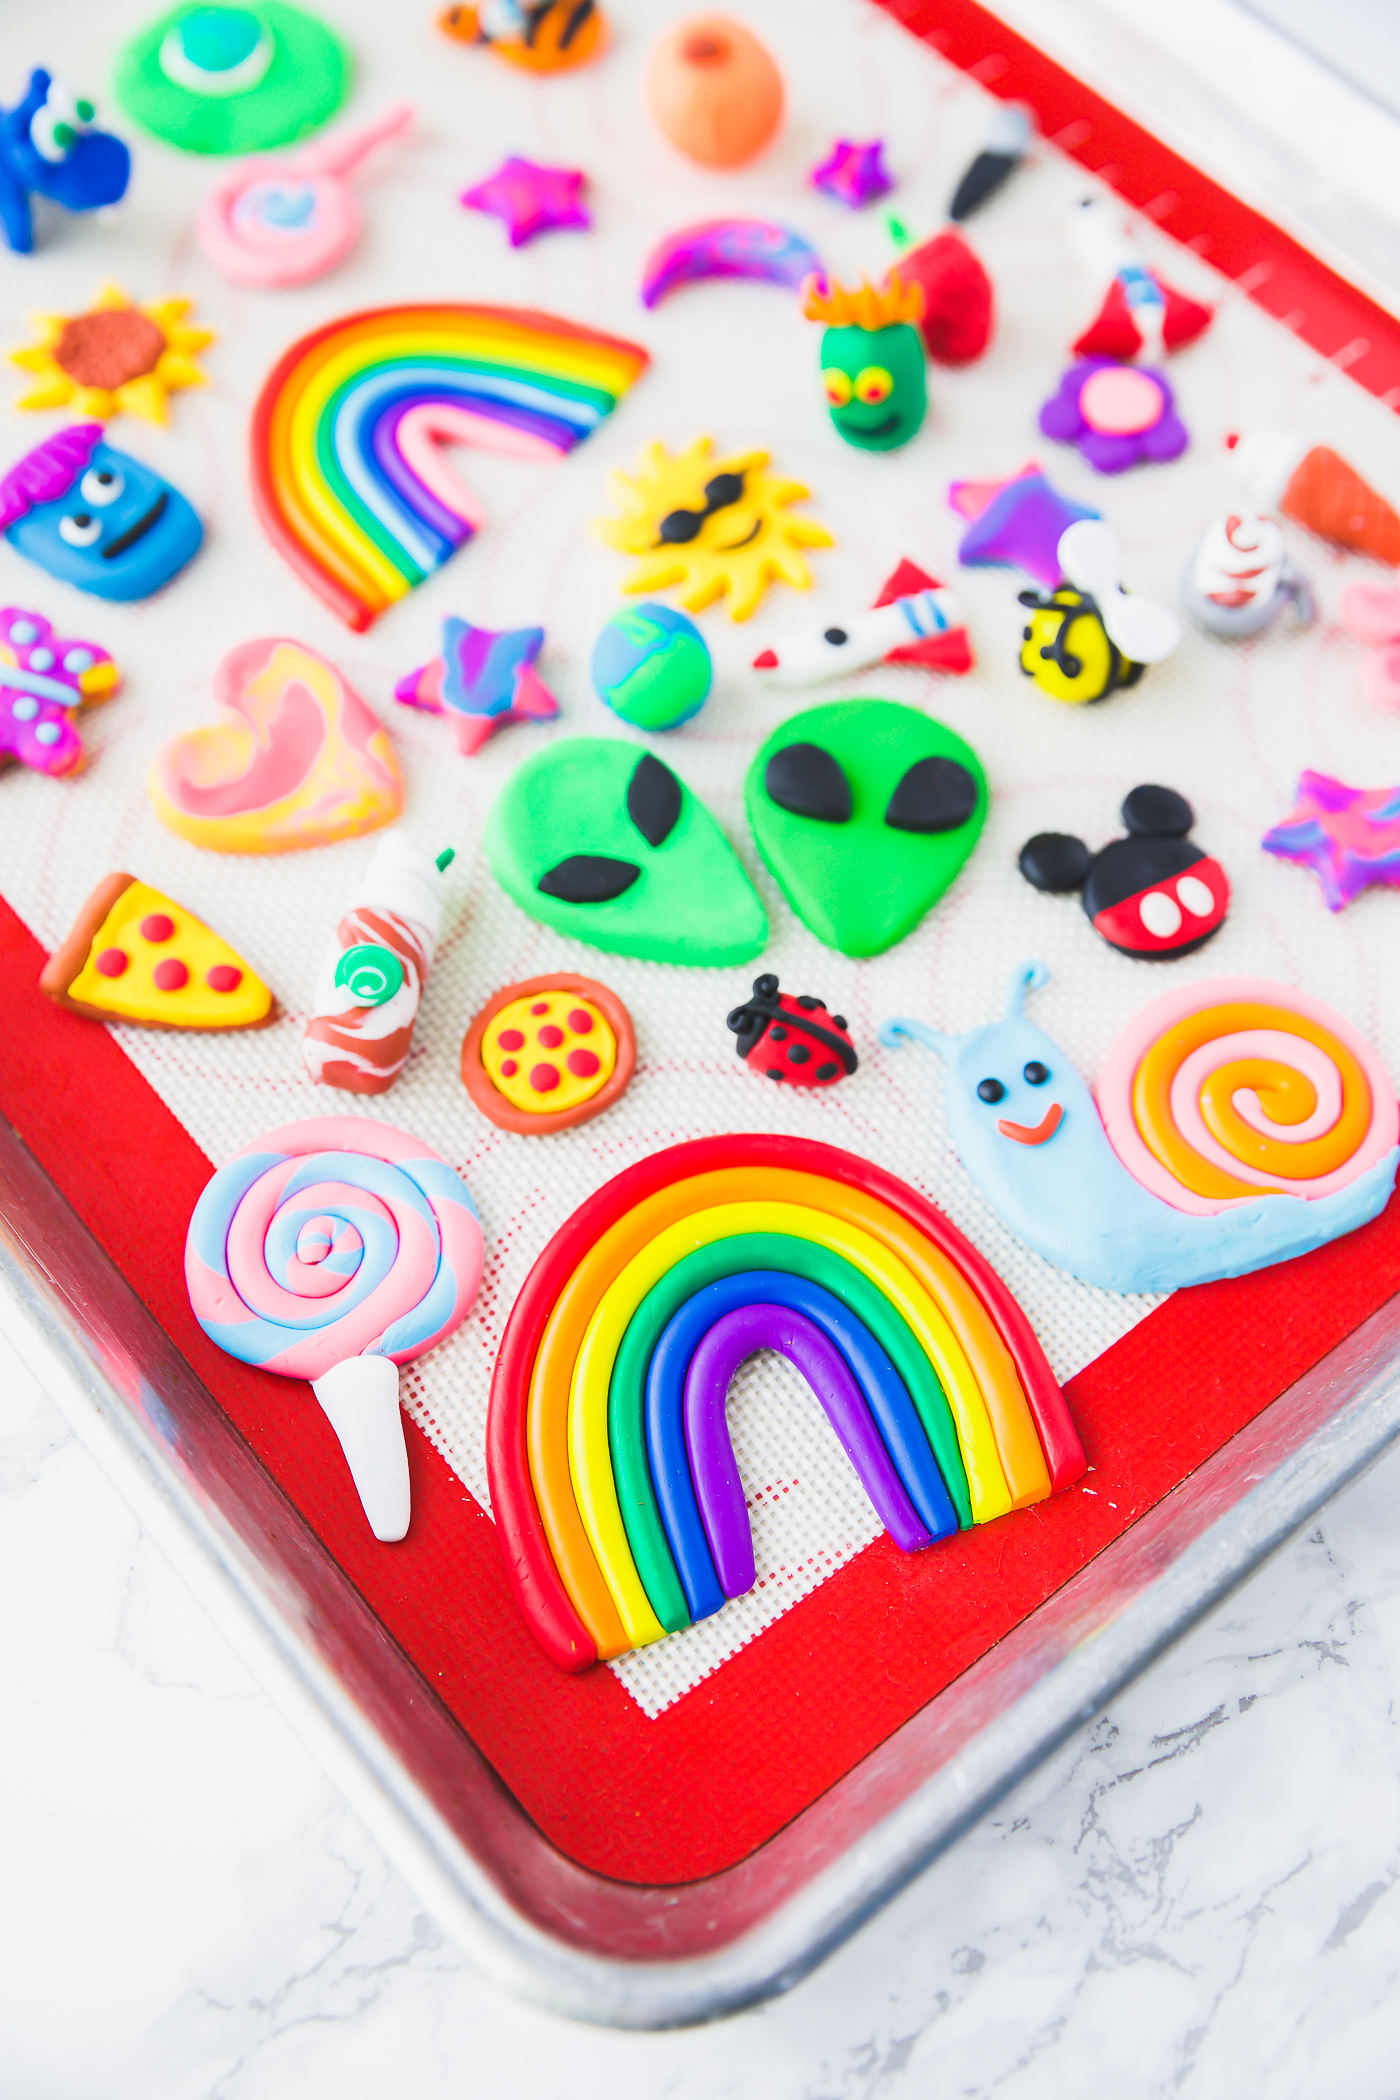
How to make your own customizable clay erasers! Create fun designs and shapes with eraser clay. Mold the clay with sculpting tools or cookie cutters to make rainbows, aliens, pizza slices, cute kawaii designs, and emojis, the possibilities are endless!

My kids love making clay eraser creations. We went through several eraser clay kits over the last year of the kids being home. The kit is easy to work with. Simply build, bake, and erase with your creative designs.

This is a great craft idea for older kids, especially tweens. It’s a great boredom buster idea that allows them to use their imagination and get creative.

colorful clay eraser designs with a rainbow, Mickey Mouse, and lollipop

Supplies to make clay erasers

  • Eraser Clay Kit
  • Baking Sheet
  • Parchment paper or silicone baking mat
  • Clay scultping tools
  • Optional: clay molds

rainbow clay stacked together

How to make clay erasers (VIDEO TUTORIAL)

  • Preheat oven according to package directions. Line a baking sheet with parchment paper or a silicone baking mat.
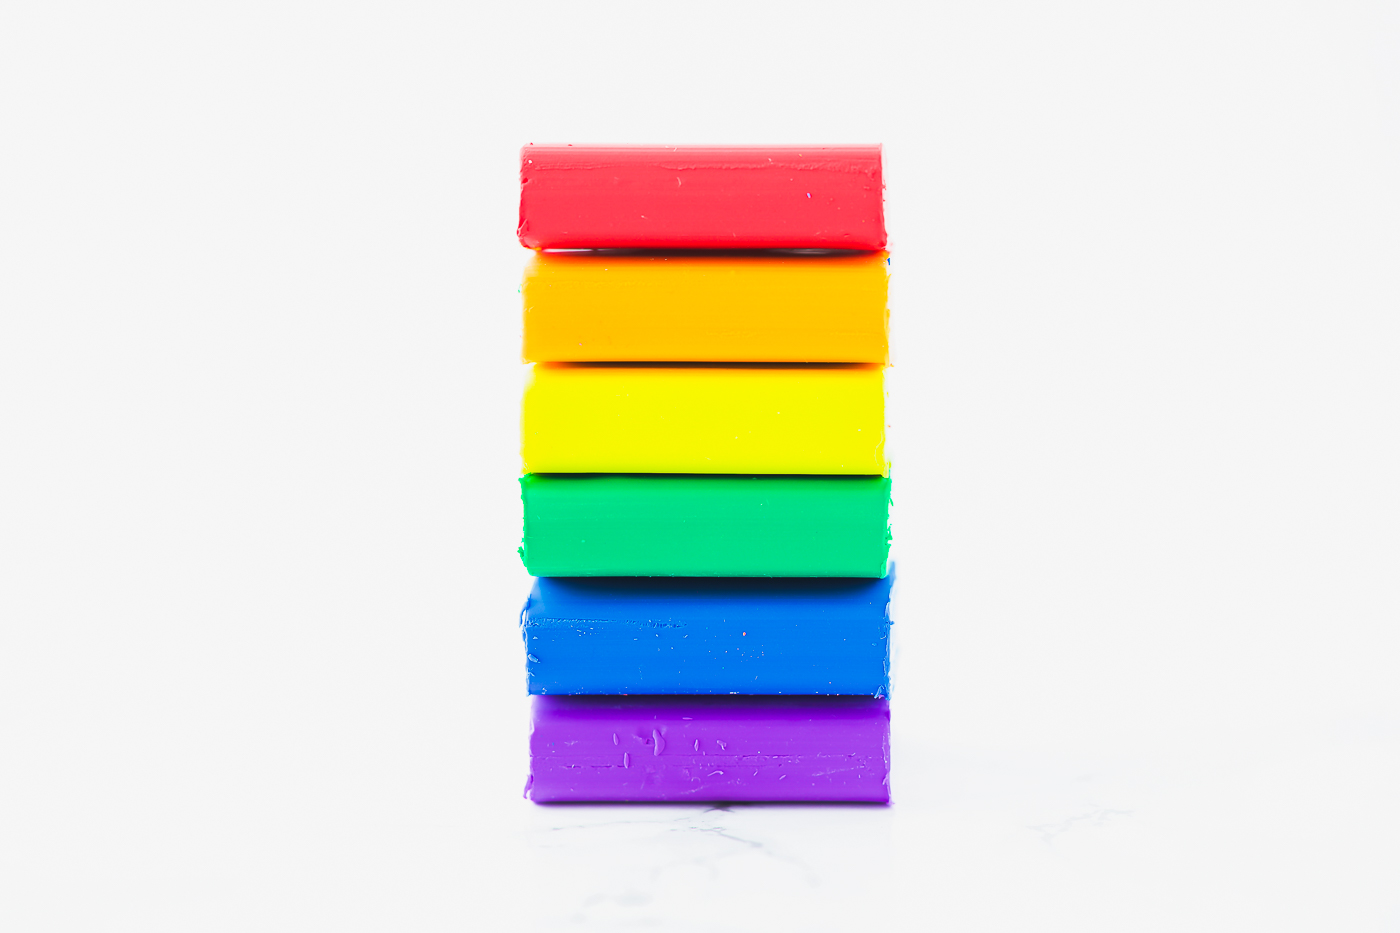
  • Break apart a section of the clay brick and start rolling on a covered surface to make the clay easier to work with.

how to make clay soft

  • For the rainbow: take small balls of clay and roll them into ropes, making them slightly longer for the colors at the top of the rainbow. Gently press the clay ropes together. Trim off the ends if necessary.
  • Lay your finished clay sculpture on the prepared baking sheet.
  • Continue to make fun designs in all shapes and sizes to fill your baking sheet.
  • Bake as directed on the packaging, then remove from oven and cool completely before using. Our kit suggests baking at 210-250 degrees for 30 minutes
  • Cool for 1 hour before using.

how to bake clay on silicone mat

How do you make eraser clay soft?

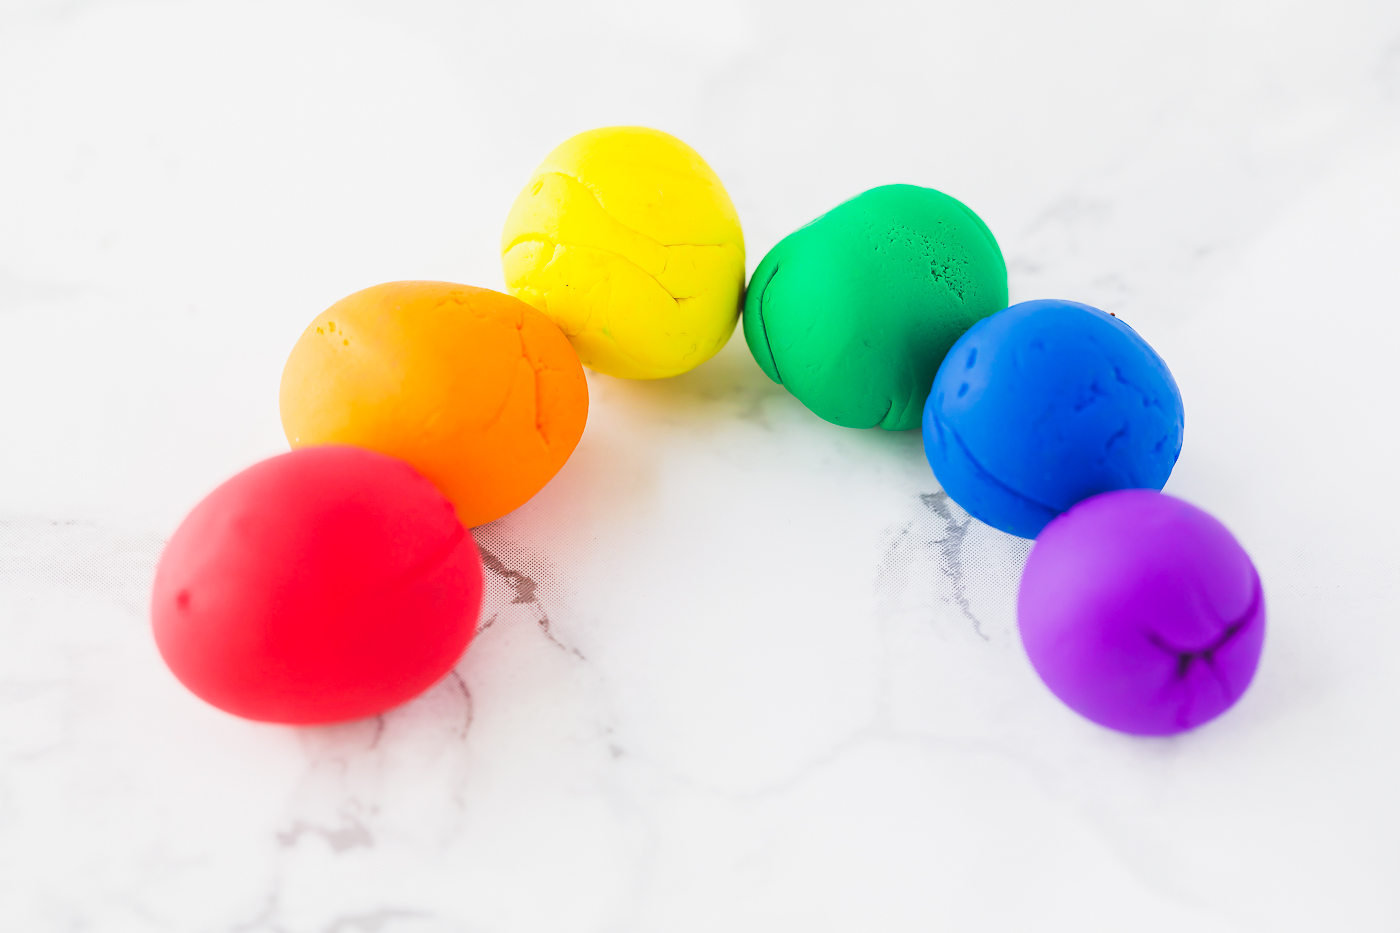
The best way to make the clay pliable and easier to work with it is to continue to roll it in your hands. Start with smaller sections, roll in between your hands or on a covered surface. The clay will become easier to mold into shapes the softer it becomes.

There are several clay eraser kits available. We have tried a couple and found this eraser clay kit works the best.

Monster eraser topper

  • Roll a ball of clay into a cylinder shape around the top of a pencil. Firmly press down until the eraser topper fits snuggly.
  • Make a face with small pieces of clay.
  • Add tiny strips for the hair, gently pressing down with a clay tool.
  • Remove from pencil to bake, then cool completely before using as a pencil eraser.

Marble clay erasers

To create a fun marble look, simply take 2-3 colors of clay and gently roll them together until the colors begin to swirl.
Use cookie cutters to cut out shapes. The cookie cutters will make it easier for younger kids to create designs.

cute kawaii clay designs

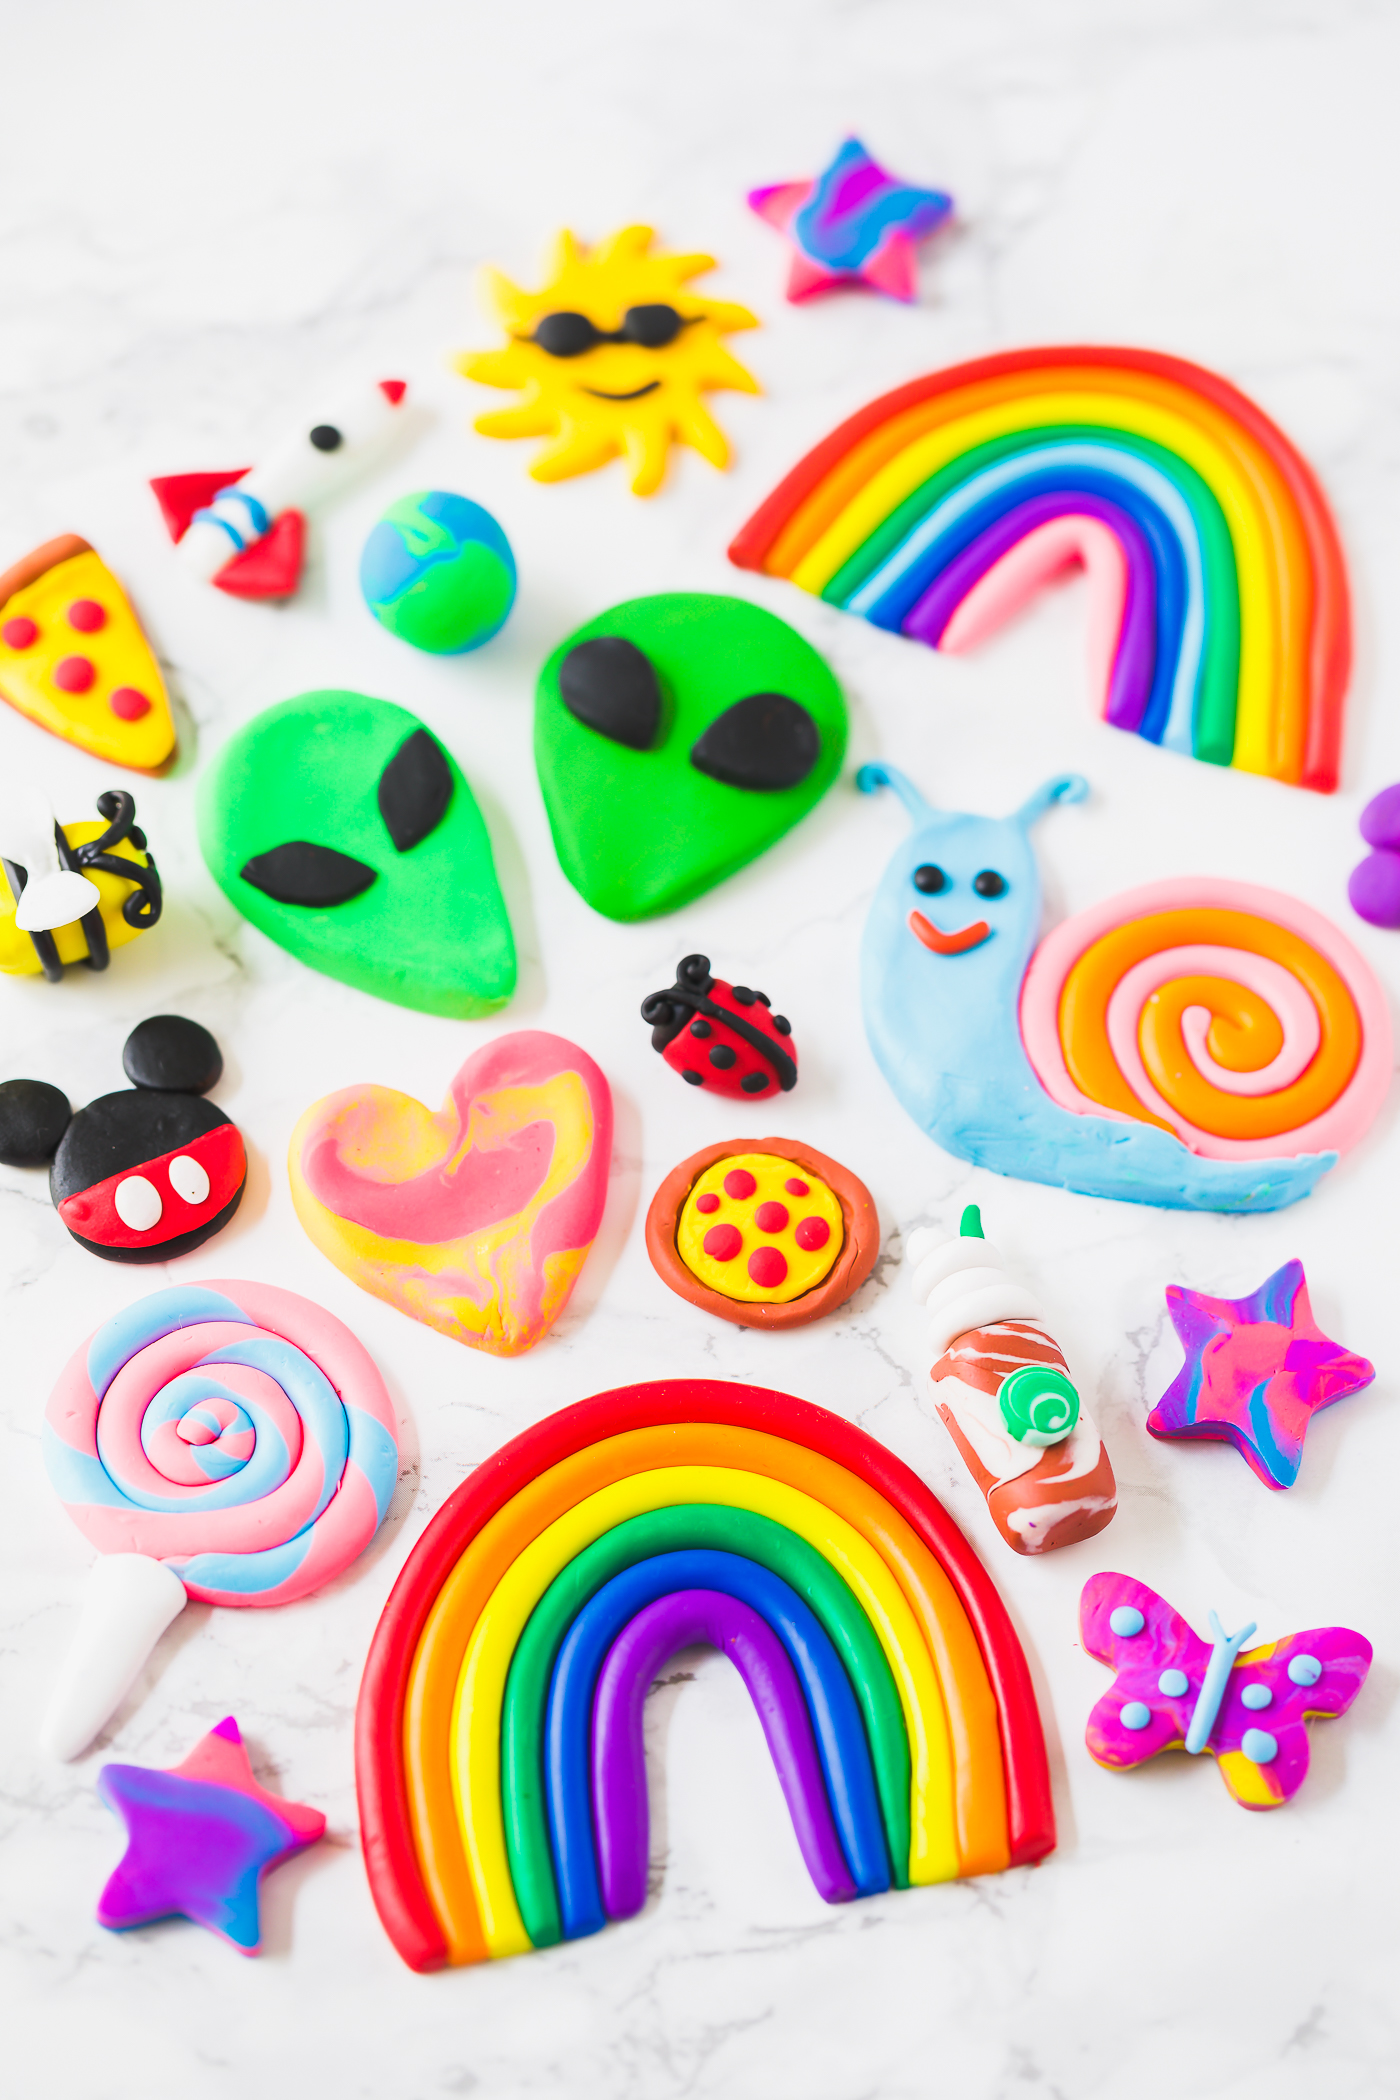
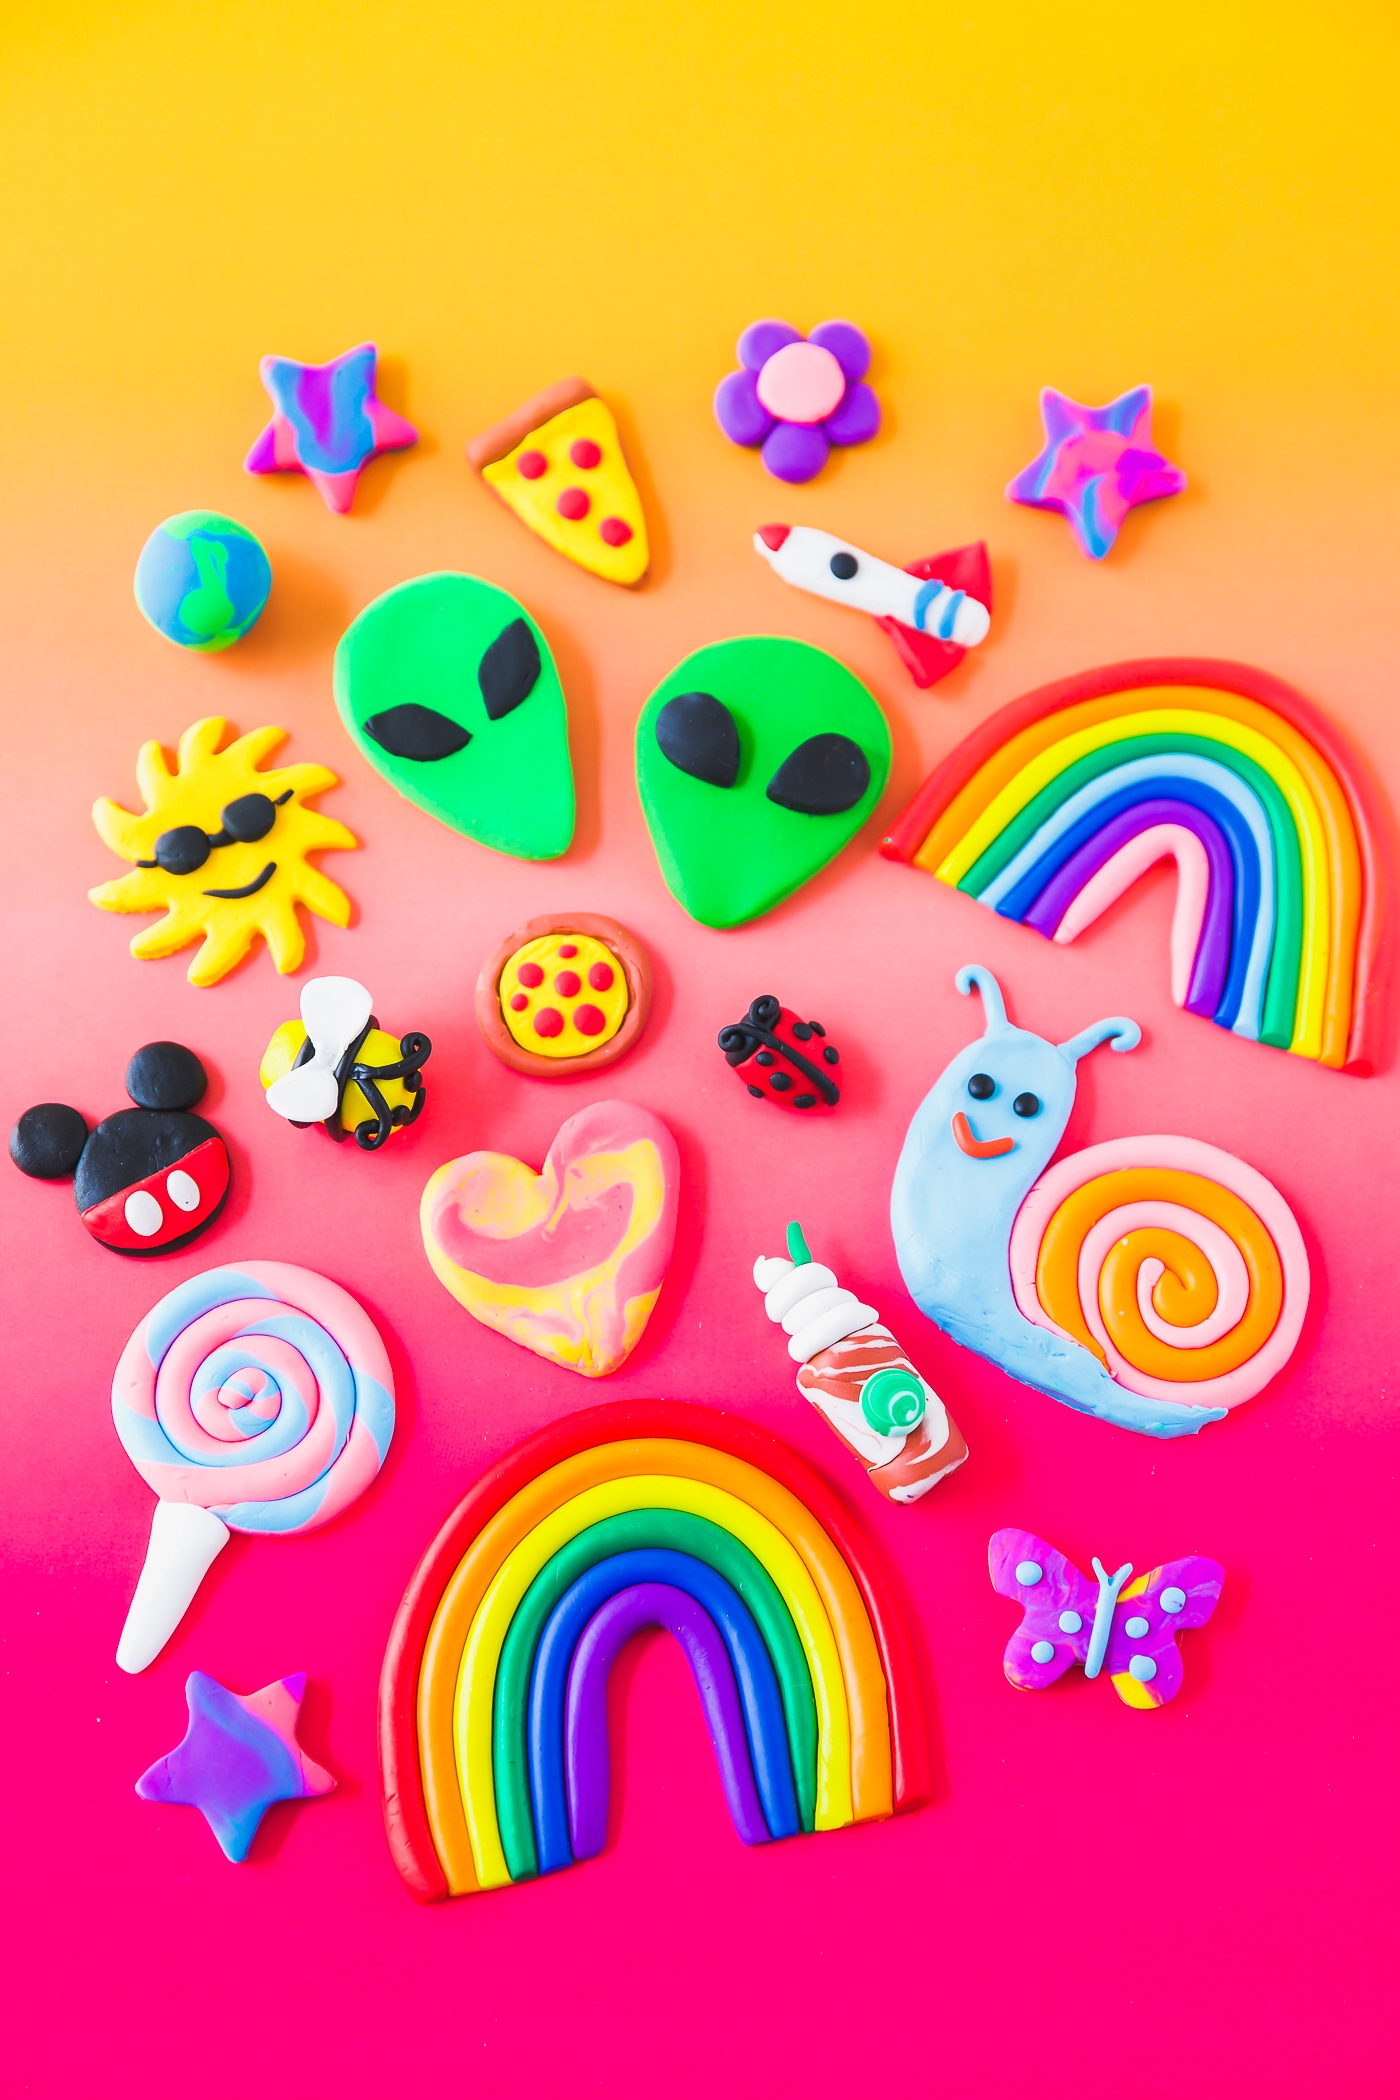
Clay eraser shape ideas

  • Rainbow
  • Food: Cupcakes, pizza slices, chocolate chip cookies, ice cream cone, lollipop, donut
  • Green aliens
  • Flowers
  • Hearts
  • Fruit (strawberry, cherries, oranges, watermelon)
  • Ladybug, snail, bee, butterfly
  • Mickey and Minnie Mouse
  • Starbucks Frappuccino

More Craft Ideas for Kids:

  • How to make Crystal Geodes
  • Dinosaur Dig Kit
  • Glow in the Dark Ideas

Tips and tricks for making clay erasers for kids

121 shares

posted in: Crafts & DIY, Favorite Kids Crafts

Previous
Easter Bunny Wreath
Next
Lucky Charms Hot Chocolate Bombs

You May Also Like

how to make reindeer ornaments
Reindeer Ornaments
faux snow flocked wreath with red bow for Christmas
How To Flock A Wreath
jack-o-lantern felt treat bag filled with Halloween candy
Pumpkin Treat Bags
Subscribe
Notify of
Recipe Rating


Recipe Rating


0 Comments
Inline Feedbacks
View all comments

Primary Sidebar

Crystal - Author of A Pumpkin and A Princess.

Welcome, I'm Crystal!

Hello and welcome! I’m Crystal, a mom of 3 from sunny California. I enjoy sharing family favorite recipes, holiday ideas, and quick craft projects you can make in minutes.

More About Me Work With Me

Subscribe To New Posts

Get the latest weekly content delivered right to your inbox!

Thank you for subscribing!

Blog Archives

Featured Favorites

  • dessert dip made with Cadbury mini eggs for an Easter dessert board
    Easter Dessert Candy Board
  • Mother's Day gift ideas and homemade soap tutorial
    Homemade Lemon Soap {Mother’s Day Gift Ideas}
  • Gluten free Oreo ball recipe dipped in chocolate, with chocolate drizzle, and crushed oreo crumbs
    Gluten-Free OREO Balls
  • Mini Lemon Cheesecakes
  • How to make birthday cake scented candles. Soy wax candles made in a jar and decorated with adhesive vinyl sprinkles.
    DIY Birthday Cake Jar Candle
  • Easy DIY Coffee Sugar Scrub made with nourishing oils, coffee grounds and goats milk soap.
    Homemade Coffee Sugar Scrub

Subscribe To New Posts

Get the latest weekly content delivered right to your inbox!

A Pumpkin & A Princess

A Pumpkin & A Princess is a creative lifestyle brand focused on sharing delicious recipes, holiday ideas, handmade gifts, and easy craft projects.

Recipes

  • Appetizers
  • Main Dish
  • Desserts
  • Gluten-Free

Crafts

  • Crafts with Kids
  • Bath and Body
  • Mason Jars
  • Holidays

About

  • Home
  • About
  • Contact Me
©2023, A Pumpkin And A Princess. All Rights Reserved. Privacy Policy Disclosure
Design by Pixel Me Designs
×

Subscribe To New Posts

Get the latest weekly content delivered right to your inbox!

Thank you for subscribing!
wpDiscuz
0
0
Would love your thoughts, please comment.x
()
x
| Reply