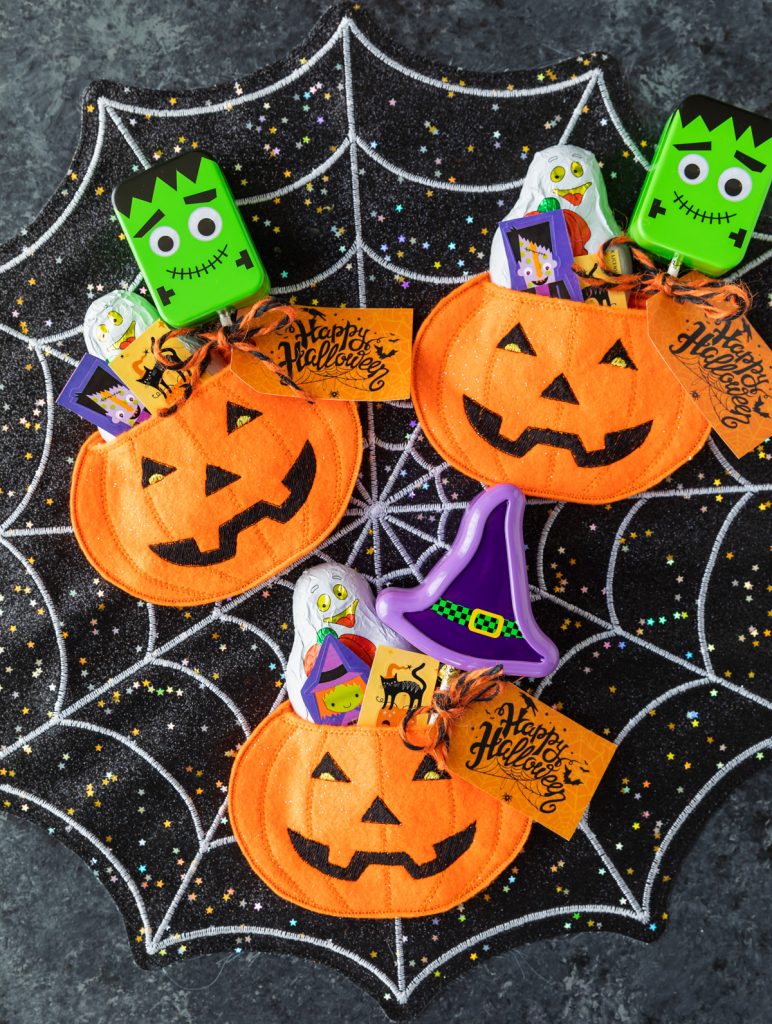
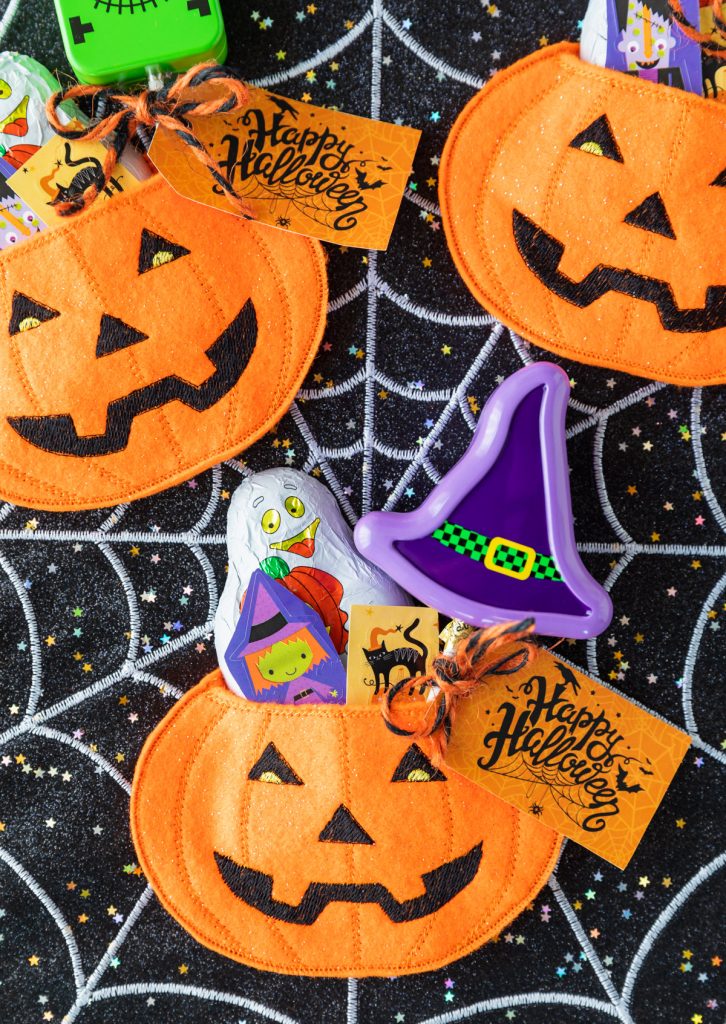
Jack o Lantern felt pumpkin treat bags filled with chocolate candy, stickers, and lollipops and decorated with printable Happy Halloween tags. This DIY is an easy machine embroidery craft to make for a classroom or Halloween party.
Are you hosting a Halloween party? Add Halloween Pretzel Rods, Halloween OREO Balls, and a Graveyard Cake to your dessert table.
Every year I put together a Halloween dinner for the kids. It’s a tradition we started when my oldest was a toddler and is something we look forward to every October. I try to decorate the Halloween table with fun decorations and table settings for the kids. This year I made felt pumpkin treat bags with Happy Halloween printable tags.
Embroidery felt treat bags
I’m thrilled with the way this Halloween craft turned out. The candy holders are made using an embroidery machine and felt sheets. The jack-o-lantern face is completely stitched with thread, and no applique is required for this project.
The pumpkins can be made in about 10 minutes and then filled with candy, stickers, bubble wands, spider rings, or crayons.
This craft would be a fun project to make for a classroom party or to give out as Halloween party favors. The best part is you can customize them with your felt color choice. Orange, teal, white, or pink pumpkins!
Supplies to make felt pumpkin treat bags
- Orange felt
- Embroidery Machine
- Embroidery thread
- Tear away stabilizer
- Happy Halloween Printable tags
- Candy Holder Embroidery Design
If you want to start machine embroidery, check out my Embroidery Must-Haves Amazon List.
How to make Halloween candy holders (VIDEO TUTORIAL)
- Add the embroidery design to your machine. Hoop tear-away stabilizer.
- Float the orange felt on top by pinning it to the stabilizer or taping it down.
- Add orange thread to the embroidery machine, then begin stitching. The machine will let you know when to move to black thread for the jack-o-lantern face and yellow thread for the eyes.
- Before stitching the last step, remove the hoop from the machine and tape down a second sheet of felt on the back (see video for an example). Load the hoop back on the machine and stitch the outline. This step will secure the treat bag together.
How to cut the felt pumpkin treat holder
- Remove from the hoop and tear away the stabilizer. Cut the excess felt around the pumpkin shape.
- Carefully cut the top of the pumpkin, making sure not to pierce through the back layer. Remove the thin strip of tear-away stabilizer. This step will open up the pumpkin to be filled with treats.
- Fill with treats and tie on the Happy Halloween printable tag with twine or ribbon.
Note: in the video, I’m using half a felt sheet for the front of the pumpkin, but you can cut a sheet into four pieces to make two pumpkins.