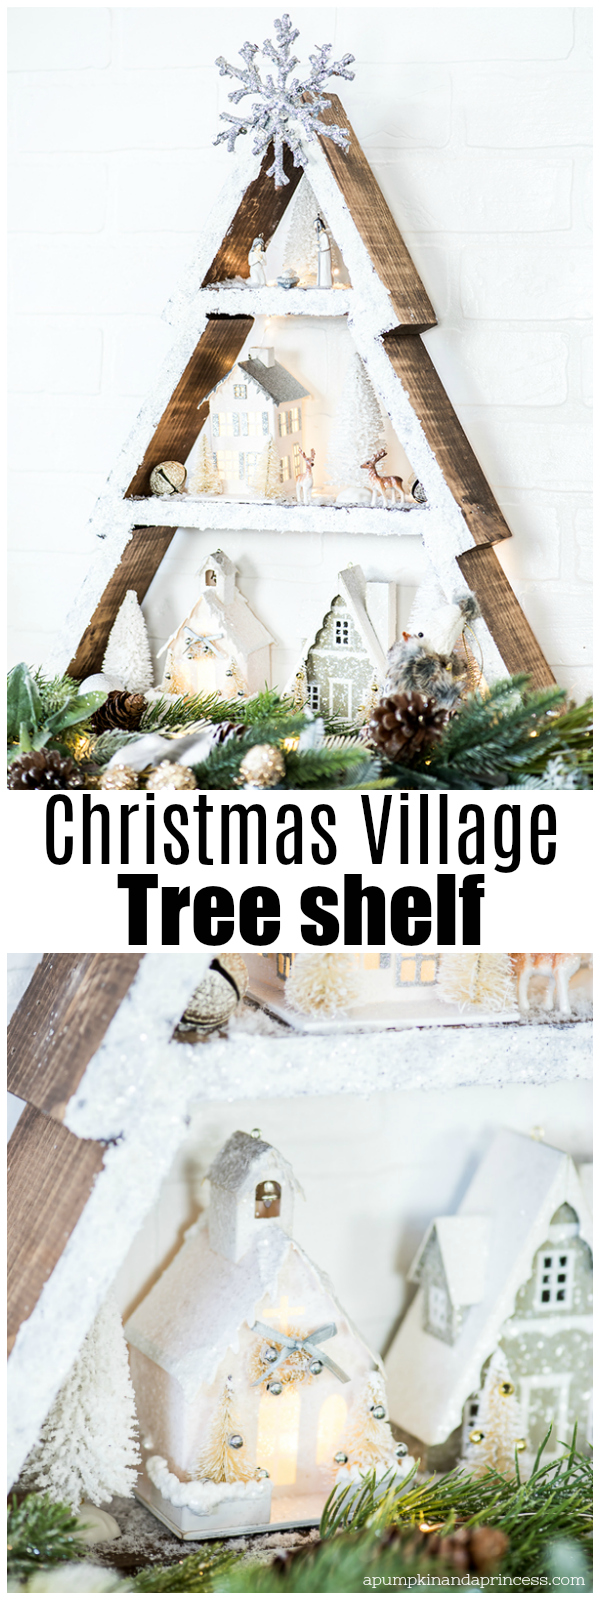
Winter Wonderland Holiday Tree Shelf – how to make a snowy cabin inspired holiday tree shelf with a mini Christmas village.
This is a sponsored post in collaboration with Home Depot
Hi friends! I’m so excited to share my holiday tree shelf with you today. As you may have realized, I tend to use a lot of neutral home décor. The holiday season is when I bring out the white, silver and glitter decorations that fit in perfectly with our existing décor. Today I’m sharing how I made this Winter Wonderland Holiday Tree Shelf with a miniature Christmas village. You can create your own by reserving your spot at your local Home Depot store HERE -> Holiday Tree Shelf Workshop.
This post contains affiliate links
Supplies
(2) 1x4x6 common pine boards
Walnut Stain
Brad Nailer
Saw
Quick drying glue <– I highly recommend this!
Decorations: mini houses, twinkle lights, buffalo snow, white trees, snow texture
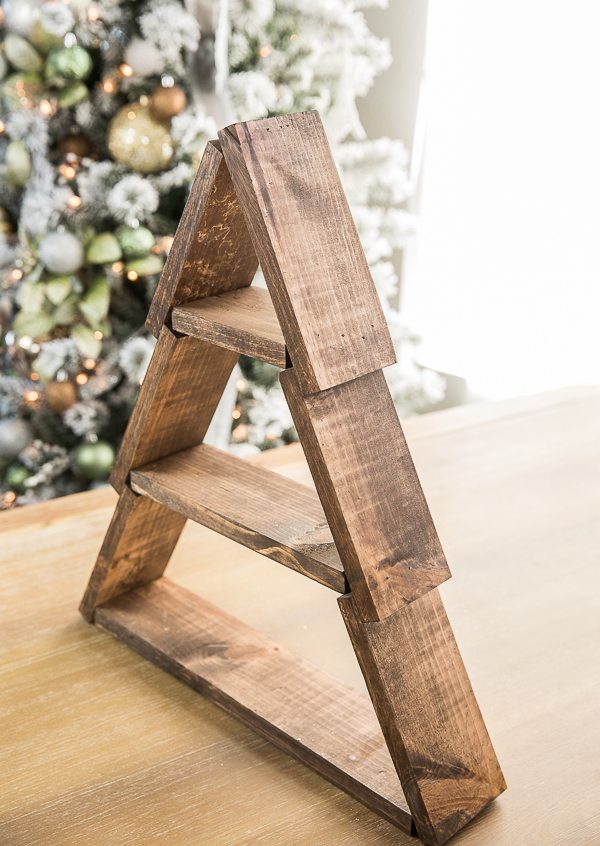
- Cut (5) 8 inch pieces and (1) 7 ¼ inch piece for the main tree structure. The 6 pieces will create the panels on the left and right part of the shelf. Measure and cut the shelves: 16 ½ inches, 10 1/2 and 5 inches. Apply stain (or paint) and allow to dry overnight.
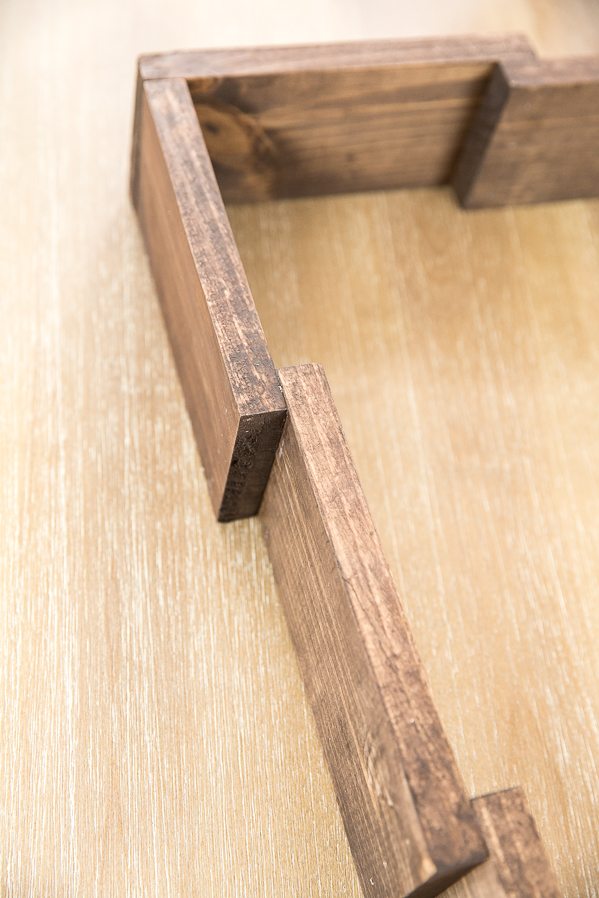 Start attaching the 6 pieces together by overlapping ¾ inch. The 7 ¼ piece will be at the top on the left side of the shelf. This will then sit under the right side when you line them up. TIP: I used this fast-drying glue to help keep my wood pieces in place before attaching with a nail gun. This isn’t necessary, and I’m sure the Home Depot workshop will have a better way to do this, but if you’re like me and need some reassurance that everything will stay in place then try this glue. It works incredibly fast! The package says it sets in 30 seconds and permanently hardens within 30 minutes.
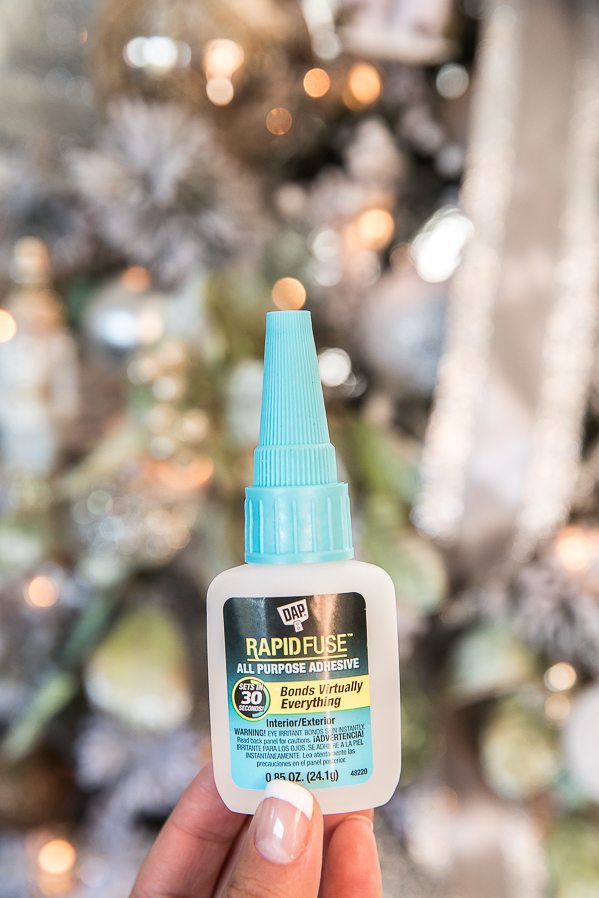 Attach the left and right sides together by adding nails through the top. You will then be able to slightly bend the frame together to fit the width of the shelves. Use your nail gun to attach the shelves to your frame (starting with the bottom shelf). The workshop will walk you through this step-by-step and provide a detail guide with exact measurements.
Note: If you don’t have a circular saw, you can always ask Home Depot to cut the wood for you.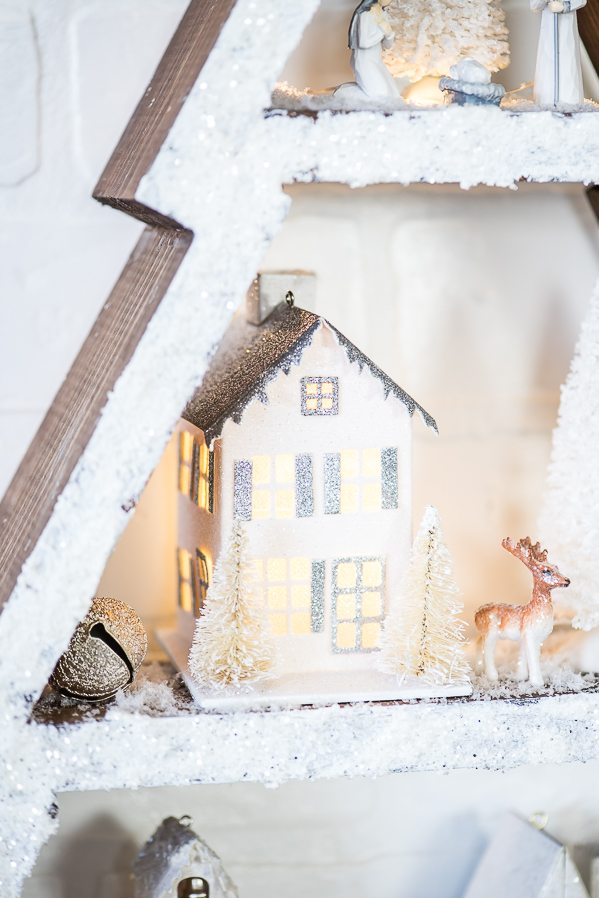
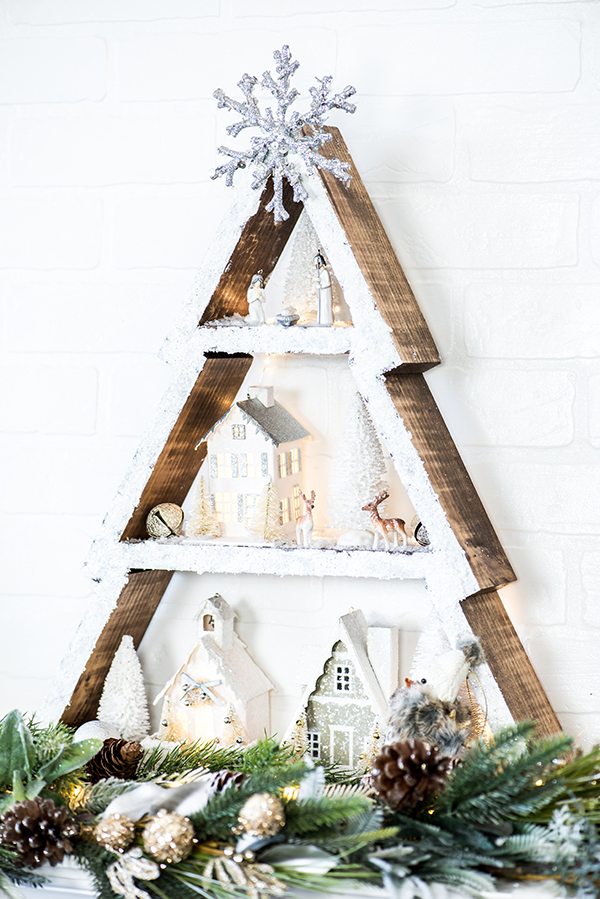
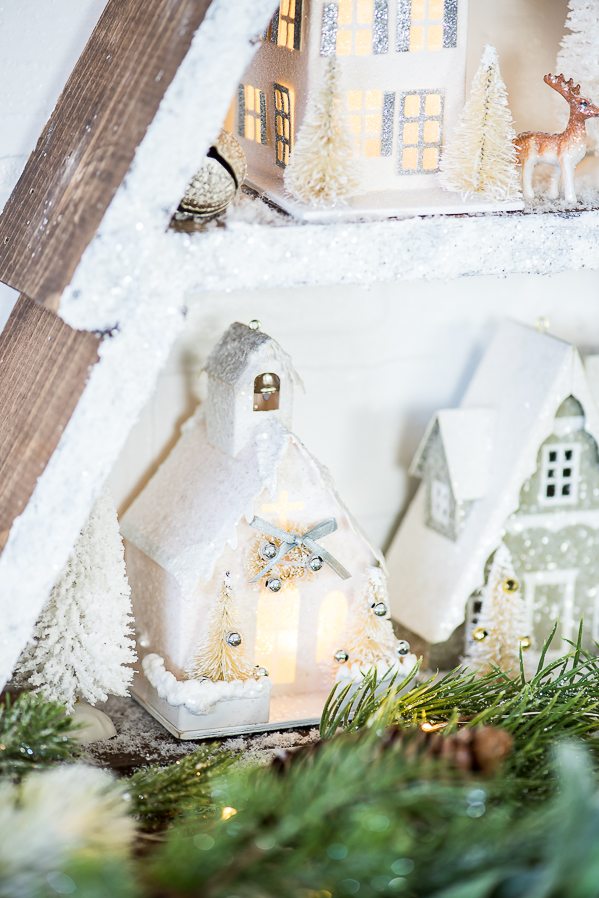
Once the tree shelf was assembled I decided to add a snow texture cream to the front to give it a snowy cabin feel. I also added buffalo snow to the shelves before creating a mini village. The tiny houses are white with glitter accents, which I think compliment the dark wood perfectly.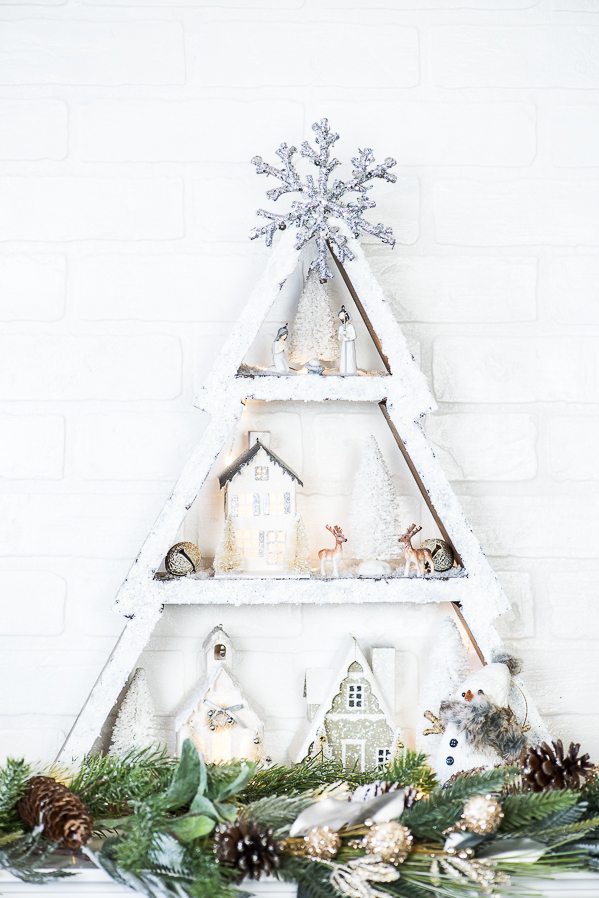
A tiny nativity set rest at the top, under a silver star I attached with hot glue.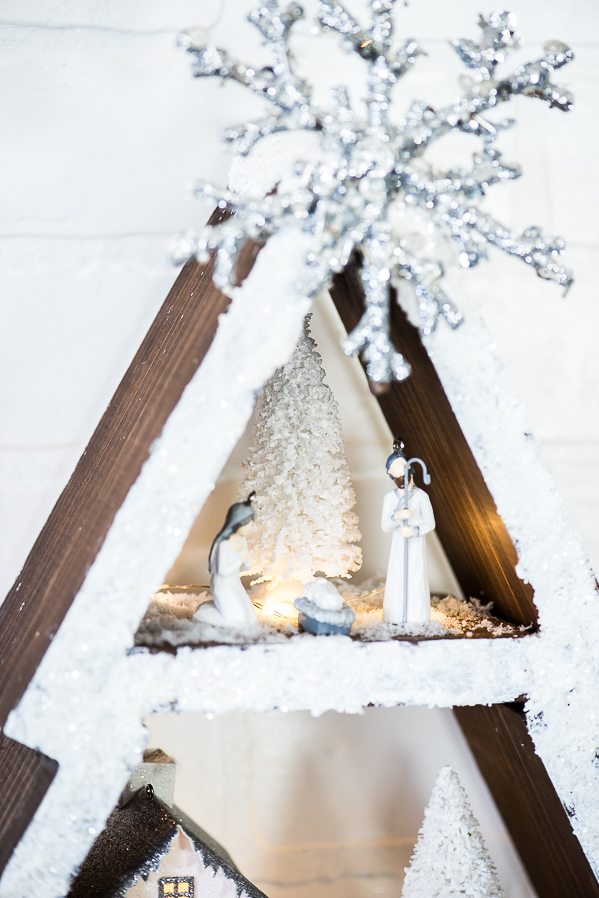
If you would like to make your own holiday tree shelf, sign up for the Home Depot Workshop HERE to reserve your spot. Bring a friend or two and have a fun crafting day!
The Home Depot offers free workshops for all ages and experience levels. You can register for DIH Workshops (projects geared towards inspiring women to get creative with tools), DIY Workshops (a wide range of DIY ideas, especially home décor during the holidays) and workshops for kids.
If you have previously attended any workshop at The Home Depot and would like to provide feedback, please feel free to use this form. Your experience and response helps The Home Depot make the improvements you want to see.
More holiday ideas:

Merry & Bright Twinkle Light Canvas

Thank you so much for this. You have made one Aussie very happy.
Luv this project.
That shelf is very pretty and festive for the holidays.