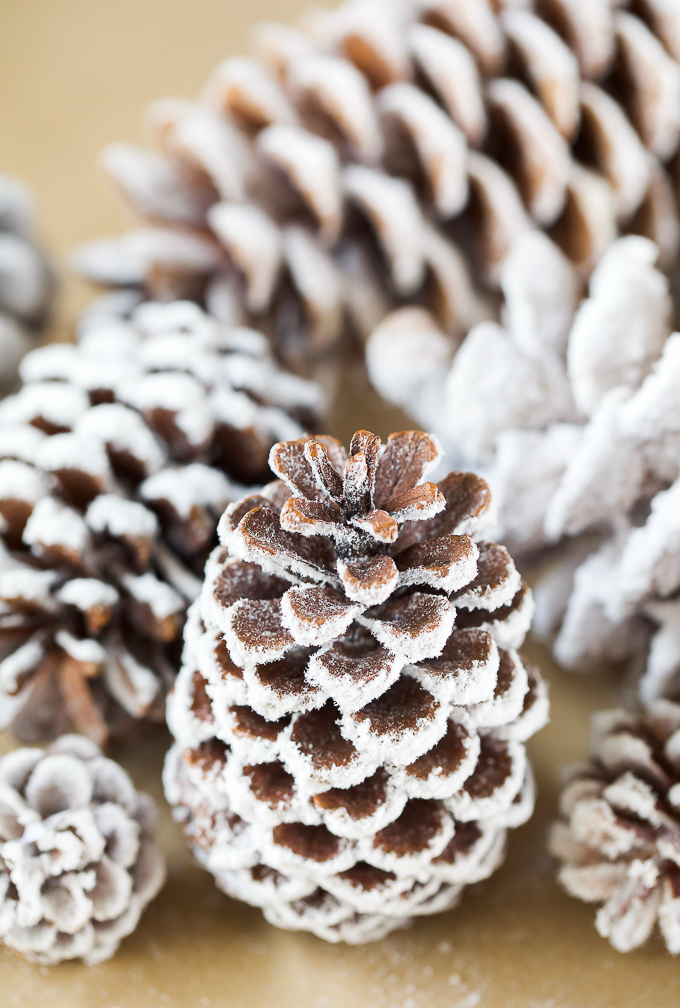
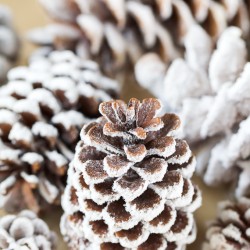
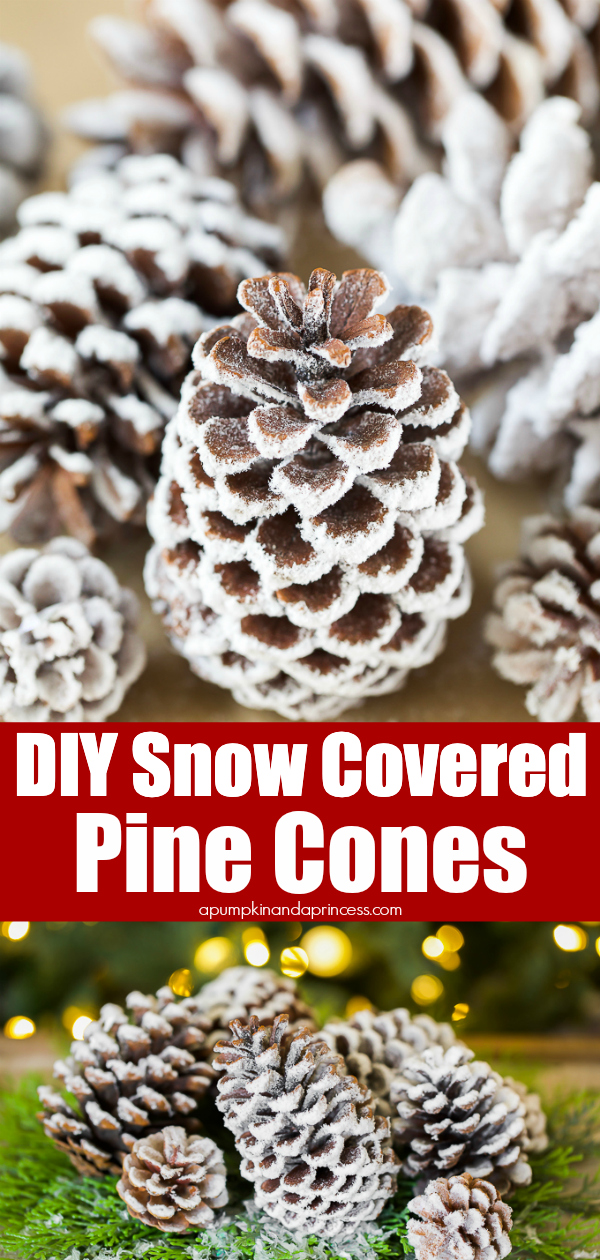
How to make snow-covered pine cones in 3 easy steps. This tutorial will show you how to flock pine cones to achieve that beautiful winter wonderland look. Add this DIY Snowy pine cone craft to your Christmas tree, garland, wreath, or table centerpiece.
I’m a big fan of flocked Christmas décor. A few years ago, I shared a post on HOW TO FLOCK A CHRISTMAS TREE and loved the results. You can use the tutorial to flock trees, a holiday garland, or wreath. Today I’m sharing a tutorial on how to flock pine cones. Yes, you can use the same flocking powder to create a snow-covered effect on pine cones you buy in-store or pick up from your backyard.

DIY Snowy Pinecones
Making your own snowy pine cones is easy to do. You only need flocking powder, water, and pine cones. Buy a bag of pine cones from the craft store or go on a scavenger hunt with the kids around the neighborhood. If you bring in pine cones from nature, you’ll want to clean them to get rid of any bugs hiding inside.
As a child, I used to long to live where it snowed in the winter. The glistening white Christmas photos look so peaceful and there is something so beautiful about snowcapped trees and snowy pinecones. Since it doesn’t snow where we live, I’ve found the next best thing is to create snowy holiday décor without the freezing temps.
In this post, you will find a quick video tutorial showing you how to flock pine cones the real way. There are also a few different techniques you can use to create a snowy pine cone effect listed below. I’m also including Amazon affiliate links to the products used in this post.
DIY Snow Covered Pine Cones materials:
- Pine Cones
- Flocking powder
- Spray bottle
- Small strainer
- Disposable tablecloth or kraft paper
- Face mask
- Optional: Buffalo Snow or Epsom Salt
HOW TO FLOCK PINE CONES {VIDEO}
Epsom salt Method
- Coat the pine cone with a generous layer of glue. Use tacky glue or decoupage that dries clear. Sprinkle the Epsom salt over the wet glue and set aside to dry on a protected surface. Add a tablespoon of glitter to create a glistening effect, similar to this SNOWY MASON JAR.
Fake snow method
- This is a similar technique to the Epsom salt method. Coat the pinecones with glue then sprinkle fake snow. The snowflakes can be found in the Christmas aisle of most craft stores and come in a couple of options – buffalo snow and chunkier fake snow with iridescent flakes.
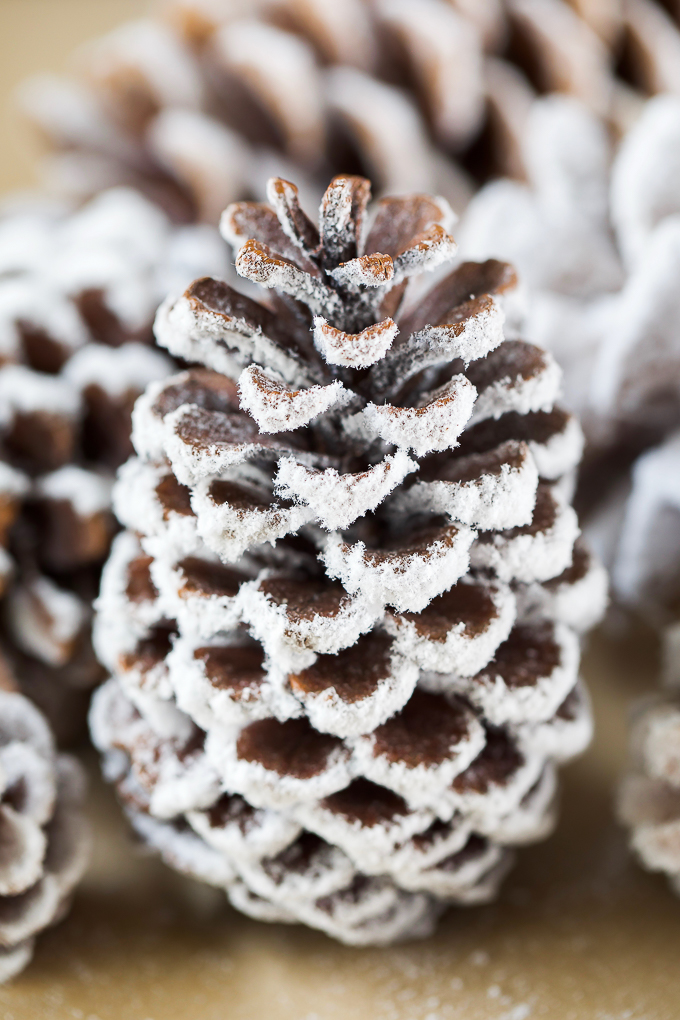
Flocking powder method
- The printable instructions below are for the flocking method. This creates the most realistic and long-lasting snow-covered pinecone effect. It’s easy to apply using a small strainer and water bottle. The water and flocking powder bond together on the surface they land on (protect your work surface for easy cleanup).
- You can easily adjust how much flocking powder you want to cover your pinecones. Start with a light dusting and keep adding powder + water to create a thicker layer of snow. The more flocking powder added on the longer they may take to dry.

Safety Tip: don’t forget to wear a face mask! The flocking powder will rapidly distribute into the air and it’s best to avoid breathing it in. You may also want to wear goggles to avoid eye irritation.
Snow Covered Pine Cones DIY
Ingredients
- 10 pine cones
- 2-3 cups flocking powder
- 1 cup water
Instructions
- Prepare your work surface by covering with a disposable tablecloth or kraft paper.
- Add flocking powder to a small strainer and water into a small bottle.
- Spray water and sift the flocking powder over the pine cone at the same time. The combination of the water and flocking powder creates a bond that seals over the tips of the pine cones. Continue to add flocking powder and water until the desired amount of flocking has covered the pine cone.
- Spray one last blast of water over the pine cones to seal the flocking powder and set to dry overnight. Turn the pine cone over and repeat.
- Once the pine cones have dried, use them to decorate your tree, garland, wreath, or holiday table.
What can you do with pine cones?
- Use pine cones to create a wreath, garland, or Christmas ornaments.
- Pine cones also make a great vase filler. Place a glass candle in the center of a large vase and fill pine cones around the candle.
- Display the snowy pine cones on a holiday tablescape with greenery branches and pillar or votive candles.
- Decorate gifts with the snow-covered pine cones using festive ribbon, twine, and hot glue if needed.
How do you make pine cone Christmas ornaments?
- Want to turn those snowy pine cones into beautiful Christmas ornaments? Check out this PINE CONE ORNAMENT post for a quick and easy tutorial on how to hang pine cones and decorate with greenery and berries.
More DIY Christmas Ideas:
- Embroidery Hoop Christmas Wreath
- Gingerbread Sugar Scrub
- 35+ Mason Jar Gifts
- Santa Kisses Treat Bags
- Snow Covered Mason Jar
I am going to try this!!!